
Few things evoke the cozy comfort of home quite like a slice of warm apple pie. While store-bought fillings offer convenience, there’s truly no comparison to the vibrant flavor and perfect texture of a homemade apple pie filling. It’s the secret ingredient that transforms a good pie into an unforgettable one.
This recipe will guide you through creating a luscious, perfectly spiced apple filling with tender-yet-firm apple chunks nestled in a rich, buttery sauce. It’s incredibly versatile and elevates not just pies, but also crumbles, tarts, and even a simple scoop of vanilla ice cream!
Why Homemade Apple Pie Filling Is a Game-Changer
Stepping away from canned fillings means gaining complete control over your dessert. You dictate the quality of your apples, the blend of spices, and the level of sweetness. The result is a filling free from artificial flavors and preservatives, bursting with natural apple goodness that tastes infinitely better. It's a simple step that makes a monumental difference in your baking.
Choosing the Right Apples for Success
The foundation of any great apple pie filling is, naturally, the apples themselves. For the best balance of flavor and texture, we recommend using a mix of varieties. Tart apples like Granny Smith are excellent for their firm texture and bright flavor, which cuts through the sweetness. Pair them with sweeter, firmer apples like Honeycrisp, Fuji, or Braeburn for complexity and a delightful bite. Avoid mealy apples that will turn to mush during cooking.
Essential Tools for Perfect Prep
Preparing apples can be a breeze with the right equipment. A sharp Quality Chef's Knife is invaluable for efficient peeling, coring, and slicing, ensuring uniform pieces for even cooking. For those tackling a large batch, an apple peeler/corer can save significant time!
Tips for an Unforgettable Apple Pie Filling
- Don't Skip the Lemon Juice: A splash of lemon juice is crucial. It brightens the apple flavor, prevents browning, and balances the sweetness.
- Pre-Cook Your Apples: Lightly cooking the apples on the stovetop before baking helps them release excess moisture, preventing a soggy pie bottom. It also ensures the apples are tender when the pie is done.
- Balance Your Sweetness: Taste your apples before adding sugar. Adjust the amount based on their natural sweetness and your personal preference.
- Thickener is Your Friend: Flour or cornstarch are both excellent thickeners. Ensure they are well-mixed with the dry ingredients before adding to the apples to avoid lumps.
- Spice it Right: Cinnamon is non-negotiable, but a touch of nutmeg, allspice, or a pinch of ground cloves can add incredible depth and warmth.
Once you’ve mastered this incredible filling, you’ll find endless uses for it! It's the perfect complement to a classic pastry crust, and also makes a fantastic base for The Best Classic Apple Crisp Recipe: Easy & Comforting Fall Dessert. For an even simpler treat, consider baking whole apples using our Easy & Delicious Baked Apples Recipe: A Cozy Dessert.
Get ready to create the most delicious apple desserts your kitchen ever seen. This homemade apple pie filling is a true labor of love that pays off in every single bite!
FAQs
What kind of apples are best for apple pie filling?
A mix of tart apples like Granny Smith and sweeter, firmer varieties such as Honeycrisp, Fuji, or Braeburn works best to achieve a balanced flavor and texture that holds up well during baking.
Can I make apple pie filling in advance?
Yes, you can prepare this apple pie filling ahead of time. Once cooled, store it in an airtight container in the refrigerator for up to 3-4 days, or freeze it for up to 3 months.


How do I prevent my apple pie filling from being too watery?
To avoid a watery filling, ensure you use the correct amount of thickener (flour or cornstarch) and pre-cook the apples slightly to release excess moisture before baking. This helps create a wonderfully thick sauce.
What can I use homemade apple pie filling for besides pie?
Beyond classic pies, this versatile filling is delicious in apple crisps, crumbles, turnovers, tarts, or as a warm topping for ice cream, pancakes, or oatmeal.

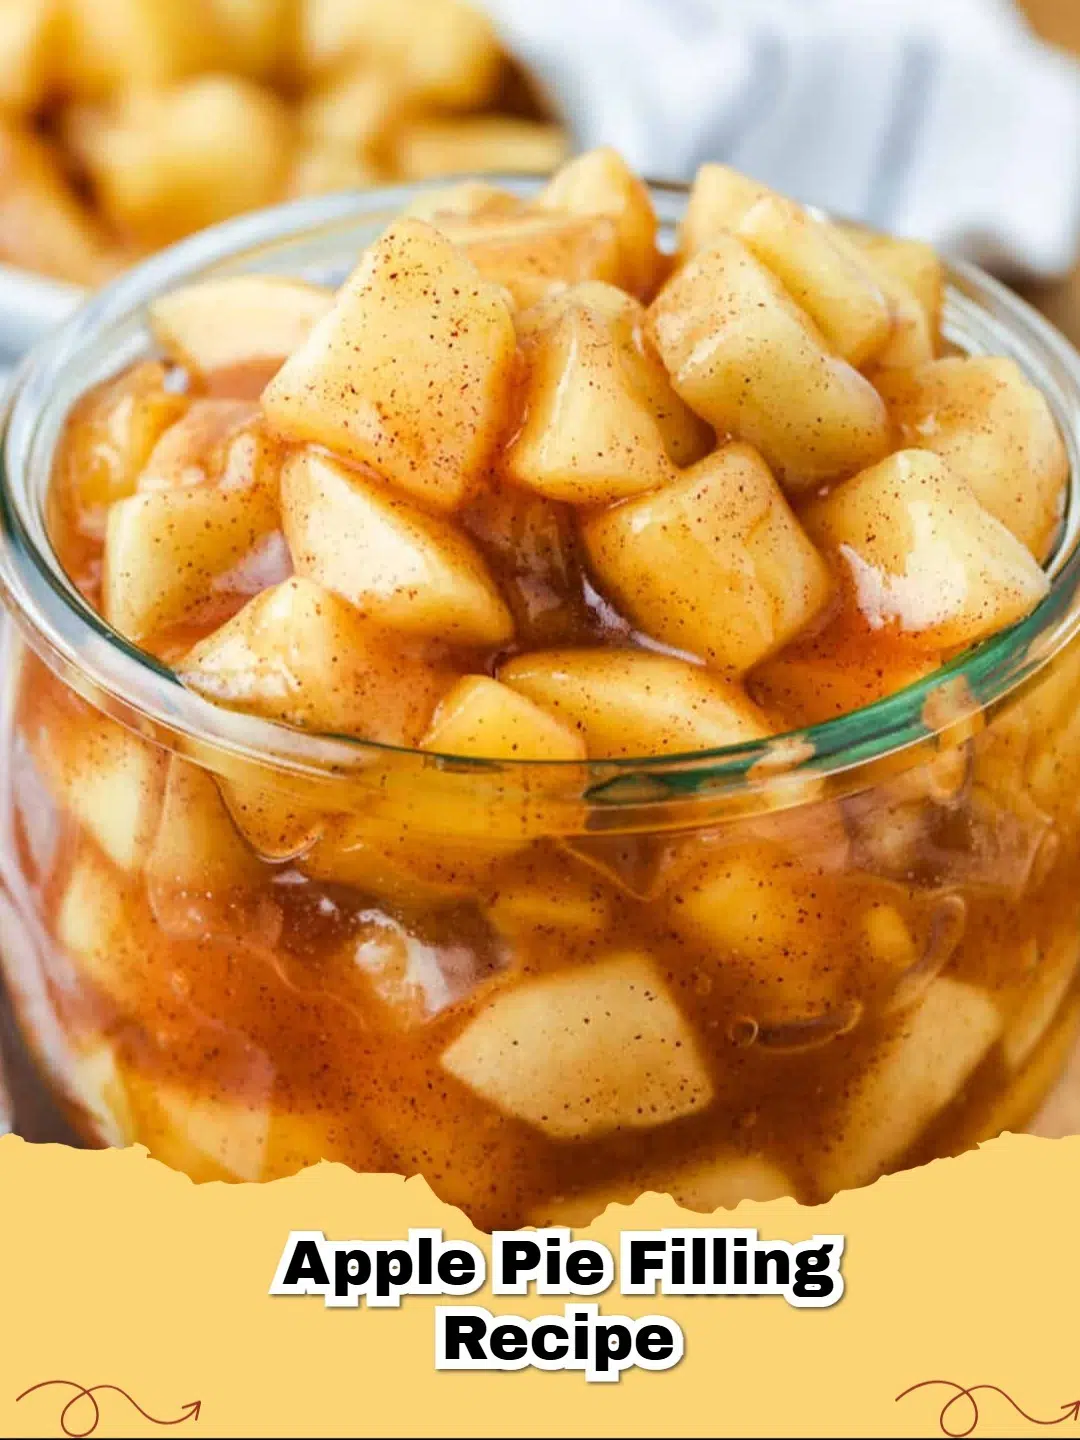
The Best Homemade Apple Pie Filling
- Total Time: 30-35 minutes
- Yield: 6-8 servings (enough for one 9-inch pie) 1x
- Diet: Vegetarian
Description
This recipe yields a luscious, perfectly spiced apple pie filling with tender fruit, ideal for classic pies, crumbles, and tarts.
Ingredients
6-7 medium apples (about 6 cups sliced), a mix of Granny Smith and Honeycrisp recommended, peeled, cored, and sliced 1/4-inch thick
1/2 cup granulated sugar
1/4 cup packed light brown sugar
1/4 cup all-purpose flour (or cornstarch for gluten-free)
1 teaspoon ground cinnamon
1/4 teaspoon ground nutmeg
1/8 teaspoon ground allspice (optional)
1 tablespoon fresh lemon juice
2 tablespoons unsalted butter, melted (optional, for richness)
1/4 cup water (if apples are not very juicy)
Instructions
Step 1: In a large bowl, combine the peeled, cored, and sliced apples with granulated sugar, brown sugar, flour (or cornstarch), cinnamon, nutmeg, and allspice (if using). Add the lemon juice and toss gently to ensure all apple slices are evenly coated.
Step 2: Transfer the apple mixture to a large saucepan or Dutch oven. Add the melted butter (if using) and water (if needed). Cook over medium heat, stirring occasionally, for 10-15 minutes, or until the apples have softened slightly but still hold their shape, and the sauce has thickened.
Step 3: Remove the filling from the heat. Taste and adjust spices or sugar if desired. Allow the filling to cool completely before using it in a pie, crisp, or other dessert. Cooling prevents the crust from becoming soggy.
Step 4: Once cooled, the filling is ready to be used in your favorite pie crust. If not using immediately, store in an airtight container in the refrigerator.
Notes
For an extra rich filling, use 2 tablespoons of unsalted butter. If your apples are very juicy, you might not need the extra 1/4 cup of water. Always taste and adjust spices to your liking!
- Prep Time: 15 minutes
- Cook Time: 15-20 minutes
- Category: Dessert
- Method: Stovetop Cooking
- Cuisine: American
Nutrition
- Serving Size: 1/8 of recipe
- Calories: 280 kcal
- Sugar: 50g
- Sodium: 10mg
- Fat: 3g
- Saturated Fat: 2g
- Unsaturated Fat: 1g
- Trans Fat: 0g
- Carbohydrates: 65g
- Fiber: 5g
- Protein: 1g
- Cholesterol: 5mg


Leave a Reply