
There’s nothing quite like the rich, creamy, and subtly spiced delight of homemade eggnog during the holiday season. Forget the cartons from the store – once you taste the fresh, authentic flavor of eggnog made from scratch, you’ll never go back. It’s a festive tradition that brings warmth and cheer to any gathering, and surprisingly, it’s much simpler to make than you might think!
This recipe will guide you through creating a classic, cooked eggnog that’s both safe and incredibly flavorful. Whether you prefer it boozy or booze-free, our method ensures a smooth, luscious texture and that unmistakable holiday spice.
Why Homemade Eggnog is Always Better
The difference between homemade and store-bought eggnog is like night and day. Store-bought versions often rely on artificial flavors, excessive sugar, and stabilizers, resulting in a thin, overly sweet, and sometimes cloying drink. Homemade eggnog, on the other hand, boasts:
- Superior Flavor: Fresh eggs, real dairy, and whole spices create a depth of flavor that's unparalleled.
- Creamier Texture: You control the richness, resulting in a thick, velvety consistency.
- Customizable: Adjust the spices, sweetness, and alcohol content to your exact preference.
- A Festive Tradition: The act of making eggnog from scratch adds to the magic of the holidays.
The Ingredients You'll Need
Creating this holiday masterpiece requires a few simple, high-quality ingredients. Most are probably already in your pantry or easily found at your local grocery store.
- Eggs: Fresh, large eggs are key. Since we're cooking the eggnog, pasteurization is handled, but always start with good quality.
- Sugar: Granulated sugar sweetens the custard base.
- Milk & Heavy Cream: A combination gives the perfect balance of richness and drinkability.
- Vanilla Extract: Pure vanilla extract adds a wonderful aromatic depth.
- Spices: Freshly grated nutmeg is a must! Cinnamon is also a popular addition. For grating fresh nutmeg or preparing citrus garnishes, a quality chef's knife makes all the difference.
- Optional Alcohol: Brandy, rum (dark or spiced), or bourbon are traditional choices. A mix of two works beautifully!
Step-by-Step Guide to Perfect Homemade Eggnog
Our method focuses on creating a rich, safe custard base that ensures a smooth texture and removes any concerns about raw eggs. Follow these steps for a perfect batch every time.
Getting Started: Tempering Eggs for a Smooth Custard
Tempering the eggs is crucial to prevent scrambling. You'll slowly introduce warm milk to the beaten egg mixture, raising its temperature gradually before combining it all over heat.
Cooking the Custard: The Heart of Your Eggnog
Gentle heat and constant stirring are your best friends here. You'll cook the mixture until it thickens enough to coat the back of a spoon, ensuring a safe and delicious base.
Chilling and Finishing: Patience Pays Off
Eggnog needs time to chill thoroughly for the flavors to meld and for it to reach its optimal rich, cold consistency. This is also when you'll stir in your chosen spirits, if using.
Tips for the Best Eggnog Experience
- Fresh Nutmeg is Non-Negotiable: While pre-ground nutmeg works, freshly grated offers an incomparable aroma and flavor.
- Don't Overcook: If the custard gets too hot, it will curdle. If you see it start to curdle, remove it from heat immediately and whisk vigorously, or even use an immersion blender to smooth it out.
- Adjust Sweetness: Taste your eggnog after it's chilled and before adding alcohol. You can stir in a bit more sugar or a touch of maple syrup if you like it sweeter.
- Chill Thoroughly: At least 4 hours, but overnight is ideal. The flavors truly develop as it chills.
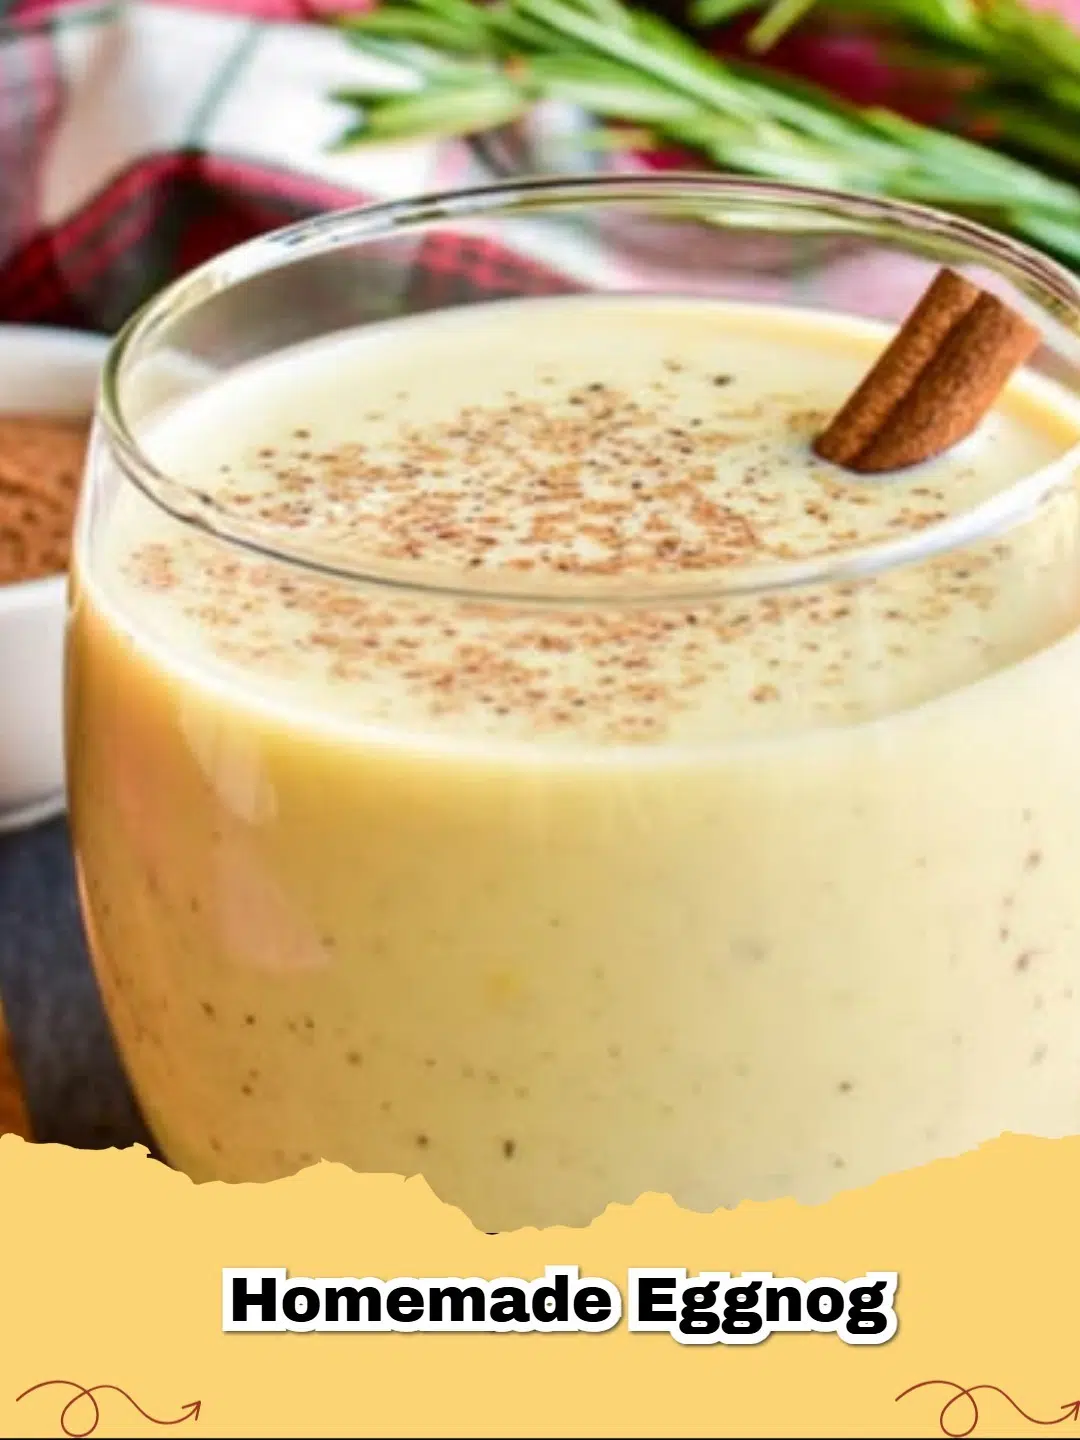
- Serve with Style: A sprinkle of fresh nutmeg and a cinnamon stick or a dollop of whipped cream elevates the experience.
Making homemade eggnog is a rewarding holiday ritual that results in a truly spectacular drink. Gather your ingredients, put on some festive music, and prepare to enjoy the most delicious eggnog you've ever tasted. Happy holidays!
FAQs
Is homemade eggnog safe to drink?
Yes, when prepared correctly. This recipe uses a traditional method where the egg yolks are gently cooked with the milk and sugar, forming a custard that reaches a safe temperature (around 160u00b0F or 71u00b0C) to kill any potential bacteria. Always use fresh, pasteurized eggs.


Can I make homemade eggnog without alcohol?
Absolutely! The alcohol in eggnog is completely optional. You can omit the brandy, rum, or bourbon entirely, or replace it with a splash of extra vanilla extract or a non-alcoholic rum or bourbon alternative for flavor without the booze. It will still be wonderfully delicious.
How long does homemade eggnog last in the refrigerator?
When stored in an airtight container in the refrigerator, homemade eggnog (cooked) can last for up to 3-4 days. For raw eggnog (if you choose to make it that way, use only pasteurized eggs and consume within 1-2 days). Always trust your senses; if it smells or looks off, discard it.
What's the best way to serve homemade eggnog?
Homemade eggnog is best served chilled. Pour it into festive mugs or glasses, and garnish generously with freshly grated nutmeg. You can also add a cinnamon stick for extra aroma, or a dollop of whipped cream for an indulgent touch. A sprinkle of cocoa powder or a very thin slice of orange peel also makes a lovely presentation.

Classic Homemade Eggnog
- Total Time: 35 minutes (plus 4+ hours chilling)
- Yield: 8-10 servings 1x
- Diet: Vegetarian
Description
A traditional, rich, and creamy homemade eggnog recipe, gently cooked to perfection and spiced with nutmeg, ideal for festive holiday celebrations.
Ingredients
6 large egg yolks
1/2 cup granulated sugar, divided
2 cups whole milk
1 cup heavy cream
1/2 teaspoon vanilla extract
1/4 teaspoon freshly grated nutmeg, plus more for garnish
1/4 teaspoon salt
1/2 cup brandy, rum, or bourbon (optional)
Instructions
Step 1: In a medium bowl, whisk together the egg yolks and 1/4 cup of the granulated sugar until light yellow and creamy.
Step 2: In a saucepan over medium heat, combine the whole milk, heavy cream, the remaining 1/4 cup sugar, vanilla extract, nutmeg, and salt. Heat until steam rises and small bubbles form around the edges, but do not boil.
Step 3: Slowly temper the egg mixture: While continuously whisking the egg yolks, gradually pour about half of the hot milk mixture into the egg yolks. This slowly raises the temperature of the eggs without scrambling them.
Step 4: Pour the tempered egg mixture back into the saucepan with the remaining hot milk mixture. Return to medium-low heat.
Step 5: Cook, stirring constantly with a wooden spoon or spatula, until the mixture thickens enough to coat the back of the spoon (reaching approximately 160°F or 71°C). Do not boil.
Step 6: Remove the saucepan from the heat. Pour the eggnog through a fine-mesh sieve into a clean bowl or pitcher to remove any potential bits of cooked egg or spice. Stir in the optional alcohol, if using.
Step 7: Cover the eggnog and refrigerate for at least 4 hours, or preferably overnight, to allow the flavors to meld and for it to chill thoroughly.
Step 8: When ready to serve, whisk the chilled eggnog briefly to ensure it's smooth. Pour into glasses and garnish generously with additional freshly grated nutmeg.
Notes
For an extra festive touch, you can whip 1/2 cup of heavy cream to soft peaks and float a dollop on top of each serving before garnishing. If you prefer a richer flavor, you can let the eggnog age in the refrigerator for up to a week (especially if it contains alcohol).
- Prep Time: 20 minutes
- Cook Time: 15 minutes
- Category: Holiday Beverage
- Method: Custard (Stovetop)
- Cuisine: American
Nutrition
- Serving Size: 1 cup (approx. 240ml)
- Calories: 320 kcal
- Sugar: 25g
- Sodium: 90mg
- Fat: 20g
- Saturated Fat: 12g
- Unsaturated Fat: 6g
- Trans Fat: 0g
- Carbohydrates: 28g
- Fiber: 0g
- Protein: 8g
- Cholesterol: 180mg


Leave a Reply