
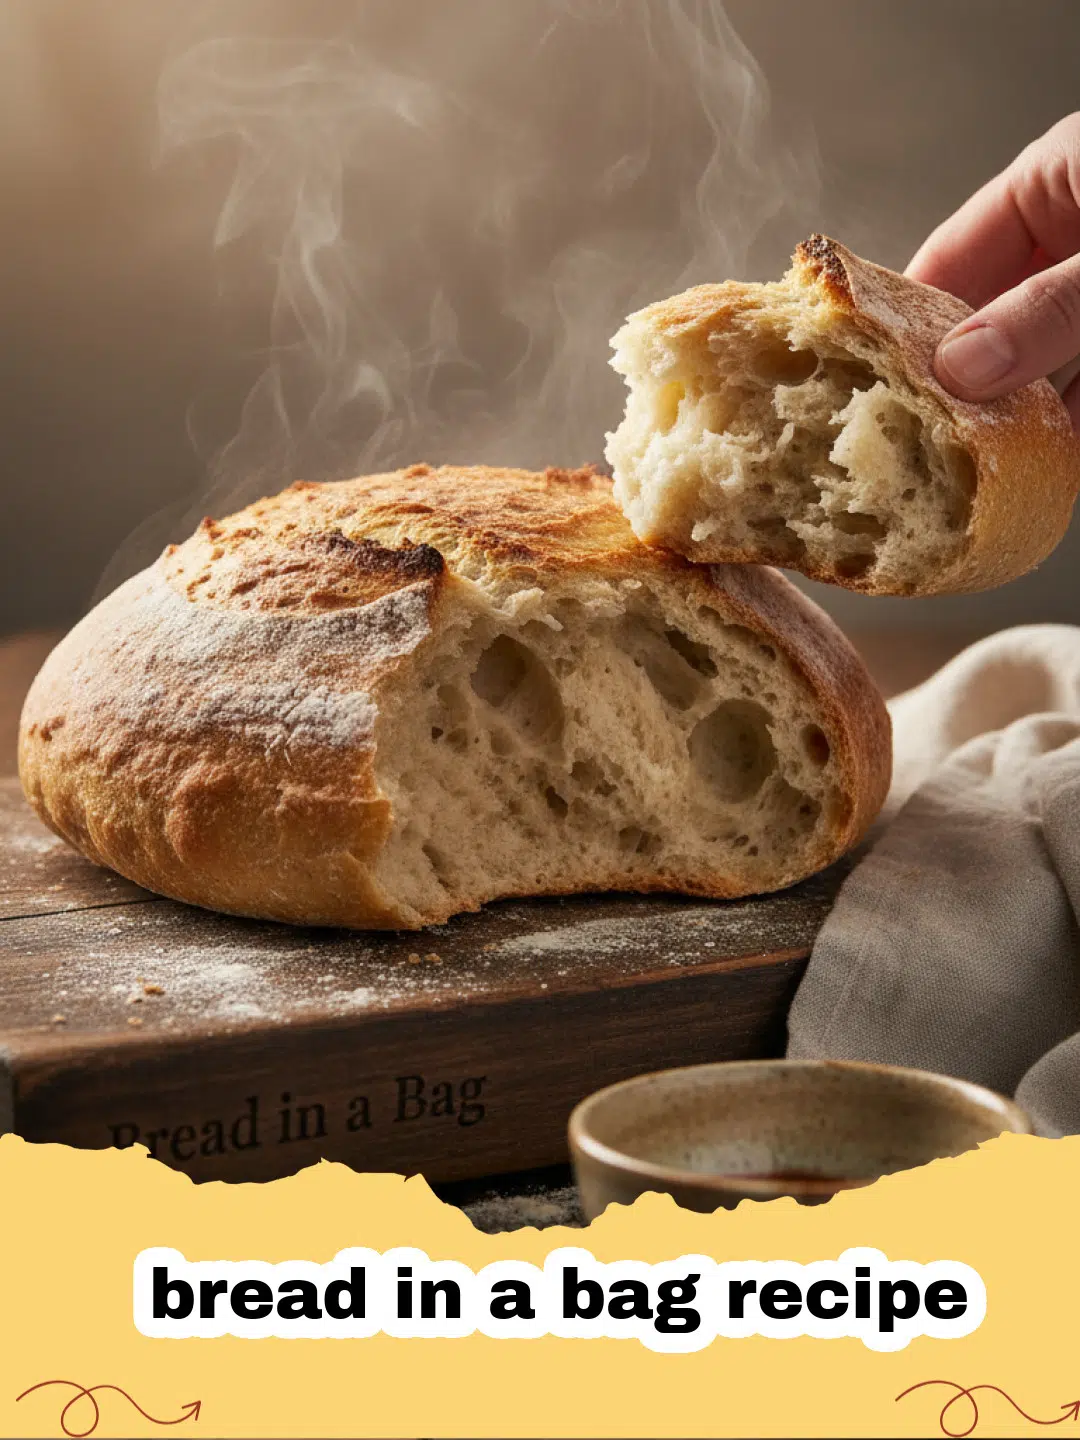
This bread in a bag recipe is the perfect way to introduce the magic of baking to your kitchen without the overwhelming cleanup usually associated with flour and dough. I remember the first time I attempted this bread in a bag recipe with my nephews on a rainy Saturday afternoon. The kitchen was filled with giggles instead of the usual stress of flour dust coating every available surface. There is something truly enchanting about watching simple ingredients transform into a pillowy dough inside a simple plastic bag, and this bread in a bag recipe captures that wonder perfectly. It is not just about the final loaf; it is about the tactile experience of squishing the dough and seeing the science of yeast in action right before your eyes. Whether you are a seasoned baker or a complete novice, this bread in a bag recipe will change the way you think about homemade loaves. It removes the intimidation factor of traditional kneading and makes the process accessible, fun, and incredibly rewarding for everyone involved. By the time the aroma of fresh bread starts wafting from your oven, you will understand why this bread in a bag recipe has become a staple in our household.
Why This Recipe is a Must-Try
Finding a reliable bread in a bag recipe can be a game-changer for busy families and curious beginners. Here is why you should clear some counter space today:
- Virtually Zero Mess: Unlike traditional methods, most of the mixing and initial kneading for this bread in a bag recipe happens inside a gallon-sized freezer bag, keeping your counters clean.
- Educational Fun: This bread in a bag recipe is a fantastic science experiment for kids, teaching them about fermentation, gluten development, and the states of matter in a hands-on way.
- Foolproof Results: The controlled environment of the bag helps maintain moisture, making this bread in a bag recipe incredibly forgiving for those who fear dry or dense bread.
- Quick and Convenient: From start to finish, this bread in a bag recipe moves faster than many artisan loaves, making it a great project for a morning or afternoon activity.
If you enjoy the convenience of this method but want to try something a bit more traditional later, you might also like The Ultimate KitchenAid Bread Recipe for a Soft and Fluffy Loaf. However, for sheer ease and family bonding, nothing beats the bread in a bag recipe.
Key Ingredient Notes
The success of your bread in a bag recipe depends on a few critical components that work together to create that perfect crumb.
The Yeast
For any bread in a bag recipe, the yeast is the star of the show. We use active dry yeast or instant yeast. The key is the temperature of the water. It must be warm (between 105°F and 115°F). If it is too cold, the yeast won’t wake up; if it is too hot, you’ll kill the yeast, and your bread in a bag recipe will fail to rise. Think of it like a warm bath—comfortable, not scalding.
The Flour
All-purpose flour works beautifully for this bread in a bag recipe, providing a soft and tender texture. If you want a bit more chew, you can substitute bread flour, which has a higher protein content and helps build stronger gluten networks. Regardless of which you choose, ensure you measure it correctly by spooning it into the measuring cup and leveling it off, rather than packing it down.
The Fat and Sweetener
A little bit of oil (like vegetable or melted coconut oil) and sugar are essential in this bread in a bag recipe. The sugar feeds the yeast, helping it produce those lovely carbon dioxide bubbles, while the oil ensures the crust stays soft and the bread remains moist for days. If you find yourself with leftovers, storing them properly is key. To keep your fresh loaf soft for days, I recommend using Basics Glass Food Storage.

Step-by-Step Guide with Pro Tips
Mastering the bread in a bag recipe is all about the technique used during the 'bag' phase. Follow these steps carefully for the best results.
Preparing the Base
Start by opening a heavy-duty gallon-sized freezer bag. Add one cup of flour, the sugar, and the yeast. Pour in your warm water. Seal the bag, pushing out the excess air, and begin squishing. This is the most satisfying part of the bread in a bag recipe! Ensure all the flour is hydrated before moving on to the next step. Let this mixture sit for about 10 minutes; you will see it get bubbly and frothy, which means your yeast is alive and well.
Adding the Bulk
Once the mixture is bubbly, open the bag and add the oil, salt, and the remaining flour. Seal it back up and get back to squishing. You want the dough to pull away from the sides of the bag. If it still looks very sticky, add a tablespoon of flour at a time. The beauty of the bread in a bag recipe is that you can feel the dough's consistency through the plastic without getting your hands sticky.
The Kneading and Rising
Once the dough forms a cohesive ball, you can actually knead it while it is still inside the bag. Simply push and fold the dough through the plastic for about 5 minutes. This develops the gluten which gives the bread in a bag recipe its structure. Afterward, let it rise in a warm spot until doubled in size. If you are looking for other easy bread options that require minimal effort, you might also enjoy the Traditional Irish Soda Bread Recipe: A Crusty, No-Knead Classic.
Variations & Serving Suggestions
Once you have perfected the basic bread in a bag recipe, the possibilities for customization are endless. You can turn this simple loaf into a gourmet treat with just a few additions.
Sweet and Savory Twists
For a savory version of this bread in a bag recipe, try adding a tablespoon of dried rosemary and some garlic powder to the flour mix. Alternatively, a handful of shredded cheddar cheese mixed in during the final bag-kneading stage creates a delicious cheesy loaf. If you prefer something sweet, add a teaspoon of cinnamon and some raisins to the bread in a bag recipe for a breakfast-ready treat.


Perfect Pairings
This bread is incredible when sliced thick and toasted with a generous slab of salted butter. It also makes for an excellent sandwich bread because of its soft interior. For a sophisticated lunch, serve a slice of the loaf from your bread in a bag recipe alongside a fresh salad or a hearty soup. The homemade touch makes every meal feel special.
Nutrition Information
Understanding the nutritional profile of your homemade bread in a bag recipe can help you fit it into your daily diet. Here is a breakdown of the estimated values per serving.
| Nutrient | Amount per Serving |
|---|---|
| Calories | 165 kcal |
| Carbohydrate Content | 30g |
| Fat Content | 3.5g |
| Protein Content | 4g |
| Sodium Content | 200mg |
| Sugar Content | 2g |
| Fiber Content | 1g |
| Saturated Fat Content | 0.5g |
| Cholesterol Content | 0mg |
Conclusion
This bread in a bag recipe is truly a testament to the fact that baking doesn't have to be complicated or messy to be delicious. By bringing this bread in a bag recipe into your kitchen, you are inviting in a sense of playfulness and joy that is often lost in more technical recipes. I hope you enjoy the process of squishing, rising, and finally tasting the fruits of your labor. Don't forget to share your bread in a bag recipe results with friends and family—there is nothing quite like the gift of a warm, homemade loaf to brighten someone's day!
FAQs
Can I use whole wheat flour for this bread in a bag recipe?
Yes, you can substitute up to half of the all-purpose flour with whole wheat flour. Note that the bread may be slightly denser and might require a bit more water.
How long does bread from this bread in a bag recipe stay fresh?
The bread stays fresh for 2-3 days when stored in an airtight container at room temperature. You can also freeze it for up to 3 months.
Why didn't my bread in a bag recipe rise?
The most common reasons are expired yeast or water that was too hot (killing the yeast) or too cold (not activating it). Always check the yeast's expiration date and use a thermometer for the water.

Easy Homemade Bread in a Bag
- Total Time: 1 hour 40 minutes
- Yield: 1 loaf (12 servings) 1x
Description
A fun, mess-free bread in a bag recipe perfect for kids and beginners, resulting in a soft, delicious loaf with minimal cleanup.
Ingredients
3 cups all-purpose flour, divided
1/4 cup granulated sugar
1 packet (2 1/4 tsp) active dry yeast
1 cup warm water (105-115°F)
3 tbsp vegetable oil
1 1/2 tsp salt
Instructions
Step 1: Place 1 cup of flour, sugar, and yeast into a heavy-duty gallon-sized freezer bag.
Step 2: Add the warm water to the bag, seal it (removing air), and squish the bag with your hands until the ingredients are well blended.
Step 3: Let the mixture rest for 10 minutes at room temperature until it becomes bubbly and frothy.
Step 4: Open the bag and add 1 cup of flour, the vegetable oil, and the salt. Seal and squish again until blended.
Step 5: Add the final cup of flour and continue squishing and kneading the dough inside the bag for about 5 minutes until it forms a smooth ball.
Step 6: Remove the dough from the bag and place it into a greased 9x5 inch loaf pan. Cover with a cloth and let rise in a warm place for 45-60 minutes.
Step 7: Preheat your oven to 375°F (190°C) and bake for 25 minutes or until the top is golden brown.
Notes
Ensure the water is not too hot to avoid killing the yeast. You can use a freezer bag for extra durability during the kneading process.
- Prep Time: 15 minutes
- Cook Time: 25 minutes
- Category: Breads & Doughs
- Cuisine: American
Nutrition
- Serving Size: 1 slice
- Calories: 165 kcal
- Sugar: 2g
- Sodium: 200mg
- Fat: 3.5g
- Saturated Fat: 0.5g
- Unsaturated Fat: 3g
- Trans Fat: 0g
- Carbohydrates: 30g
- Fiber: 1g
- Protein: 4g
- Cholesterol: 0mg
Related posts:
 Blueberry Fluffy Cottage Cheese Cloud Bread: Light, Sweet & Protein-Packed
 The Ultimate Soft & Fluffy Condensed Milk Bread Rolls: A Melt-in-Your-Mouth Recipe
 Irresistible Cinnamon Sugar Cream Cheese Rolls: Fluffy, Sweet & Utterly Decadent!
 No-Oven Stovetop Bread: Easy Homemade Bread Without an Oven!

Leave a Reply