
Introduction
Chick Cookies are the absolute highlight of my spring baking rotation every single year, bringing a burst of sunshine and sweetness to any dessert table. There is something profoundly joyful about creating treats that look like little fluffy animals, and these Chick Cookies do exactly that with minimal effort and maximum impact. Whether you are preparing for a massive family gathering or looking for a rainy-day activity with the kids, these sweets provide the perfect canvas for creativity. The base is a classic, soft-baked sugar cookie that melts in your mouth, while the vibrant yellow frosting and tiny orange accents turn a simple snack into a festive work of art. In this comprehensive guide, we will explore everything you need to know to master these adorable treats, from the chemistry of the dough to the finesse required for the perfect icing swirl.
The History of Springtime Sweets
Baking for the spring season has long been a tradition in many cultures, often symbolizing rebirth and new beginnings. While modern Chick Cookies might feel like a contemporary invention of social media-friendly kitchens, the concept of shaping dough into symbolic figures dates back centuries. In ancient times, spring festivals often featured breads and cakes shaped like eggs, birds, and flowers. As sugar became more accessible, these traditions evolved into the detailed cookies we see today. The choice of the 'chick' as a central theme is no coincidence; it represents the hatching of life, which is a core theme of the Easter holiday. When you make these treats, you are participating in a long lineage of celebratory baking. If you want to add more to your table, consider trying The Most Magical Easter Poke Cake That Will Brighten Your Holiday Soul as a companion piece.
The Science Behind Soft Sugar Cookies
To ensure your Chick Cookies have the perfect texture, it is vital to understand the science of the ingredients. A great sugar cookie requires a balance between fat and flour. Using room-temperature butter allows for better aeration during the creaming process, which creates a lighter, softer crumb. Flour provides the structure, but over-mixing the dough can lead to excessive gluten development, resulting in a tough cookie. This is why many bakers prefer a lower-protein flour or adding a touch of cornstarch to the mix for that signature 'bakery' softness. According to authority sites like King Arthur Baking, the chilling of the dough is also a non-negotiable step. Chilling prevents the butter from melting too quickly in the oven, ensuring your cookies hold their shape perfectly and don't spread into flat puddles.
Why You’ll Love It
You will absolutely fall in love with these Chick Cookies because they combine nostalgia with modern simplicity. They are visually stunning enough to serve at a professional brunch, yet simple enough for toddlers to help decorate. The texture is that elusive 'soft-yet-sturdy' consistency that makes sugar cookies so addictive. Furthermore, the flavor profile is a clean, comforting blend of high-quality vanilla and creamy butter that pairs perfectly with a cup of tea or a cold glass of milk. They are also incredibly versatile; while we focus on the yellow chick design, the same dough can be used for various spring shapes. To round out your holiday brunch, you might also enjoy serving The Most Adorable Easter Bunny Egg Toasts to Brighten Your Holiday Brunch alongside these sweet treats.
Ingredients
To create these stunning Chick Cookies, you will need a selection of high-quality pantry staples. The quality of your butter and vanilla extract will directly impact the final flavor, so don't settle for less. For the cookies: 3 cups all-purpose flour, 1 teaspoon baking powder, 1/2 teaspoon salt, 1 cup unsalted butter (softened), 1 cup granulated sugar, 1 large egg, and 2 teaspoons vanilla extract. For the decoration: 2 cups powdered sugar, 2 tablespoons milk, yellow food coloring, orange sprinkles or small candy for the beak, and edible candy eyes.
Notes and Substitutions
If you prefer a different flavor profile, you can swap the vanilla extract for almond extract or lemon zest to give your Chick Cookies a citrusy kick. For those with dietary restrictions, a 1:1 gluten-free flour blend usually works well in this recipe, provided it contains xanthan gum. If you do not have candy eyes, small dots of black icing or even miniature chocolate chips will work perfectly for the eyes. For the yellow frosting, gel food coloring is highly recommended over liquid, as it provides a much more vibrant hue without thinning out the consistency of the icing.
Equipment
You won't need anything too specialized for these Chick Cookies. A standard baking sheet, parchment paper or a silicone mat, a rolling pin, a round cookie cutter (about 3 inches), and a handheld or stand mixer are essential. For the decorating phase, a piping bag with a small round tip or a simple Ziploc bag with the corner snipped off will suffice to apply the icing precisely.
Instructions
Creating these Chick Cookies is a multi-step process that requires patience, especially during the cooling phase. Follow these steps carefully for the best results.
- Step 1: In a medium bowl, whisk together the flour, baking powder, and salt until well combined, then set aside.
- Step 2: Using a mixer, cream the softened butter and sugar together for about 3 minutes until the mixture is light and fluffy.
- Step 3: Add the egg and vanilla extract to the butter mixture, beating well and scraping down the sides of the bowl as needed.
- Step 4: Gradually add the dry ingredients to the wet ingredients, mixing on low speed until the dough just comes together.
- Step 5: Wrap the dough in plastic wrap and chill in the refrigerator for at least 1 hour to prevent spreading during baking.
- Step 6: Preheat your oven to 350°F (175°C) and line your baking sheets with parchment paper.
- Step 7: Roll out the dough on a lightly floured surface to about 1/4 inch thickness and cut out circles using your cookie cutter.
- Step 8: Place circles 2 inches apart on the baking sheet and bake for 8-10 minutes, or until the edges are just set but not browned.
- Step 9: Allow cookies to cool completely on a wire rack before starting the decoration of your Chick Cookies.
- Step 10: Prepare the icing by mixing powdered sugar, milk, and yellow coloring; pipe onto the cookies and add the eyes and beak.
Mastering Decorating Techniques
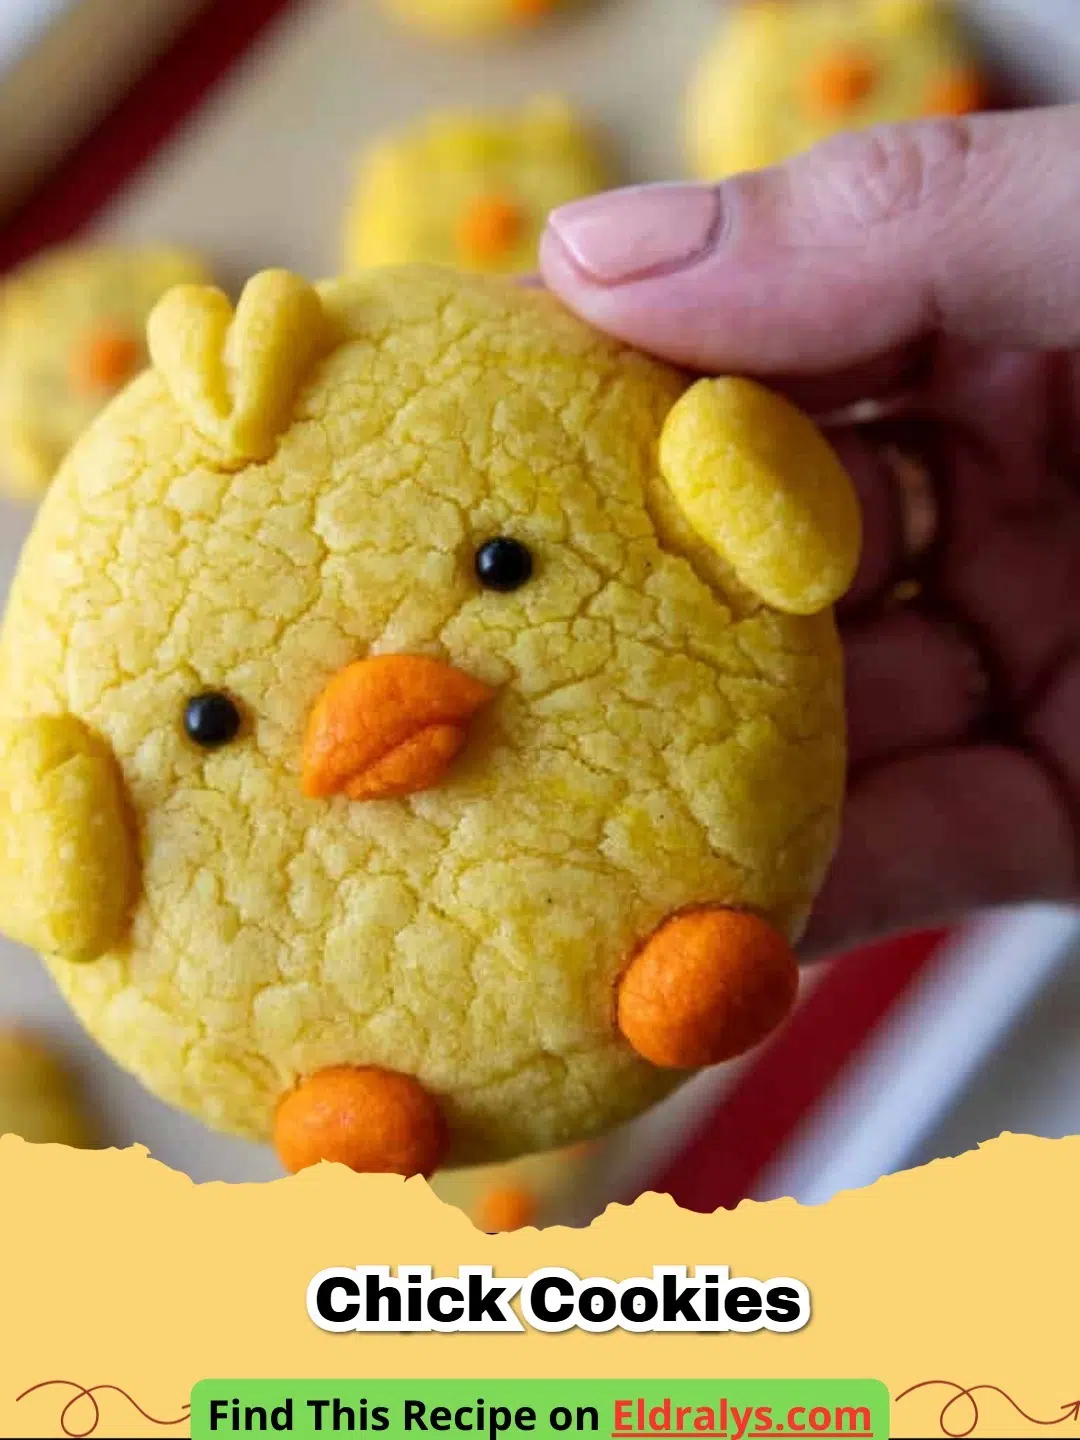
The true magic of Chick Cookies lies in the decoration. To achieve a professional look, ensure your icing is the correct consistency. For a 'fluffy' look, you can use a small star tip to create many little peaks of yellow frosting, simulating feathers. If you prefer a sleek, modern look, a flat flooded icing technique works best. When applying the candy eyes, place them in the upper third of the cookie to give the chick a cute, youthful appearance. The beak should be a small orange triangle placed right between the eyes. If you are feeling extra creative, you can even add little 'feet' at the bottom using orange icing. This decorating stage is where your Chick Cookies truly come to life and start showing their personalities. Remember that perfection isn't the goal—character is!
Pro Tips
To get the best results for your Chick Cookies, never skip the chilling step for the dough. This is the difference between a round chick and an amorphous blob. Also, ensure your butter is truly softened but not oily; if it’s too warm, the dough will be greasy. When rolling out the dough, use as little flour as possible on the surface to avoid making the cookies dry and tough. Finally, wait until the cookies are completely stone-cold before frosting. Even a hint of warmth will cause your yellow icing to slide right off, ruining the adorable look you worked so hard to achieve.
Serving, Storage & Variations
Chick Cookies are best served on a large platter surrounded by green shredded paper or coconut dyed green to look like grass. They are a hit at school parties and church potlucks. For storage, keep them in a single layer in an airtight container for up to 5 days at room temperature. If you must stack them, use parchment paper between the layers, but only after the frosting has completely hardened. For a fun variation, you can make 'Broken Shell' Chick Cookies by dipping the bottom half of the decorated cookie into white chocolate and letting it set, making it look like the chick is still in its egg.


Nutrition Information
| Nutrient | Amount |
|---|---|
| Calories | 180 kcal |
| Protein | 2g |
| Carbohydrates | 24g |
| Fat | 9g |
Note: The nutrition information provided above is an estimate based on standard ingredients per serving.
Conclusion
In conclusion, Chick Cookies are more than just a dessert; they are a delightful way to celebrate the changing of the seasons and the warmth of spring. With their soft texture, sweet vanilla flavor, and undeniably cute design, they are guaranteed to bring a smile to anyone's face. By following the tips and instructions provided, you can create a professional-grade treat in your very own kitchen. Happy baking, and may your holiday be filled with sweet memories and even sweeter cookies!
FAQs
Can I make Chick Cookies ahead of time?
Yes, you can bake the cookie bases up to 3 days in advance and store them in an airtight container. It is best to frost them closer to serving for maximum freshness.
What is the best frosting for decorating these cookies?
A thick vanilla buttercream or a stiff royal icing works best. Royal icing provides a smoother finish and hardens for stacking, while buttercream is easier for beginners.
Can I freeze these cookies?
Undecorated cookies freeze beautifully for up to 3 months. Once decorated, freezing is possible but may cause the colors to bleed upon thawing.

Homemade Chick Cookies
- Total Time: 1 hour 30 minutes
- Yield: 24 cookies 1x
- Diet: Vegetarian
Description
A soft and buttery sugar cookie decorated to look like an adorable yellow spring chick.
Ingredients
3 cups all-purpose flour
1 cup unsalted butter, softened
1 cup granulated sugar
1 large egg
2 tsp vanilla extract
1 tsp baking powder
1/2 tsp salt
2 cups powdered sugar
2 tbsp milk
Yellow gel food coloring
48 edible candy eyes
Orange heart-shaped sprinkles (for beaks)
Instructions
Step 1: Whisk together flour, baking powder, and salt in a medium bowl.
Step 2: Cream the butter and granulated sugar together until fluffy.
Step 3: Beat in the egg and vanilla extract until smooth.
Step 4: Gradually mix in the dry ingredients until a dough forms.
Step 5: Chill the dough for at least 1 hour in the refrigerator.
Step 6: Roll dough to 1/4 inch thickness and cut into 3-inch circles.
Step 7: Bake at 350°F for 8-10 minutes and cool completely.
Step 8: Mix powdered sugar, milk, and yellow coloring to create icing.
Step 9: Frost the cookies and apply candy eyes and orange sprinkle beaks.
- Prep Time: 20 minutes
- Cook Time: 10 minutes
- Category: Dessert
- Method: Baking
- Cuisine: American
Nutrition
- Serving Size: 1 cookie
- Calories: 180 kcal
- Sugar: 15g
- Sodium: 65mg
- Fat: 9g
- Saturated Fat: 5g
- Unsaturated Fat: 3g
- Trans Fat: 0g
- Carbohydrates: 24g
- Fiber: 0g
- Protein: 2g
- Cholesterol: 25mg
Related posts:
 The Ultimate Cowboy Steak with Truffle Honey Butter That Will Melt Your Heart
 The Most Irresistible Honey Garlic Steak Bites That Will Melt Your Heart
 The Most Divine High Protein Sugar-Free Monkey Bread That Will Melt Your Soul
 The Most Legendary Authentic Thai Crying Tiger (Sua Rong Hai) Steak Recipe That Will Heal Your Soul

Leave a Reply