
Introduction to the Traditional Filipino Delight
A Classic Cassava Cake Recipe is the ultimate comfort food for anyone who grew up enjoying the rich, diverse flavors of Filipino cuisine. This dessert, known for its unique gelatinous texture and creamy finish, has graced countless dining tables during town fiestas, Christmas celebrations, and family reunions. The beauty of the Classic Cassava Cake Recipe lies in its simplicity—using humble root vegetables and transforming them into a decadent masterpiece that balances sweetness and richness perfectly.
When you embark on making this Classic Cassava Cake Recipe, you are not just baking a cake; you are preserving a piece of cultural heritage. Cassava, also known as kamoteng kahoy, is a staple crop across the Philippines, making this dessert both accessible and affordable. Over the years, many variations have emerged, but the heart of the dish remains the same. Whether you are a seasoned baker or a curious beginner, this recipe will guide you through every nuance of creating the perfect bite. The aroma of coconut milk mingling with sweet cassava as it bakes in the oven is enough to transport anyone back to a warm kitchen in the provinces.
The Deep-Rooted History of Cassava in Baking
To truly appreciate the Classic Cassava Cake Recipe, one must understand the journey of the Cassava plant. Originally native to South America, cassava was introduced to the Philippines during the Spanish colonial period via the Manila-Acapulco Galleon trade. Since then, it has become a vital part of the local diet. Filipino ingenuity took this hardy root and developed it into a wide array of kakanin or rice cakes. While many kakanin use glutinous rice, the cassava cake stands out for its denser, smoother, and more custard-like consistency.
Historically, the Classic Cassava Cake Recipe was a labor of love. Grandparents would spend hours manually grating the tough cassava roots using makeshift tin graters. The process was slow and physically demanding, but the reward was a cake so tender and flavorful that it became a symbol of hospitality. In modern times, while we have the convenience of food processors and pre-grated frozen cassava, the essence of the Classic Cassava Cake Recipe remains a tribute to the resourcefulness and culinary creativity of the Filipino people. It is often served alongside other favorites like the White Filipino Buko Salad Recipe during large festive gatherings.
Why You’ll Love This Recipe
This Classic Cassava Cake Recipe is a crowd-pleaser for several compelling reasons. First and foremost is the texture. Unlike a flour-based sponge cake, this recipe offers a delightful chewiness that is satisfying and unique. It is often described as a cross between a pudding and a cake, offering a mouthfeel that is both dense and meltingly soft. The coconut milk adds a tropical depth that pairs wonderfully with the mild, nutty flavor of the cassava.
Furthermore, this Classic Cassava Cake Recipe is incredibly forgiving. It does not require the precise aeration or rising agents that traditional Western cakes do. You don’t have to worry about the cake collapsing or being too dry. It is naturally gluten-free, making it an excellent option for those with dietary restrictions. The balance of sugar and fats ensures that every slice is moist, even after refrigeration. It is a fantastic accompaniment to a mid-afternoon snack or as a dessert following a heavy meal of The Most Magical Cheesy Ensaymada and Mango Jelly That Will Steal Your Soul.
Understanding Your Ingredients
The success of your Classic Cassava Cake Recipe hinges on the quality of your primary ingredient: the cassava. If you are using fresh cassava, look for roots that are firm and free of soft spots. If using frozen, make sure it is fully thawed and drained. The sugar provides the necessary sweetness to counteract the starchiness, while the eggs act as a binder to give the cake structure. Milk and coconut milk provide the liquid base that creates the creamy custard texture.
Notes & Substitutions
If you cannot find fresh coconut milk, canned full-fat coconut milk is a perfectly acceptable substitute and often provides a more consistent fat content. For the dairy milk, you can use evaporated milk for a richer flavor or a lactose-free version if needed. If you want a less sweet cake, you can reduce the sugar slightly, though keep in mind that the starch in the cassava absorbs quite a bit of sweetness. Some people like to add a pinch of salt to enhance the overall flavor profile of the Classic Cassava Cake Recipe.
Essential Equipment
You do not need an arsenal of high-tech gadgets to master the Classic Cassava Cake Recipe. A large mixing bowl, a sturdy whisk or spatula, and a 9x13 inch baking pan (or two smaller square pans) are the primary requirements. If you are starting with whole cassava roots, a box grater or a food processor with a grating attachment is essential. Proper pan preparation with butter or parchment paper will ensure your cake releases easily after baking.
Step-by-Step Instructions
Preparing the Classic Cassava Cake Recipe involves a straightforward mixing process followed by a patient bake in the oven. Follow these steps carefully to ensure the best results.
- Step 1: Preheat your oven to 350°F (175°C) and grease your baking pan thoroughly with butter or a light coating of oil.
- Step 2: In a large mixing bowl, combine the 1 kg of grated cassava with the 3 cups of sugar, ensuring no large clumps remain.
- Step 3: Beat the 4 eggs lightly and stir them into the cassava mixture along with the 1 cup of dairy milk.
- Step 4: Slowly pour in the 1 glass (approx. 1 cup) of coconut milk, whisking constantly until the batter is smooth and well-integrated.
- Step 5: Pour the batter into the prepared baking pan, smoothing the top with a spatula.
- Step 6: Bake in the preheated oven for 45 to 60 minutes, or until the top is golden brown and a toothpick inserted comes out clean.
- Step 7: Allow the cake to cool completely in the pan before slicing; this is crucial for the texture to set properly.
Pro Tips for the Best Results
To elevate your Classic Cassava Cake Recipe, consider the moisture content. If your grated cassava is very watery, squeeze out some of the liquid before measuring to prevent a soggy cake. Another secret is the browning; if the top isn't as golden as you'd like after an hour, you can briefly broil it for 2-3 minutes. For an extra touch of decadence, many traditional cooks add a topping of condensed milk and grated cheese during the last 15 minutes of baking, though the classic version is delicious on its own.
Serving, Storage & Variations
Serve your Classic Cassava Cake Recipe at room temperature or slightly chilled for the best texture. It pairs beautifully with a hot cup of coffee or tea. To store, wrap the cake tightly in plastic wrap or place it in an airtight container in the refrigerator for up to 5 days. For variations, you can add macapuno (sport coconut) strings to the batter for extra texture or use brown sugar for a deeper, molasses-like flavor. Some even steam the cake instead of baking it for a softer, more moist result.
Nutrition Information
Understanding the nutritional profile of your Classic Cassava Cake Recipe helps in planning your treats. Below is an estimate based on standard ingredients per serving.


| Nutrient | Amount |
|---|---|
| Calories | 406 kcal |
| Protein | 4.5g |
| Carbohydrates | 78g |
| Fat | 8.5g |
Note: The nutritional information provided is an estimate based on common ingredient values and may vary depending on the specific brands or substitutions used.
Conclusion
Baking this Classic Cassava Cake Recipe is a wonderful way to bring a taste of the Philippines into your home. Its comforting texture and sweet, tropical flavors make it a timeless favorite that transcends generations. By following this guide, you ensure a perfect result every time, creating a dessert that is as rich in history as it is in flavor. Share a slice with your loved ones and enjoy the simple, sweet joy of a classic done right. Happy baking!
FAQs
Can I use frozen cassava for this recipe?
Yes, frozen grated cassava works beautifully. Just ensure you thaw it completely and drain any excess liquid before measuring and mixing.
How long does Cassava Cake last in the fridge?
When stored in an airtight container, it stays fresh for up to 5 days. It actually tastes even better the next day as the flavors develop.
Why is my cassava cake too soft?
This usually happens if there is too much moisture. Make sure to drain your cassava well and follow the measurements for coconut milk and eggs precisely.
Can I make this recipe vegan?
You can substitute the eggs with a flax egg or commercial egg replacer and use a plant-based milk instead of dairy milk to make a vegan-friendly version.

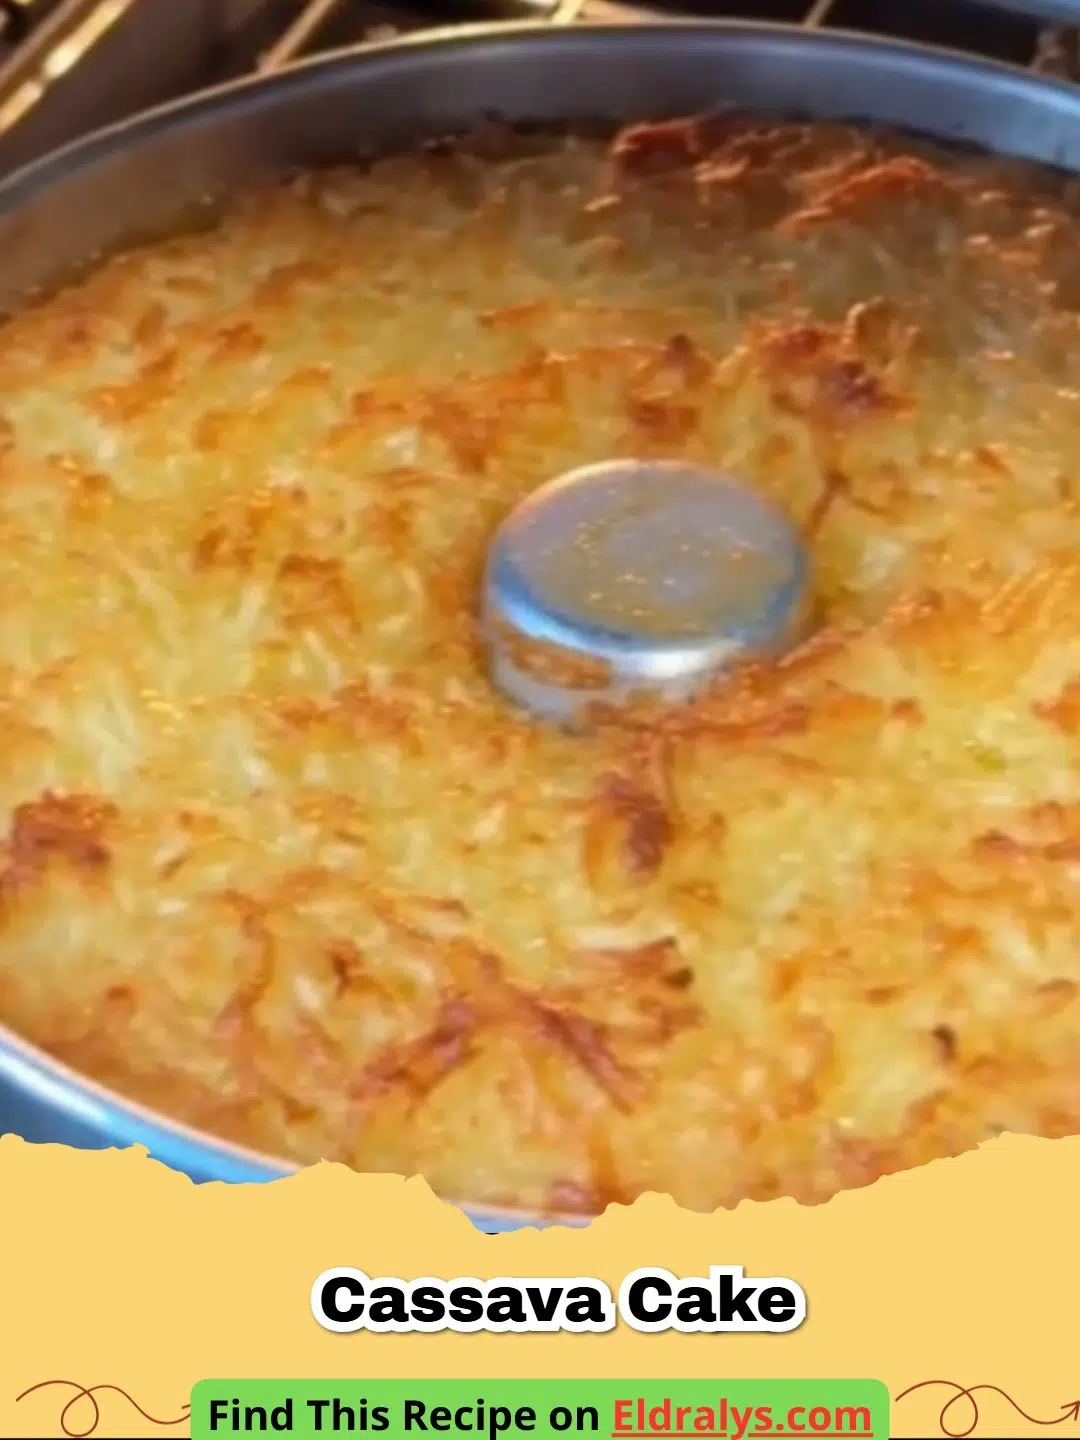
Classic Cassava Cake
- Total Time: 1 hour 20 minutes
- Yield: 12 servings 1x
- Diet: Gluten-Free
Description
A traditional, creamy, and chewy Filipino dessert made from grated cassava and coconut milk.
Ingredients
1 kg raw grated cassava
3 cups sugar
4 eggs
1 cup milk
1 cup coconut milk
Instructions
Step 1: Preheat your oven to 350°F (175°C) and grease a 9x13 inch baking pan.
Step 2: In a large bowl, mix the grated cassava and sugar until thoroughly combined.
Step 3: Stir in the eggs one at a time, followed by the dairy milk.
Step 4: Add the coconut milk and whisk until the mixture is uniform.
Step 5: Pour the batter into the pan and bake for 45-60 minutes.
Step 6: Check for a golden-brown top and a clean toothpick test.
Step 7: Cool completely before slicing into squares.
Notes
Ensure the cassava is well-drained if using frozen varieties to maintain the correct consistency.
- Prep Time: 20 minutes
- Cook Time: 1 hour
- Category: Dessert
- Method: Baking
- Cuisine: Filipino
Nutrition
- Serving Size: 1 slice
- Calories: 406 kcal
- Sugar: 52g
- Sodium: 45mg
- Fat: 8.5g
- Saturated Fat: 5g
- Unsaturated Fat: 3.5g
- Trans Fat: 0g
- Carbohydrates: 78g
- Fiber: 1.5g
- Protein: 4.5g
- Cholesterol: 62mg
Related posts:
 The Most Heavenly Strawberry Cinnamon Rolls with Cream Cheese Glaze You'll Ever Crave
 The Most Heartwarming Creamy Cajun Potato Soup That Will Warm Your Very Soul
 The Most Heavenly Baked Maple Glazed Donut Bars That Will Melt Your Heart
 The Ultimate Vibrant Pineapple Blueberry Margarita Recipe for Your Next Sunny Escape

Leave a Reply