
There's nothing quite like a scoop of homemade ice cream, and when it comes to classic flavors, Cookies and Cream reigns supreme. This recipe delivers a wonderfully rich, smooth vanilla base studded with crunchy bits of your favorite chocolate sandwich cookies. Forget store-bought; making this decadent dessert at home is surprisingly simple and incredibly rewarding, perfect for a hot summer day or a cozy movie night.
Why Homemade Cookies and Cream Ice Cream is a Must-Try
Diving into a bowl of homemade cookies and cream ice cream is an experience unlike any other. You control the ingredients, ensuring no artificial flavors or preservatives. Plus, you can customize the amount of cookie goodness to your heart's content! This easy recipe uses basic ingredients and an ice cream maker, making it accessible for even novice home cooks. The result? A perfectly creamy, delightful treat that's far superior to anything you'd find in the freezer aisle.
Gather Your Simple Ingredients
One of the beauties of this recipe is its simplicity. You won't need any unusual ingredients or complicated techniques. Just a few dairy staples and those beloved cookies are all it takes to create magic!
- Whole Milk: Forms the essential liquid base, contributing to the ice cream's creamy texture.
- Heavy Cream: The star for richness, providing that luxurious mouthfeel we all crave in good ice cream.
- Granulated Sugar: Sweetens the mixture, balancing the dairy and vanilla.
- Vanilla Extract: Essential for that signature classic vanilla flavor that complements the cookies perfectly.
- Pinch of Salt: A tiny bit of salt enhances all the other flavors and prevents the ice cream from tasting bland.
- Oreo Cookies: The star of the show! Crushed, they provide the iconic 'cookies and cream' texture and chocolatey flavor.
Step-by-Step Guide to Your Best Cookies and Cream Ice Cream
Making ice cream at home might seem daunting, but it's a straightforward process with incredible results. Follow these steps for a perfect batch every time.
Step 1: In a large mixing bowl, combine the whole milk, granulated sugar, and a pinch of salt. Whisk until the sugar is completely dissolved, ensuring a smooth base for your ice cream.
Step 2: Pour in the heavy cream and vanilla extract. Stir gently until everything is well combined. There’s no need to whisk vigorously at this stage; a gentle mix is sufficient.
Step 3: Cover the bowl and refrigerate the mixture for at least 2 hours, or ideally, overnight. Chilling the base thoroughly ensures faster and more efficient churning, leading to a smoother ice cream.
Step 4: Once chilled, pour the mixture into your ice cream maker's frozen bowl or canister (refer to your ice cream maker's instructions). Churn according to the manufacturer's directions, typically for 20-25 minutes, until it reaches a soft-serve consistency. For a visual guide on the ice cream making process, check out this Homemade Ice Cream Recipe video.
Step 5: During the last 5 minutes of churning, gradually add your crushed Oreo cookies through the opening of the ice cream maker. This ensures they are evenly distributed without being over-mixed or becoming too soggy.
Step 6: Transfer the soft ice cream from the machine to a freezer-safe container. Press a piece of parchment paper or plastic wrap directly onto the surface of the ice cream to prevent ice crystals from forming. Freeze for another 4-6 hours, or until firm, before serving.

Tips for the Creamiest, Crunchiest Ice Cream
Choosing Your Cookies
While Oreos are the go-to, don't limit yourself! Feel free to experiment with other types of chocolate sandwich cookies or even different flavors like peanut butter cookies for a fun twist. The key is to crush them into varied sizes – some fine crumbs, some larger chunks – for interesting texture.
The Importance of Chilling
Don't skip the chilling step for your ice cream base. A well-chilled mixture freezes faster, which reduces the size of ice crystals and results in a much creamier, smoother ice cream texture. Think of it as a little patience now for a big flavor payoff later!
Storage Secrets for Longevity
To keep your homemade cookies and cream ice cream fresh and free from freezer burn, store it in an airtight container. Press plastic wrap directly onto the surface before sealing the lid. It will keep well in the freezer for up to two weeks, though we doubt it will last that long!


Perfect Pairings and Creative Twists
This Cookies and Cream Ice Cream is fantastic on its own, but it also makes a wonderful base for other desserts or can be easily customized. Serve it alongside a warm slice of No-Bake Lemon Éclair Cake for a delightful contrast of flavors and temperatures. Or, incorporate it into a decadent milkshake, top it with hot fudge, or even use it as a filling for ice cream sandwiches.
Feeling adventurous? Consider mixing in other treats like mini chocolate chips, a swirl of caramel sauce, or a handful of toasted pecans during the last few minutes of churning. If you enjoy simple, delicious baked goods, you might also love our Strawberry Sugar Cookie Bars for another easy dessert option.
Indulge in Homemade Goodness
Creating your own Cookies and Cream Ice Cream is more than just making a dessert; it's crafting a memory. The satisfaction of churning your own creamy, cookie-filled treat is unparalleled. Whether you're making it for a special occasion or simply to satisfy a craving, this easy recipe guarantees a delicious, crowd-pleasing result every time. So grab your ingredients, fire up your ice cream maker, and get ready to enjoy pure, frozen bliss!
FAQs
What is the best type of ice cream maker for this recipe?
This recipe works well with most standard home ice cream makers, including compressor models and those requiring a pre-frozen bowl. Compressor models offer convenience as they don't require pre-freezing.
Can I make this ice cream without an ice cream maker?
While an ice cream maker provides the creamiest texture, you can try a no-churn method. Pour the mixture into a shallow freezer-safe container and freeze, stirring every 30-45 minutes for the first 3 hours to break up ice crystals, until it reaches your desired consistency.
How do I prevent my cookies from becoming soggy in the ice cream?
To maintain crunch, add the crushed Oreo cookies towards the end of the churning process, usually in the last 5-10 minutes. This minimizes their exposure to the liquid base before freezing solid.
Can I substitute other cookies for Oreos?
Absolutely! While Oreos are classic, feel free to experiment with other crunchy cookies like chocolate chip, shortbread, or even gluten-free alternatives to suit your taste and dietary needs. Just crush them into bite-sized pieces.

Easy Homemade Cookies and Cream Ice Cream
- Total Time: 6 hours 40 minutes
- Yield: 8 servings 1x
- Diet: Vegetarian
Description
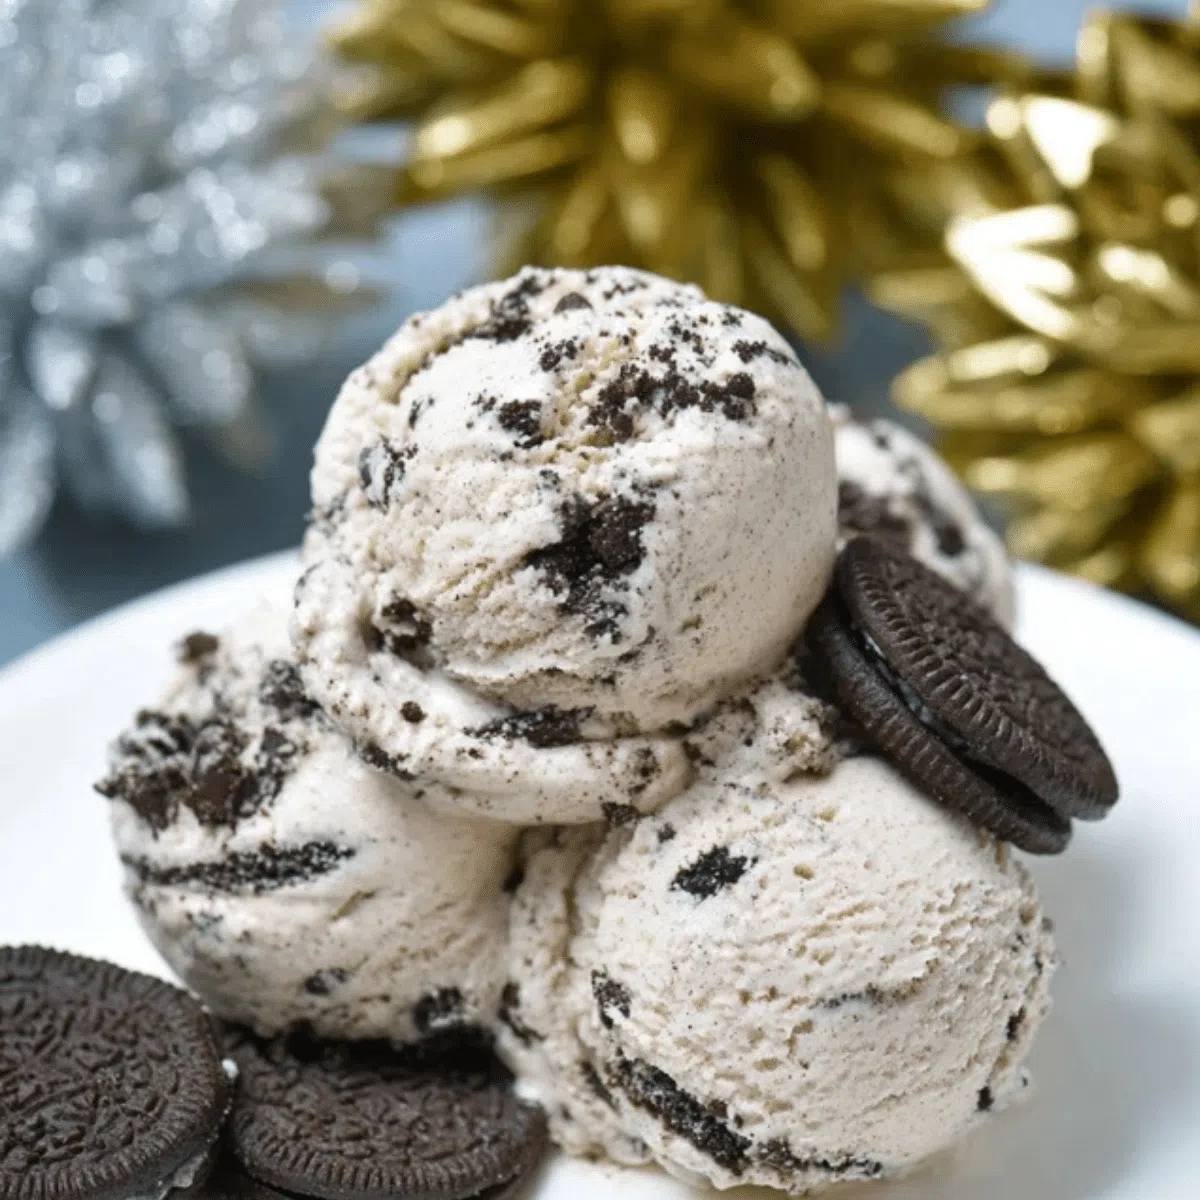
Indulge in the classic delight of homemade cookies and cream ice cream, featuring a rich vanilla base and generous chunks of Oreo cookies.
Ingredients
2 cups whole milk
2 cups heavy cream
3/4 cup granulated sugar
1 tablespoon vanilla extract
1/4 teaspoon salt
15-20 Oreo cookies, coarsely crushed
Instructions
Step 1: In a large mixing bowl, whisk together the whole milk, granulated sugar, and a pinch of salt until the sugar is fully dissolved.
Step 2: Stir in the heavy cream and vanilla extract. Mix until fully combined.
Step 3: Cover the bowl and place the mixture in the refrigerator for at least 2 hours to chill thoroughly. This step is crucial for optimal churning.
Step 4: Pour the chilled mixture into your ice cream maker and churn according to the manufacturer's instructions, usually for 20-25 minutes, until it reaches a soft-serve consistency.
Step 5: During the last 5 minutes of churning, gradually add the coarsely crushed Oreo cookies into the ice cream maker to ensure they are well incorporated.
Step 6: Transfer the churned ice cream to a freezer-safe container. Press plastic wrap directly onto the surface, then cover with a lid. Freeze for 4-6 hours, or until firm, before serving.
Notes
For an extra indulgent treat, drizzle with chocolate fudge sauce or sprinkle with extra crushed Oreos when serving. Store in an airtight container in the freezer for up to two weeks.
- Prep Time: 15 minutes
- Cook Time: 25 minutes
- Category: Dessert
- Method: Churning
- Cuisine: American
Nutrition
- Serving Size: 0.5 cup
- Calories: 320 kcal
- Sugar: 28g
- Sodium: 140mg
- Fat: 20g
- Saturated Fat: 12g
- Unsaturated Fat: 7g
- Trans Fat: 0g
- Carbohydrates: 35g
- Fiber: 1g
- Protein: 5g
- Cholesterol: 70mg


