
Celebrate Spring with Festive Easter Blossom Cookies
Easter Blossom Cookies are the ultimate way to bring a burst of spring color and sweetness to your holiday dessert table. When the flowers start to bloom and the grass turns vibrant green, there is nothing quite like a plate of freshly baked cookies to signal the change of seasons. These delightful treats are a twist on the classic peanut butter blossom, substituting a soft, buttery sugar cookie base and colorful sanding sugars to create a look that is as bright as a spring morning. Whether you are hosting a large family brunch or simply looking for a fun kitchen project with the children, these Easter Blossom Cookies are guaranteed to put a smile on everyone's face.
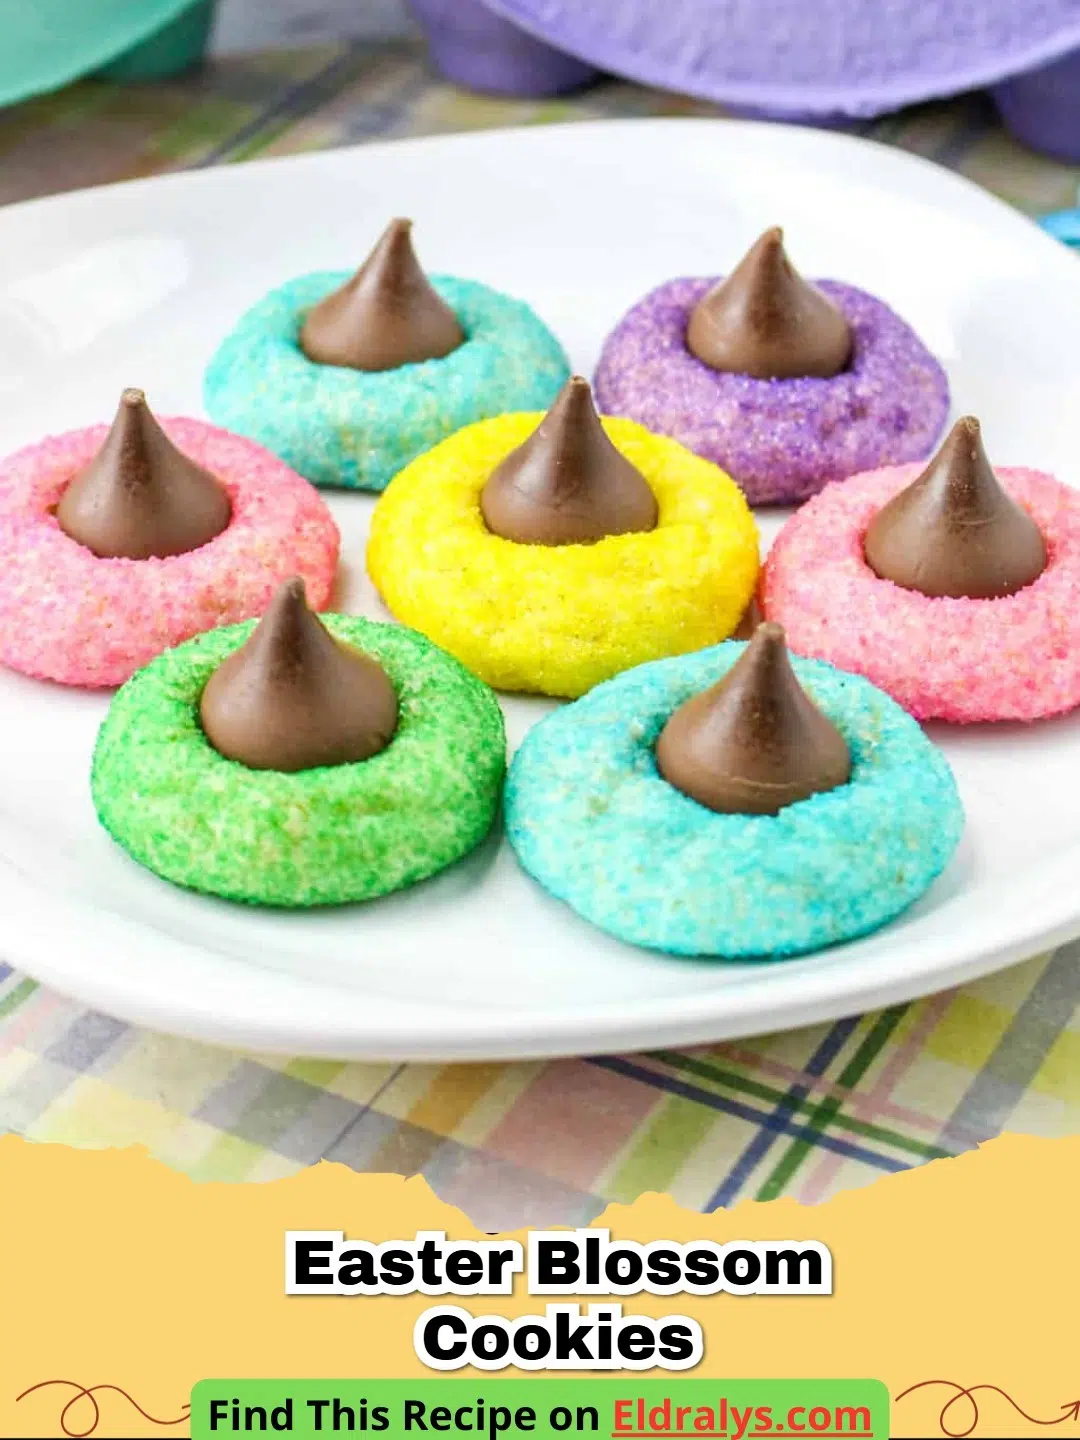
The beauty of the Easter Blossom Cookies lies in their simplicity. You don't need complex pastry skills or a professional kitchen to achieve stunning results. With just a handful of pantry staples and some festive decorations, you can create a dessert that looks like it came from a high-end bakery. The soft texture of the cookie combined with the crunch of the sugar and the creamy melt of the chocolate kiss creates a multi-sensory experience that defines holiday nostalgia. If you are also planning a full spread, you might want to try The Most Magical Coconut Cream Easter Egg Truffles Your Family Will Adore alongside these cookies for a truly decadent Easter dessert platter.
Why You’ll Love It
You will absolutely fall in love with Easter Blossom Cookies because they are incredibly versatile and customizable. While we use a traditional sugar cookie base, you can easily adapt the flavor with different extracts or citrus zests. The visual appeal is another major selling point; by using different shades of pastel sanding sugar—think lavender, baby blue, mint green, and soft pink—you can coordinate your treats with your holiday decor or table setting.
Furthermore, Easter Blossom Cookies are the perfect 'kid-friendly' recipe. Little hands love rolling the dough into uniform balls and then coating them in sparkling sugar. The final step of pressing the chocolate kiss into the center is always the highlight of the baking process. It is a wonderful way to create lasting memories while preparing for the holiday. If you enjoy making themed treats with the little ones, you should also check out The Best Soft and Chewy Easter M&M Cookies for a Sweet Holiday for another easy win. These recipes ensure your kitchen is filled with laughter and the sweet scent of vanilla all weekend long.
Ingredients
Creating the perfect Easter Blossom Cookies requires high-quality ingredients that allow the simple flavors of butter and vanilla to shine. Here is what you will need:
- All-purpose flour: Provides the structure for our soft cookies.
- Baking soda and Salt: The essential leavening agent and flavor enhancer.
- Granulated sugar: For both the dough and the colorful coating.
- Unsalted butter: Ensures a rich, buttery flavor (make sure it is properly softened).
- Egg: Acts as the binder to hold the dough together.
- Vanilla extract: For that classic, warm aroma.
- Milk: Just a touch to ensure the dough is the perfect consistency.
- Colored sanding sugars: The secret to the vibrant Easter look.
- Hershey’s Kisses: The iconic center of every blossom cookie.
Notes and Substitutions
If you prefer a different flavor profile, you can swap the vanilla extract for almond extract or even lemon extract for a zesty spring twist. For the sanding sugar, if you cannot find pre-colored options, you can easily make your own by adding a drop of food coloring to a jar of granulated sugar and shaking it vigorously. Additionally, while we recommend Hershey’s Kisses for their classic shape, you can use chocolate stars or even mini peanut butter cups if you are feeling adventurous.
Equipment
To make your Easter Blossom Cookies a success, gather the following tools: a large mixing bowl, a whisk or sifter for dry ingredients, a hand mixer or stand mixer for creaming the butter and sugar, a rubber spatula, a cookie scoop (for uniform sizes), baking sheets, and parchment paper or silicone baking mats. Having your equipment ready ensures a smooth and stress-free baking experience.
Instructions
Follow these steps carefully to ensure your Easter Blossom Cookies turn out perfectly every time. Precision in the creaming process and timing in the oven are the keys to a soft, chewy result.
- Preheat and Prep: Preheat your oven to 350°F (175°C). Line your baking sheets with parchment paper so the Easter Blossom Cookies do not stick.
- Whisk Dry Ingredients: In a medium bowl, whisk together the 2 cups of all-purpose flour, 1/4 teaspoon of baking soda, and 1/4 teaspoon of salt. Set this aside.
- Cream Butter and Sugar: In a large bowl, use your mixer to cream together the 1/2 cup of softened unsalted butter and 1 cup of granulated sugar until the mixture is light and fluffy. This usually takes about 2-3 minutes.
- Incorporate Wet Ingredients: Add the large egg and 1 1/2 teaspoons of vanilla extract. Beat until well combined. If the dough seems too dry, add 1-2 tablespoons of milk until it comes together.
- Form Dough Balls: Gradually add the dry ingredients to the wet mixture, mixing until just combined. Scoop about 1 tablespoon of dough and roll it into a 1-inch ball between your palms.
- Coat in Sugar: Roll each dough ball in your colored sanding sugars until it is completely coated. Place the balls on the prepared baking sheets about 2 inches apart.
- Bake: Bake for 8 to 10 minutes. The cookies should be set but not browned. Do not overbake, or your Easter Blossom Cookies will lose their characteristic softness.
- Add the Kiss: Immediately after removing the cookies from the oven, press a Hershey’s Kiss into the center of each cookie. The heat will melt the bottom of the chocolate slightly, helping it adhere.
- Cool: Allow the cookies to cool on the baking sheet for 5 minutes before transferring them to a wire rack to cool completely.
Pro Tips for Perfect Results
The secret to the best Easter Blossom Cookies is all in the temperature control. First, ensure your Hershey’s Kisses are frozen or very cold before you press them into the hot cookies. This prevents the entire chocolate from melting into a puddle. Second, do not skip the creaming step; beating the butter and sugar thoroughly incorporates air, which leads to a lighter cookie. Lastly, use a cookie scoop to ensure every one of your Easter Blossom Cookies is the same size, which guarantees even baking across the entire tray. If your kitchen is particularly warm, you might want to chill the dough balls for 15 minutes before rolling them in sugar to help them hold their shape in the oven.
Serving, Storage & Variations
Easter Blossom Cookies are best served at room temperature once the chocolate has fully set. For a beautiful presentation, arrange them on a platter with some decorative straw or paper grass to mimic an Easter basket. These cookies store exceptionally well in an airtight container at room temperature for up to 5 days. If you want to keep them longer, you can freeze the baked cookies for up to 3 months.
For variations, try using different flavored Kisses, such as the 'Cookies 'n' Creme' or 'Dark Chocolate' versions. You can also press a small candied egg into the center instead of a chocolate kiss for a different festive look. No matter how you choose to decorate them, the Easter Blossom Cookies will be the star of your holiday celebration.
Nutrition Information
Below is the estimated nutritional breakdown for a single serving of our Easter Blossom Cookies. Please note that these values can vary based on the specific brands of ingredients used.
| Nutrient | Amount |
|---|---|
| Calories | 115 kcal |
| Protein | 1.5g |
| Carbohydrates | 18g |
| Fat | 5g |
| Fiber | 0.4g |
| Sugar | 12g |
| Sodium | 45mg |
Note: The nutritional information provided above is an estimate and should be used for informational purposes only.


Conclusion
In conclusion, these Easter Blossom Cookies are a delightful, colorful, and delicious addition to any spring gathering. Their soft texture and iconic chocolate center make them a timeless classic that appeals to all generations. By following this simple guide, you can create a batch of festive treats that look as good as they taste. We hope these Easter Blossom Cookies bring joy and sweetness to your home this holiday season. Happy baking and Happy Easter!
FAQs
How do I prevent the chocolate kiss from melting too much on Easter Blossom Cookies?
To keep the Hersheyu2019s Kisses from melting completely and losing their shape, freeze the chocolates for at least 30 minutes before baking. Press them into the cookies immediately after removing the tray from the oven, then let the cookies cool on a flat surface without moving them until the chocolate firm up.
Can I make the dough for Easter Blossom Cookies in advance?
Yes, you can prepare the sugar cookie dough up to 3 days in advance. Store it in an airtight container in the refrigerator. When you are ready to bake, let the dough sit at room temperature for about 15-20 minutes so it is pliable enough to roll into balls.
Why are my cookies spreading too much during baking?
The most common reason for spreading is butter that is too soft or 'greasy'. Ensure your butter is softened to room temperature but still holds its shape. Also, avoid placing cookie dough on a hot baking sheet from a previous batch; always use a cool or room-temperature tray.
Can I use different types of chocolate for the centers?
Absolutely! While milk chocolate Kisses are traditional for Easter Blossom Cookies, you can use white chocolate, dark chocolate, or even the striped 'Hug' variety. Just ensure they are cold before pressing them into the hot cookies.

Easter Blossom Cookies
- Total Time: 30 minutes
- Yield: 24 cookies 1x
- Diet: Vegetarian
Description
Soft and chewy sugar cookies rolled in pastel sparkling sugar and topped with a classic chocolate kiss.
Ingredients
2 cups all-purpose flour
1/4 teaspoon baking soda
1/4 teaspoon salt
1 cup granulated sugar
1/2 cup unsalted butter, softened
1 large egg
1 1/2 teaspoons vanilla extract
1-2 tablespoons milk
1/4 cup colored sanding sugars
24 Hershey’s Kisses, unwrapped
Instructions
Step 1: Preheat your oven to 350°F (175°C) and line two large baking sheets with parchment paper.
Step 2: In a medium bowl, whisk together the flour, baking soda, and salt until well combined.
Step 3: In a large mixing bowl, cream the softened butter and granulated sugar together until the mixture is light and fluffy.
Step 4: Add the egg and vanilla extract to the butter mixture and beat until smooth. Stir in milk if the dough is too stiff.
Step 5: Gradually mix the dry ingredients into the wet ingredients until a soft dough forms.
Step 6: Roll the dough into 1-inch balls, then roll each ball in the colored sanding sugar until evenly coated.
Step 7: Place the balls 2 inches apart on the baking sheets and bake for 8-10 minutes until just set.
Step 8: Remove from the oven and immediately press a chocolate kiss into the center of each cookie. Transfer to a wire rack to cool.
Notes
Freeze the Hershey's Kisses before baking to help them retain their shape when pressed into the hot cookies.
- Prep Time: 20 minutes
- Cook Time: 10 minutes
- Category: Dessert
- Method: Baking
- Cuisine: American
Nutrition
- Serving Size: 1 cookie
- Calories: 115 kcal
- Sugar: 12g
- Sodium: 45mg
- Fat: 5g
- Saturated Fat: 3g
- Unsaturated Fat: 1.5g
- Trans Fat: 0g
- Carbohydrates: 18g
- Fiber: 0.4g
- Protein: 1.5g
- Cholesterol: 15mg
Related posts:
 The Ultimate Cowboy Steak with Truffle Honey Butter That Will Melt Your Heart
 The Most Irresistible Honey Garlic Steak Bites That Will Melt Your Heart
 The Most Divine High Protein Sugar-Free Monkey Bread That Will Melt Your Soul
 The Most Legendary Authentic Thai Crying Tiger (Sua Rong Hai) Steak Recipe That Will Heal Your Soul

Leave a Reply