
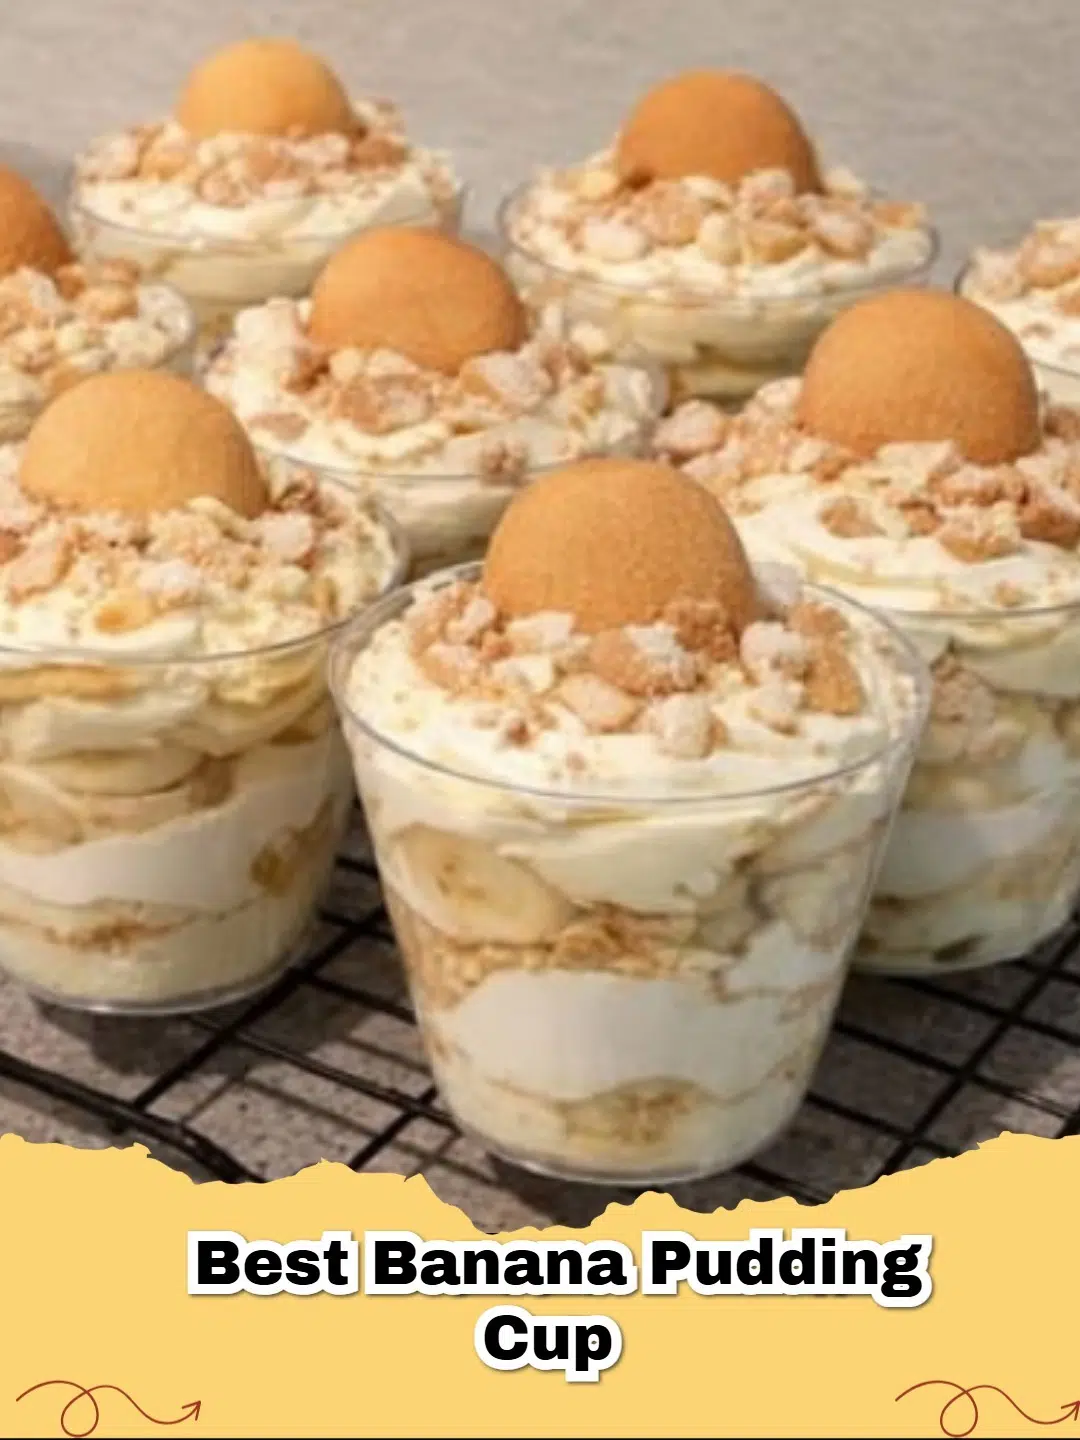
There’s something truly nostalgic and comforting about banana pudding. It’s a classic Southern dessert that evokes memories of family gatherings and sweet, simple pleasures. But what if we told you there’s an even easier way to enjoy this timeless treat? Enter: Easy Banana Pudding Cups!
These individual desserts take all the beloved flavors of traditional banana pudding and package them into perfectly portioned cups. They’re no-bake, incredibly simple to assemble, and dangerously delicious. Whether you’re hosting a party, looking for a quick weeknight dessert, or just craving something sweet, these cups are your new go-to.
Why You'll Love These Easy Banana Pudding Cups
- Effortlessly Easy: No baking required! With instant pudding and a simple layering process, these cups come together in a flash.
- Individual Portions: Perfect for serving a crowd or enjoying a controlled indulgence. No messy scooping from a large dish!
- Crowd-Pleaser: Who doesn't love banana pudding? This recipe is always a hit with both kids and adults.
- Make Ahead Friendly: Prepare them in advance and simply grab one from the fridge when a craving strikes.
- Rich & Creamy: The combination of cream cheese, sweetened condensed milk, and vanilla pudding creates an incredibly luscious texture.
The Simple Ingredients You'll Need
You’ll be amazed at how few ingredients you need to create such a spectacular dessert. We're talking basic pantry staples that transform into pure magic. The stars of the show are, of course, the vanilla wafers and ripe bananas, complemented by a rich and creamy pudding mixture. If you're looking for more inspiration on quick, delightful desserts, check out this guide to no-bake dessert ideas.
Tips for the Best Banana Pudding Cups
- Choose Ripe, But Firm Bananas: You want bananas that are yellow with a few brown spots, but still firm. Overly ripe bananas can get too mushy, while green ones lack flavor.
- Chill, Chill, Chill: Don't skimp on the chilling time! This allows the pudding to set properly, the flavors to meld, and the vanilla wafers to soften to that perfect cake-like consistency.
- Layering is Key: Create even layers for a beautiful presentation and a balanced bite.
- Garnish Right Before Serving: If you're adding whipped cream or extra wafer crumbs on top, do so just before serving for the freshest look.
How to Make Banana Pudding Cups: Step-by-Step
Getting started on these delicious cups couldn't be simpler. You'll begin by whisking together the creamy pudding base, then it's just a matter of layering the goodness into your serving cups. The full recipe card below provides all the exact measurements and detailed instructions to guide you through each step.
So, whether you're a seasoned baker or a kitchen novice, these Easy Banana Pudding Cups are a foolproof way to bring joy to your taste buds. Give them a try, and prepare to fall in love with your new favorite no-bake dessert!
FAQs
Can I make banana pudding cups ahead of time?
Yes, these banana pudding cups are perfect for making ahead! Assemble them a few hours before serving to allow the flavors to meld and the wafers to soften slightly. They can be made up to 24 hours in advance for best results, ensuring the bananas don't over-brown.
How long do banana pudding cups last in the fridge?
When properly stored in an airtight container or covered tightly, banana pudding cups will last for 2-3 days in the refrigerator. After this, the bananas may become too soft and discolored, and the wafers might get too mushy.
What kind of bananas are best for banana pudding?
For banana pudding, slightly ripe but firm bananas are ideal. They should be yellow with just a few brown spots, not overly green (which are starchy) or too brown (which can be too mushy and sweet). This ensures they hold their shape and provide a good texture contrast.


Can I use homemade vanilla pudding instead of instant?
Absolutely! While instant pudding makes this recipe incredibly quick and easy, you can certainly use homemade vanilla pudding. Just ensure it's fully chilled and thickened before mixing with the cream cheese and sweetened condensed milk to achieve the desired creamy consistency.

Easy Banana Pudding Cups
- Total Time: 20 minutes (plus 4 hours chilling)
- Yield: 6-8 servings 1x
- Diet: Vegetarian
Description
Deliciously creamy, no-bake banana pudding cups layered with vanilla wafers, fresh bananas, and a rich, sweet pudding mixture.
Ingredients
1 box (12 oz) vanilla wafers
6 bananas, sliced
2 cups cold milk
1 box (5 oz) instant vanilla pudding mix
1 package (8 oz) cream cheese, softened
1 can (14 oz) sweetened condensed milk
Instructions
Step 1: In a large bowl, beat the softened cream cheese with an electric mixer until light and fluffy. Gradually beat in the sweetened condensed milk until smooth and well combined.
Step 2: In a separate bowl, whisk together the cold milk and instant vanilla pudding mix for 2 minutes, until thickened. Let it stand for 2 minutes.
Step 3: Gently fold the prepared vanilla pudding into the cream cheese mixture until fully incorporated and smooth. This is your creamy pudding base.
Step 4: Assemble the cups: Place a layer of vanilla wafers at the bottom of 6-8 individual serving cups or jars. Top with a layer of sliced bananas.
Step 5: Spoon a generous amount of the creamy pudding mixture over the bananas and wafers, spreading it evenly.
Step 6: Repeat the layers: Add another layer of vanilla wafers, followed by sliced bananas, and then more pudding mixture. Continue layering until your cups are full, ending with a layer of pudding.
Step 7: Cover the cups tightly with plastic wrap and refrigerate for at least 4 hours, or preferably overnight, to allow the pudding to set and the wafers to soften.
Step 8: Garnish before serving, if desired, with additional vanilla wafers, fresh banana slices, or a dollop of whipped cream.
Notes
For an extra touch, you can crush some vanilla wafers and sprinkle them on top just before serving. Ensure cream cheese is at room temperature for a smooth, lump-free mixture. You can also add a pinch of cinnamon or nutmeg to the pudding mixture for a subtle spice note.
- Prep Time: 20 minutes
- Cook Time: 0 minutes
- Category: Dessert
- Method: No-bake, Layering
- Cuisine: American
Nutrition
- Serving Size: 1 cup
- Calories: 410 kcal
- Sugar: 48g
- Sodium: 350mg
- Fat: 16g
- Saturated Fat: 9g
- Unsaturated Fat: 6g
- Trans Fat: 0g
- Carbohydrates: 65g
- Fiber: 2g
- Protein: 7g
- Cholesterol: 70mg


Leave a Reply