
Craving a trip down memory lane with a delightfully simple treat? These easy homemade crunch bars are your ticket to nostalgic bliss! Forget complex baking techniques; this no-bake recipe delivers irresistible crispy chocolate goodness in under an hour, making it perfect for a quick snack, a fun family project, or a last-minute dessert.
We all remember that satisfying snap and rich chocolate flavor of a classic crunch bar. Recreating that magic at home is surprisingly simple, requiring just a few common ingredients you likely already have on hand. Get ready to impress everyone with these delightful confections that capture the essence of your favorite candy aisle indulgence!
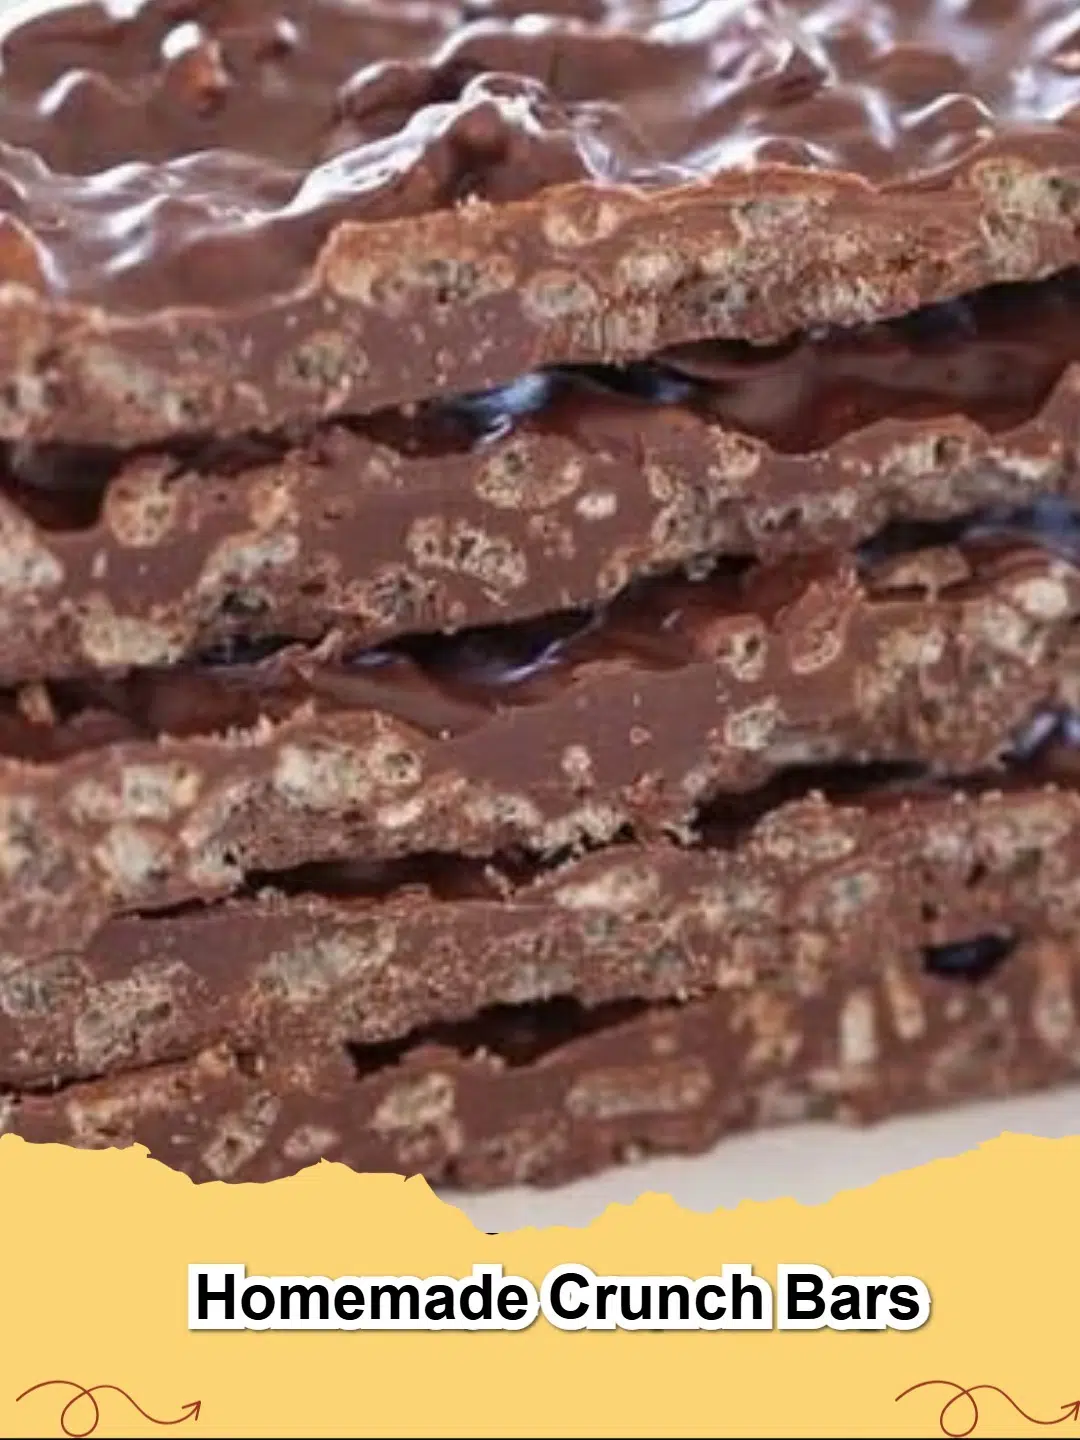
[IMAGE_PLACEHOLDER_0]Why You'll Adore This Easy Crunch Bar Recipe
There's a reason why homemade versions of classic treats bring so much joy. This particular recipe stands out for several compelling reasons:
- Effortlessly Simple: No oven, no fuss! This recipe is ideal for cooks of all skill levels, from beginners to seasoned pros looking for a quick win. Melting chocolate and mixing in cereal is as easy as it gets.
- Speedy Satisfaction: From start to finish, including chilling time, you'll have a batch of these glorious bars ready to enjoy in less than an hour. Instant gratification at its finest!
- Customizable Fun: While perfect in its classic form, these bars are a fantastic canvas for your culinary creativity. Explore different chocolates, add a sprinkle of sea salt, or mix in other goodies.
- Universal Appeal: The familiar crunch and decadent chocolate flavor make these bars a hit with both children and adults. They're perfect for parties, potlucks, or simply satisfying a sweet craving.
The Secret to Achieving the Perfect Crunch
The hallmark of a great crunch bar is, well, the crunch! The magic largely comes from puffed rice cereal. When these airy grains are enveloped in melted chocolate, they retain their delightful crispness, providing that signature snap with every bite. For optimal results, ensure your chocolate mixture isn't excessively hot when incorporating the cereal, as too much heat can diminish their crisp factor. Gently fold them in to coat without crushing, preserving their light, airy structure.
Ingredients for Your Crispy Creation
You’ll be amazed at how few ingredients are needed to create something so delicious! Quality matters here, especially for the chocolate, which forms the core flavor. Learn more about different types of chocolate to pick your favorite for this recipe.
- 12 ounces milk chocolate chips (or your preferred chocolate)
- 1/4 cup unsalted butter
- 1 teaspoon vanilla extract
- 4 cups puffed rice cereal
Simple Steps for Irresistible Homemade Crunch Bars
Creating these delightful bars is a straightforward process. Follow these steps for crunchy perfection:
- Step 1: Line an 8x8 inch baking pan with parchment paper, leaving an overhang on the sides for easy removal. Set aside.
- Step 2: In a microwave-safe bowl, combine the milk chocolate chips and unsalted butter. Microwave in 30-second intervals, stirring well after each, until the chocolate is smooth and fully melted. Alternatively, melt over a double boiler.
- Step 3: Stir in the vanilla extract until fully combined with the melted chocolate mixture.
- Step 4: Add the puffed rice cereal to the chocolate mixture. Gently fold with a spatula until the cereal is evenly coated. Be careful not to crush the cereal.
- Step 5: Pour the mixture into the prepared baking pan. Using the back of the spatula or your hands (lightly greased if needed), gently press the mixture evenly into the pan.
- Step 6: Chill the bars in the refrigerator for at least 30-45 minutes, or until completely firm.
- Step 7: Once firm, use the parchment paper overhang to lift the slab from the pan. Place on a cutting board and cut into desired bar sizes using a sharp, warm knife.
Tips for Perfect Homemade Crunch Bars
Even the simplest recipes benefit from a few expert tips:
- Gentle Melting: Whether using a microwave or a double boiler, melt chocolate slowly and gently. Overheating can cause it to seize or become grainy.
- Don't Rush the Chill: A proper chill time is essential for the bars to set firmly and achieve that satisfying snap when cut and eaten.
- Clean Cuts: For neat edges, warm your knife under hot water and dry it thoroughly before each cut. Cleaning the knife between cuts also helps.
If you're a fan of easy, chocolatey treats, you might also love our Easy Brownie Mix Cookies: Your Shortcut to Chewy, Chocolatey Bliss for another quick dessert. Or, for another simple dessert that's perfect for any occasion, check out our Juicy Pineapple Heaven Cake: Your Easiest Tropical Dessert!
Serving and Storage Suggestions
Once your homemade crunch bars are perfectly set and cut, they're ready to be devoured! They make a wonderful stand-alone treat, a delightful addition to a dessert platter, or a charming homemade gift when individually wrapped. Store any leftovers in an airtight container at room temperature for up to a week, or in the refrigerator for up to two weeks for a firmer texture and extended freshness.
These easy homemade crunch bars truly are a testament to how simple ingredients and minimal effort can create something incredibly satisfying and universally loved. Enjoy crafting these crispy chocolate delights!
FAQs
What type of chocolate is best for homemade crunch bars?
For that classic, sweet flavor, milk chocolate chips are highly recommended. However, you can also use semi-sweet, dark chocolate, or a blend to customize the intensity to your liking. Always opt for good quality chocolate for the best taste and texture.


How can I ensure my crunch bars have the perfect crispy texture?
The key to perfect crunch is using puffed rice cereal. Make sure your melted chocolate mixture isn't too hot when you add the cereal, as excessive heat can soften the puffs. Gently fold the cereal in until just coated, avoiding overmixing which can crush the delicate structure. Proper chilling is also crucial for them to set firmly with a satisfying snap.
Can I add other ingredients to my homemade crunch bars?
Absolutely! These bars are wonderfully versatile. Consider stirring in a pinch of sea salt, a handful of mini marshmallows, chopped nuts like pecans or walnuts, or even a swirl of caramel before they set. You can also experiment with a mix of different chocolates for unique flavor profiles.
What is the best way to store homemade crunch bars?
Store your homemade crunch bars in an airtight container at room temperature for up to one week. If you prefer a firmer texture or wish to extend their freshness, they can be kept in the refrigerator for up to two weeks. Allow them to come closer to room temperature for the best flavor release.

Easy Homemade Crunch Bars
- Total Time: 45 minutes
- Yield: 12-16 bars 1x
- Diet: Standard
Description
These incredibly easy, no-bake homemade crunch bars deliver the ultimate crispy chocolate treat, reminiscent of childhood favorites, in under an hour.
Ingredients
12 ounces milk chocolate chips (or preferred chocolate)
1/4 cup unsalted butter
1 teaspoon vanilla extract
4 cups puffed rice cereal
Instructions
Step 1: Line an 8x8 inch baking pan with parchment paper, leaving an overhang on the sides for easy removal. Set aside.
Step 2: In a microwave-safe bowl, combine the milk chocolate chips and unsalted butter. Microwave in 30-second intervals, stirring well after each, until the chocolate is smooth and fully melted. Alternatively, melt over a double boiler.
Step 3: Stir in the vanilla extract until fully combined with the melted chocolate mixture.
Step 4: Add the puffed rice cereal to the chocolate mixture. Gently fold with a spatula until the cereal is evenly coated. Be careful not to crush the cereal.
Step 5: Pour the mixture into the prepared baking pan. Using the back of the spatula or your hands (lightly greased if needed), gently press the mixture evenly into the pan.
Step 6: Chill the bars in the refrigerator for at least 30-45 minutes, or until completely firm.
Step 7: Once firm, use the parchment paper overhang to lift the slab from the pan. Place on a cutting board and cut into desired bar sizes using a sharp, warm knife.
Notes
For an extra touch, drizzle with melted white chocolate or sprinkle with sea salt before chilling. Ensure chocolate is good quality for the best flavor.
- Prep Time: 15 minutes
- Cook Time: 5 minutes
- Category: Dessert
- Method: No-Bake
- Cuisine: American
Nutrition
- Serving Size: 1 bar
- Calories: 180 kcal
- Sugar: 20g
- Sodium: 60mg
- Fat: 9g
- Saturated Fat: 5g
- Unsaturated Fat: 3g
- Trans Fat: 0g
- Carbohydrates: 25g
- Fiber: 1g
- Protein: 2g
- Cholesterol: 15mg


Leave a Reply