
There's nothing quite like the aroma and taste of freshly baked bread filling your home. And when it comes to homemade loaves, a soft, fluffy sourdough sandwich bread hits all the right notes! This recipe is designed to be incredibly approachable, even if you're new to sourdough baking. Forget the complex techniques often associated with sourdough; we're focusing on simplicity to bring you a tender, flavorful loaf perfect for everyday sandwiches, toast, or simply slathered with butter.
Sourdough offers a unique depth of flavor and a beautiful texture that store-bought bread simply can't match. Plus, the fermentation process can make it easier to digest for some. Get ready to transform your sandwich game with this remarkably easy and delicious recipe!
Why This Sourdough Sandwich Bread Will Become Your Go-To
Many people are intimidated by sourdough, imagining hours of kneading and complex schedules. This recipe breaks down those barriers by offering a no-knead method that still delivers an incredibly soft and satisfying loaf. We're embracing the natural magic of a sourdough starter to do most of the work, allowing you to enjoy a mild tang and a pillowy crumb without the fuss.
The Beauty of a Loaf Pan Sourdough
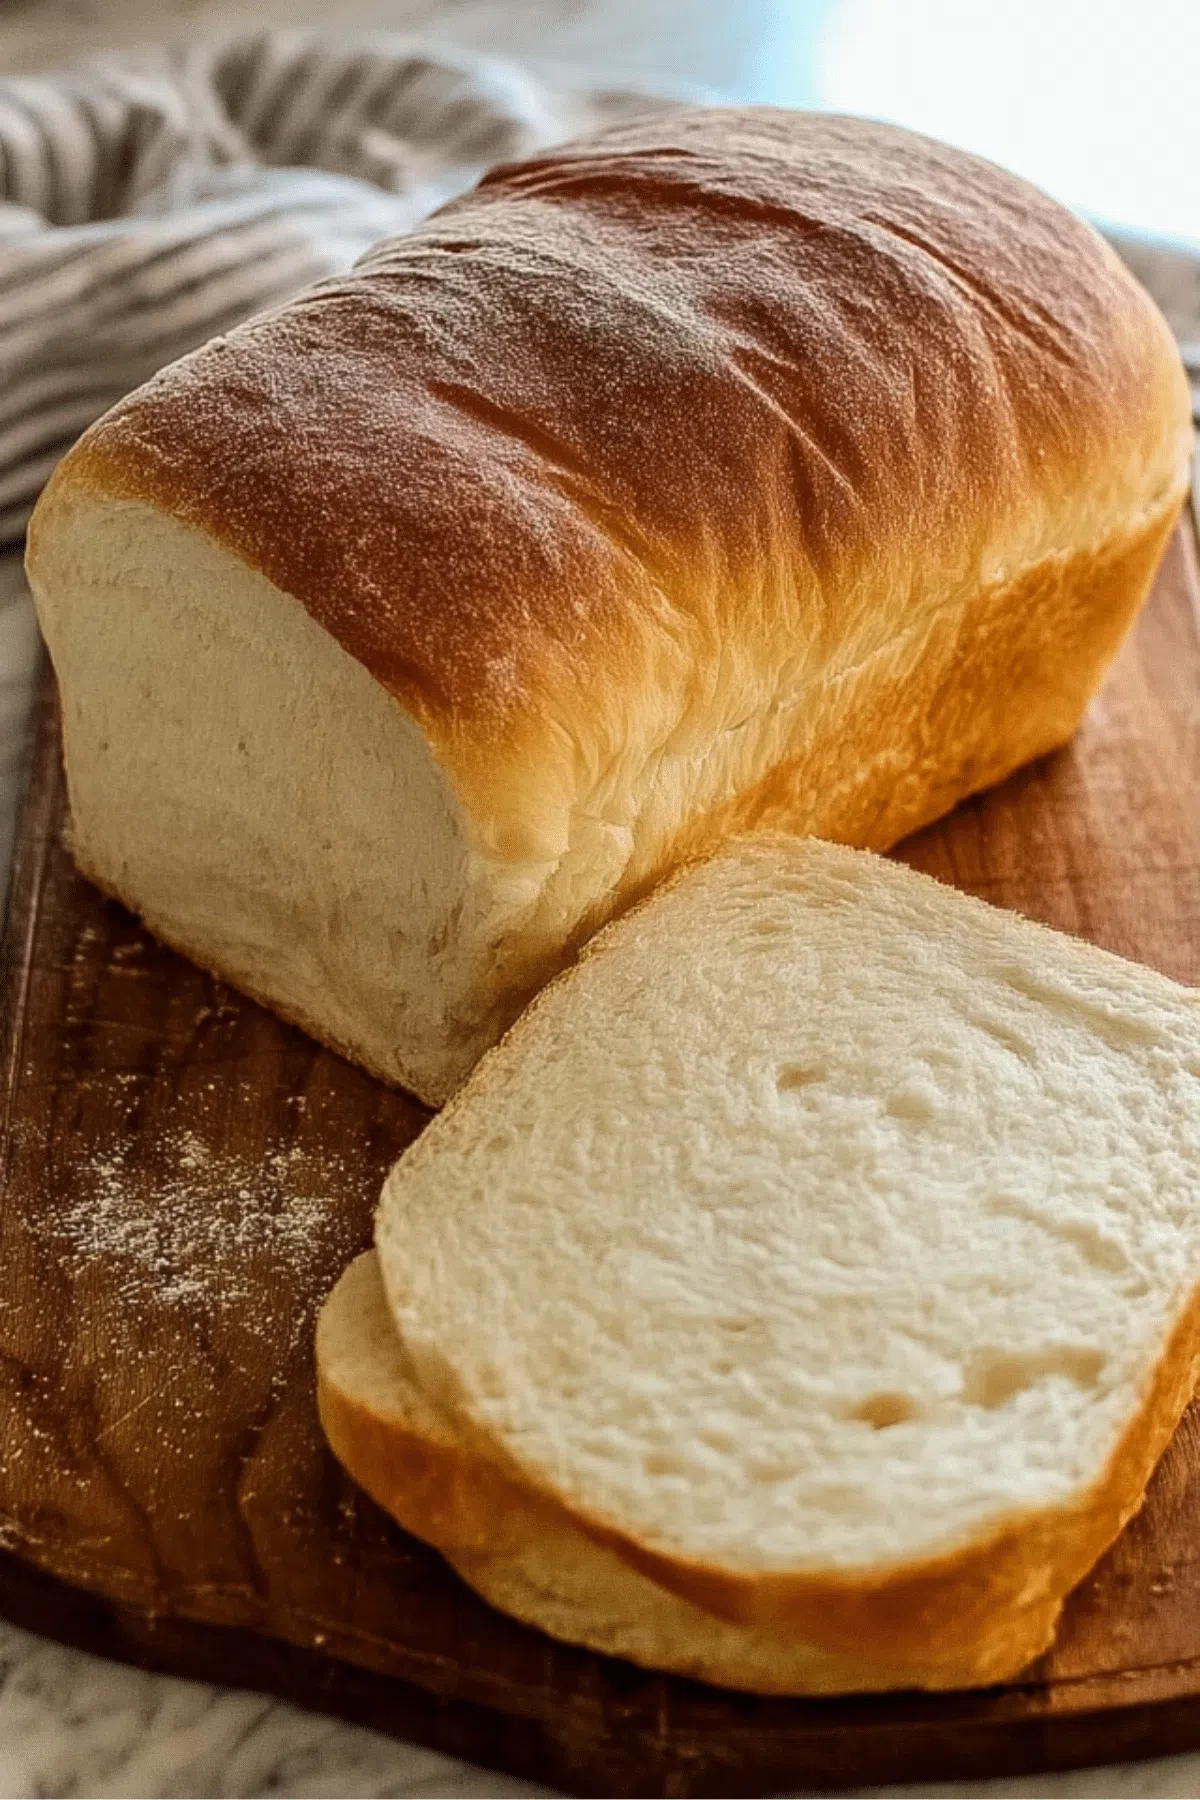
Unlike traditional artisan sourdough, which often has a thick, rustic crust, baking in a loaf pan yields a softer, more uniform crust that's ideal for slicing and sandwich building. This method is perfect for those who prefer their bread less chewy and more tender, making it a family favorite.
Ingredients You'll Need
Crafting this delightful sourdough sandwich bread requires just a few basic ingredients. The star, of course, is your active sourdough starter, which provides both the leavening and that characteristic mild sour flavor. Here's what you'll gather:
- Active Sourdough Starter
- Warm Water
- Granulated Sugar
- Bread Flour
- Extra-Virgin Olive Oil
- Salt
Each ingredient plays a vital role. The sugar not only feeds the yeast in your starter but also adds a subtle sweetness that balances the tang. Olive oil contributes to the bread's tender crumb and moist texture. For another wonderful sourdough creation, you might also enjoy our Sourdough Croissant Bread Recipe: Simple and Delicious.
Step-by-Step Guide to Your Soft Sourdough Loaf
Follow these straightforward steps, and you'll be enjoying a delicious, homemade sourdough sandwich bread in no time!
Preparing for Success
- Feeding Your Starter: For the best results, ensure your sourdough starter is active and bubbly. Feed it 12-24 hours before you plan to mix your dough.
- Gather Your Tools: Have a large mixing bowl, a clean kitchen towel, and a 9x5 inch loaf pan ready.
Recipe Card

Tips for the Best Sourdough Sandwich Bread
- Temperature Matters: Sourdough activity is highly dependent on temperature. If your kitchen is cool, your dough may need longer to rise. A warmer spot (but not hot!) will speed things up.
- Don't Rush the Cool Down: It's tempting to slice into a warm loaf, but resist! Allowing the bread to cool completely is crucial. This lets the internal structure set, preventing a gummy texture and ensuring clean slices.
- Gentle Handling: Sourdough dough can be quite sticky. Use a light hand and a lightly floured surface when shaping to avoid incorporating too much extra flour.
Serving Suggestions & Variations
This soft sourdough loaf is incredibly versatile. It's fantastic for classic deli sandwiches, but don't stop there!
- Breakfast Toast: Perfect toasted with butter, jam, or avocado.
- Grilled Cheese: Elevate your grilled cheese experience with this flavorful bread.
- Homemade Croutons: Stale slices make incredible croutons for salads or soups.
- Savory Sandwiches: Try it with sliced turkey and cheese, or even our recipe for Easy Baked Chicken Breast Recipes for Juicy, Melt-In-Your-Mouth Results – Clara's Recipes.
You can also experiment with variations by adding mix-ins like dried herbs, grated cheese, or a sprinkle of everything bagel seasoning before the final rise.
Conclusion
Baking your own sourdough sandwich bread is a rewarding experience that yields an unparalleled soft, flavorful loaf. This easy, no-knead recipe demystifies sourdough, making it accessible for bakers of all skill levels. With its delightful tang, tender crumb, and perfect slicing texture, this homemade bread is destined to become a staple in your kitchen. So go ahead, get your starter bubbling, and enjoy the pure satisfaction of baking and sharing your very own Sourdough Sandwich Bread!


FAQs
How do I ensure my sourdough starter is active enough for this recipe?
An active starter is crucial for a good rise. Feed your sourdough starter 12-24 hours before you plan to bake. It should appear bubbly, have increased significantly in volume, and pass the float test (a small spoonful floats in water).
Can I use all-purpose flour instead of bread flour for this loaf?
Yes, you can substitute bread flour with all-purpose flour if that's what you have on hand. However, bread flour, with its higher protein content, generally yields a more structured, lighter, and chewier loaf. All-purpose flour will still work but might result in a slightly denser texture.
What's the best way to store homemade sourdough sandwich bread?
Once your sourdough sandwich bread has completely cooled, store it in an airtight container, a bread bag, or wrapped in beeswax wrap at room temperature for up to 3-5 days. For longer storage, you can slice the cooled loaf and freeze the slices in a freezer-safe bag for up to 3 months, thawing as needed.
Why is my sourdough bread not rising as expected?
Several factors can impact your bread's rise. The most common reasons include an inactive sourdough starter, a room temperature that is too cool for fermentation, or insufficient proofing time. Ensure your starter is vigorous and that your dough is allowed to rise in a warm, consistent environment.

Sourdough Sandwich Bread
- Total Time: 10 hours 50 minutes
- Yield: 1 loaf (approx. 12 slices) 1x
- Diet: Vegetarian
Description
This easy, no-knead sourdough sandwich bread recipe delivers a wonderfully soft, flavorful loaf perfect for everyday sandwiches.
Ingredients
150g active sourdough starter
300ml warm water (approx. 95-105°F)
1 tbsp granulated sugar
500g bread flour
2 tbsp extra-virgin olive oil
1.5 tsp salt
Instructions
Step 1: Prepare the Starter: Feed your sourdough starter 12-24 hours before starting the recipe to ensure it’s active and bubbly. It should have doubled in size and pass the float test.
Step 2: Mix the Dough: In a large mixing bowl, combine your active sourdough starter, warm water, and sugar. Stir gently until the sugar is dissolved. Add the bread flour, extra-virgin olive oil, and salt, mixing with a sturdy spoon or your hands until a shaggy, cohesive dough forms.
Step 3: Rest the Dough (Autolyse): Cover the bowl with a damp kitchen towel or plastic wrap and allow the dough to rest at room temperature for 30 to 45 minutes. This helps the flour hydrate.
Step 4: Perform Stretch and Folds: After the initial rest, perform a series of stretch and folds. Grab a portion of the dough, stretch it upwards, and fold it over onto itself. Rotate the bowl and repeat 3-4 times. Do this every 30 minutes for 2-3 sets to build dough strength.
Step 5: Overnight Rise (Bulk Fermentation): Cover the bowl again and let the dough rise overnight at room temperature (around 68-72°F) for about 8 to 10 hours. The dough should visibly double in size by morning, looking bubbly and airy.
Step 6: Shape the Dough: In the morning, gently transfer the risen dough to a lightly floured surface. Gently pat it into a rectangle. Fold the top third down, then the bottom third up, pressing to seal. Gently roll the dough into a log shape, creating tension on the surface. Rest it for 10 minutes, seam-side down.
Step 7: Final Rise (Proofing): Lightly grease a 9x5 inch loaf pan. Carefully transfer the shaped dough into the prepared loaf pan, seam-side down. Cover the pan loosely with plastic wrap or a damp towel and let it rise for another 1 to 2 hours, or until it has doubled in size and looks puffy (it should pass the 'poke test' – a gentle poke leaves a slight indentation that slowly springs back).
Step 8: Bake the Bread: Preheat your oven to 375°F (190°C) about 20 minutes before baking. Once preheated, place the loaf pan into the oven. Bake for 40 minutes, or until the top is deeply golden brown and the internal temperature reaches 200-210°F (93-99°C). If you tap the bottom of the loaf, it should sound hollow.
Step 9: Cool and Slice: Immediately remove the bread from the loaf pan and transfer it to a wire cooling rack. Let the bread cool completely for at least 1 hour (preferably 2-3 hours) before slicing. This prevents a gummy texture and allows the crumb to set properly.
Notes
For a slightly richer flavor, you can substitute honey for the granulated sugar. Ensure your kitchen isn't too cold during the bulk fermentation for optimal rise. If you like a crispier crust, consider baking without a lid for the last 10 minutes. This recipe can also be adapted with seeds like poppy or sesame sprinkled on top before baking.
- Prep Time: 20 minutes
- Cook Time: 40 minutes
- Category: Bread
- Method: Baking
- Cuisine: American
Nutrition
- Serving Size: 1 slice
- Calories: 220 kcal
- Sugar: 3g
- Sodium: 350mg
- Fat: 4g
- Saturated Fat: 0.5g
- Unsaturated Fat: 3g
- Trans Fat: 0g
- Carbohydrates: 40g
- Fiber: 2g
- Protein: 7g
- Cholesterol: 0mg


