
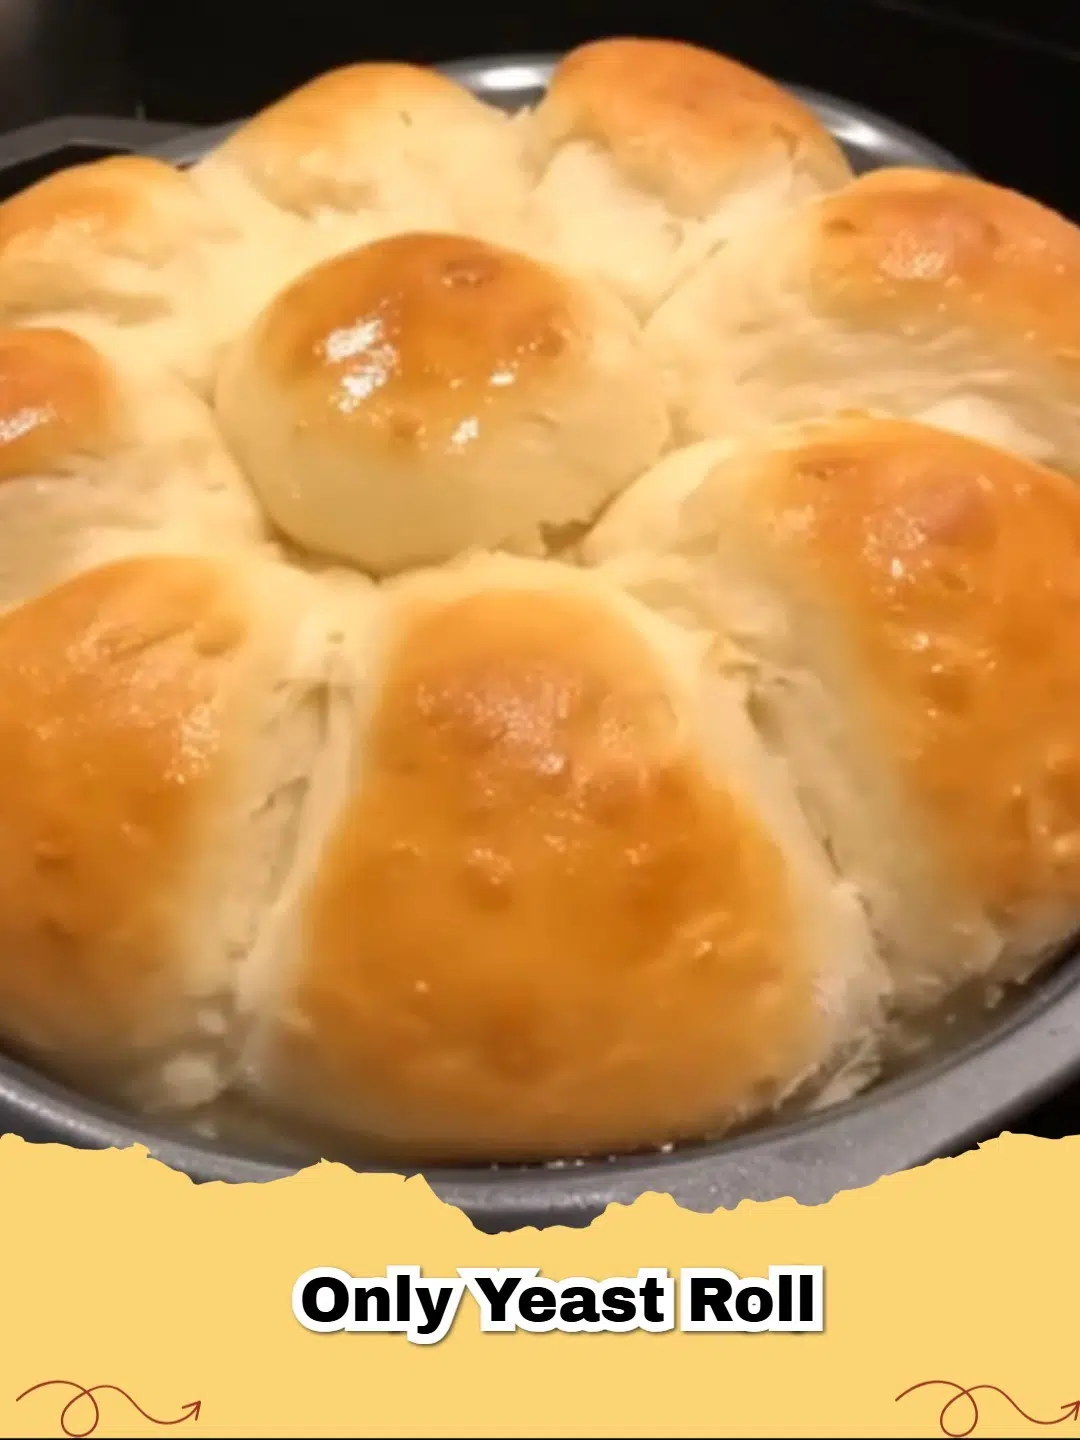
There's nothing quite like the aroma of freshly baked bread filling your kitchen, and when it comes to comfort food, nothing beats a warm, fluffy yeast roll. Forget complicated recipes or shortcuts – today, we're diving into the pure magic of 'only yeast' rolls. These are the kind of rolls that are incredibly soft, airy, and boast that unmistakable yeasty flavor that only time and patience can create. Perfect for soaking up gravy, pairing with a hearty soup, or simply slathering with butter, these rolls will become a staple in your home.
Many roll recipes out there use a combination of yeast with baking soda or powder to speed up the process. While those have their place, relying solely on yeast develops a richer flavor and a more desirable texture. It's a simple process, but understanding a few key principles will elevate your baking from good to absolutely glorious. So, grab your apron, and let's get ready to make some truly unforgettable bread!
Why "Only Yeast" Matters for Ultimate Fluffiness
The beauty of an 'only yeast' roll lies in its purity. Yeast, a living microorganism, consumes sugars in your dough and produces carbon dioxide, which creates those lovely air pockets and gives bread its signature rise. When you rely solely on yeast, you're allowing this natural process to take its course, leading to:
- Superior Flavor: Yeast fermentation develops complex flavors that chemical leaveners just can't replicate.
- Incredible Texture: The gluten network developed through kneading and slow rising creates a tender, elastic crumb that's incredibly soft and airy.
- Better Keeping Quality: Yeast-leavened breads often stay fresh longer than those made with chemical leaveners.
The Science of Yeast
Yeast needs a few things to thrive: warmth, sugar, and moisture. Too hot, and you kill it; too cold, and it's sluggish. The sweet spot for activating yeast is typically between 105-115°F (40-46°C). Once activated, it begins its magical work, transforming simple ingredients into a living, breathing dough.
Essential Ingredients for Perfect Yeast Rolls
The beauty of this recipe is its simplicity. You likely have most of these ingredients in your pantry right now!
- Active Dry or Instant Yeast: Ensure it's fresh for the best rise.
- Warm Milk: Essential for activating the yeast.
- Granulated Sugar: Feeds the yeast and adds a touch of sweetness.
- Salt: Balances flavor and controls yeast activity.
- All-Purpose Flour: The backbone of our rolls.
- Melted Butter: Adds richness, flavor, and tenderness.
- Egg: Contributes to the roll's structure, richness, and golden crust.
Step-by-Step Guide to Baking Only Yeast Rolls
Follow these steps closely, and you'll be pulling warm, fragrant rolls from your oven in no time!
First, gather all your ingredients and tools. A good, quality chef's knife might not be directly used for dough, but having good kitchen tools always makes the cooking experience more enjoyable!
Pro Tips for Success
- Don't Rush the Rise: The rising time is crucial for flavor and texture. If your kitchen is cool, place the dough in a slightly warm (but not hot) spot, like a turned-off oven with the light on.
- Knead Thoroughly: Proper kneading develops the gluten, which gives your rolls structure and chew. Look for a smooth, elastic dough that springs back when poked.
- Avoid Over-flouring: Too much flour makes dry, tough rolls. Add just enough to prevent sticking.
- Brush with Butter: A brush of melted butter after baking gives the rolls a beautiful sheen and extra richness.
Serving Suggestions and Variations
These fluffy yeast rolls are incredibly versatile. Serve them:
- Alongside a holiday meal, like Thanksgiving or Christmas dinner.
- With your favorite comforting stews and chili.
- As a simple side to grilled chicken or steak.
- Split and used for sliders or mini sandwiches.
For variations, try adding fresh herbs like rosemary or thyme to the dough, or sprinkle with garlic powder before baking for a savory twist. A touch of honey instead of sugar can also add a lovely depth of flavor.
Baking homemade yeast rolls is a truly rewarding experience, filling your home with warmth and an irresistible aroma. With this 'only yeast' method, you're not just making bread; you're crafting a soft, flavorful masterpiece that will impress everyone at your table. Don't be intimidated by yeast – it's your friend, and together, you'll create something truly special. Happy baking!
FAQs
What does 'Only Yeast Rolls' mean?
An 'Only Yeast Roll' recipe relies solely on active or instant yeast for leavening, rather than incorporating baking soda or baking powder. This method typically results in a bread with a classic yeasty flavor, a softer crumb, and a chewier texture that takes a bit more time due to the yeast's proofing process.


How do I ensure my yeast rolls are light and fluffy?
Achieving light and fluffy yeast rolls depends on several factors: using fresh, active yeast; allowing adequate time for two rises (proofing); proper kneading to develop gluten; and not over-baking. Ensure your liquid ingredients are warm (105-115u00b0F) to activate the yeast, and handle the dough gently after the second rise to maintain air bubbles.
Can I prepare yeast rolls ahead of time?
Yes, you can! You can prepare the dough up to the first rise, then punch it down, shape the rolls, and place them in your baking dish. Cover tightly with plastic wrap and refrigerate overnight (up to 24 hours). The next day, remove from the fridge and let them come to room temperature and complete their second rise (about 1-2 hours) before baking as usual.
What's the best way to store leftover yeast rolls?
To keep leftover yeast rolls fresh, store them in an airtight container or a large zip-top bag at room temperature for up to 2-3 days. For longer storage, they can be frozen for up to 2-3 months. Thaw at room temperature and warm them in a microwave or oven for that freshly baked taste.

Classic Fluffy Only Yeast Rolls
- Total Time: 2 hours 45 minutes
- Yield: 12-15 rolls 1x
- Diet: Vegetarian
Description
Bake the softest, most tender 'only yeast' rolls from scratch with this easy-to-follow recipe, perfect for any meal or occasion.
Ingredients
1 cup warm milk (105-115°F / 40-46°C)
2 1/4 teaspoons active dry yeast (one standard packet)
1/4 cup granulated sugar
1 teaspoon salt
1/4 cup unsalted butter, melted and cooled slightly
1 large egg, room temperature
3 1/2 to 4 cups all-purpose flour, divided
2 tablespoons unsalted butter, melted (for brushing)
Instructions
Step 1: In a large bowl, combine the warm milk, yeast, and 1 tablespoon of the granulated sugar. Stir gently and let it sit for 5-10 minutes until foamy. This indicates the yeast is active.
Step 2: Add the remaining sugar, salt, melted butter, and egg to the yeast mixture. Whisk until well combined.
Step 3: Gradually add 3 cups of flour, one cup at a time, mixing with a wooden spoon until a shaggy dough forms. Add more flour, about 1/4 cup at a time, until the dough comes together and is no longer sticky, but still soft. You might not need all 4 cups.
Step 4: Turn the dough out onto a lightly floured surface and knead for 8-10 minutes until it is smooth and elastic. The dough should spring back when lightly poked.
Step 5: Lightly grease a large bowl with oil. Place the dough in the bowl, turning once to coat. Cover the bowl with plastic wrap or a clean kitchen towel and let it rise in a warm place for 1 to 1.5 hours, or until doubled in size.
Step 6: Once doubled, gently punch down the dough to release the air. Turn the dough out onto a lightly floured surface and divide it into 12-15 equal pieces. Shape each piece into a smooth ball.
Step 7: Arrange the shaped rolls in a lightly greased 9x13 inch baking dish, leaving a little space between each roll. Cover the dish again and let the rolls rise for a second time in a warm place for another 30-45 minutes, or until puffy and almost doubled.
Step 8: Preheat your oven to 375°F (190°C) during the last 15 minutes of the second rise.
Step 9: Bake the rolls for 15-20 minutes, or until golden brown on top. If they start browning too quickly, you can loosely tent them with foil.
Step 10: Once out of the oven, immediately brush the tops of the hot rolls with the 2 tablespoons of melted butter. Serve warm and enjoy!
Notes
For best results, ensure your yeast is fresh and your milk is at the correct temperature. If you prefer a slightly sweeter roll, you can increase the sugar by a tablespoon or two. These rolls are fantastic served warm with extra butter or as sliders.
- Prep Time: 25 minutes
- Cook Time: 18 minutes
- Category: Bread
- Method: Baking
- Cuisine: American
Nutrition
- Serving Size: 1 roll
- Calories: 200 kcal
- Sugar: 5g
- Sodium: 200mg
- Fat: 5g
- Saturated Fat: 3g
- Unsaturated Fat: 2g
- Trans Fat: 0g
- Carbohydrates: 35g
- Fiber: 1g
- Protein: 6g
- Cholesterol: 25mg


Leave a Reply