
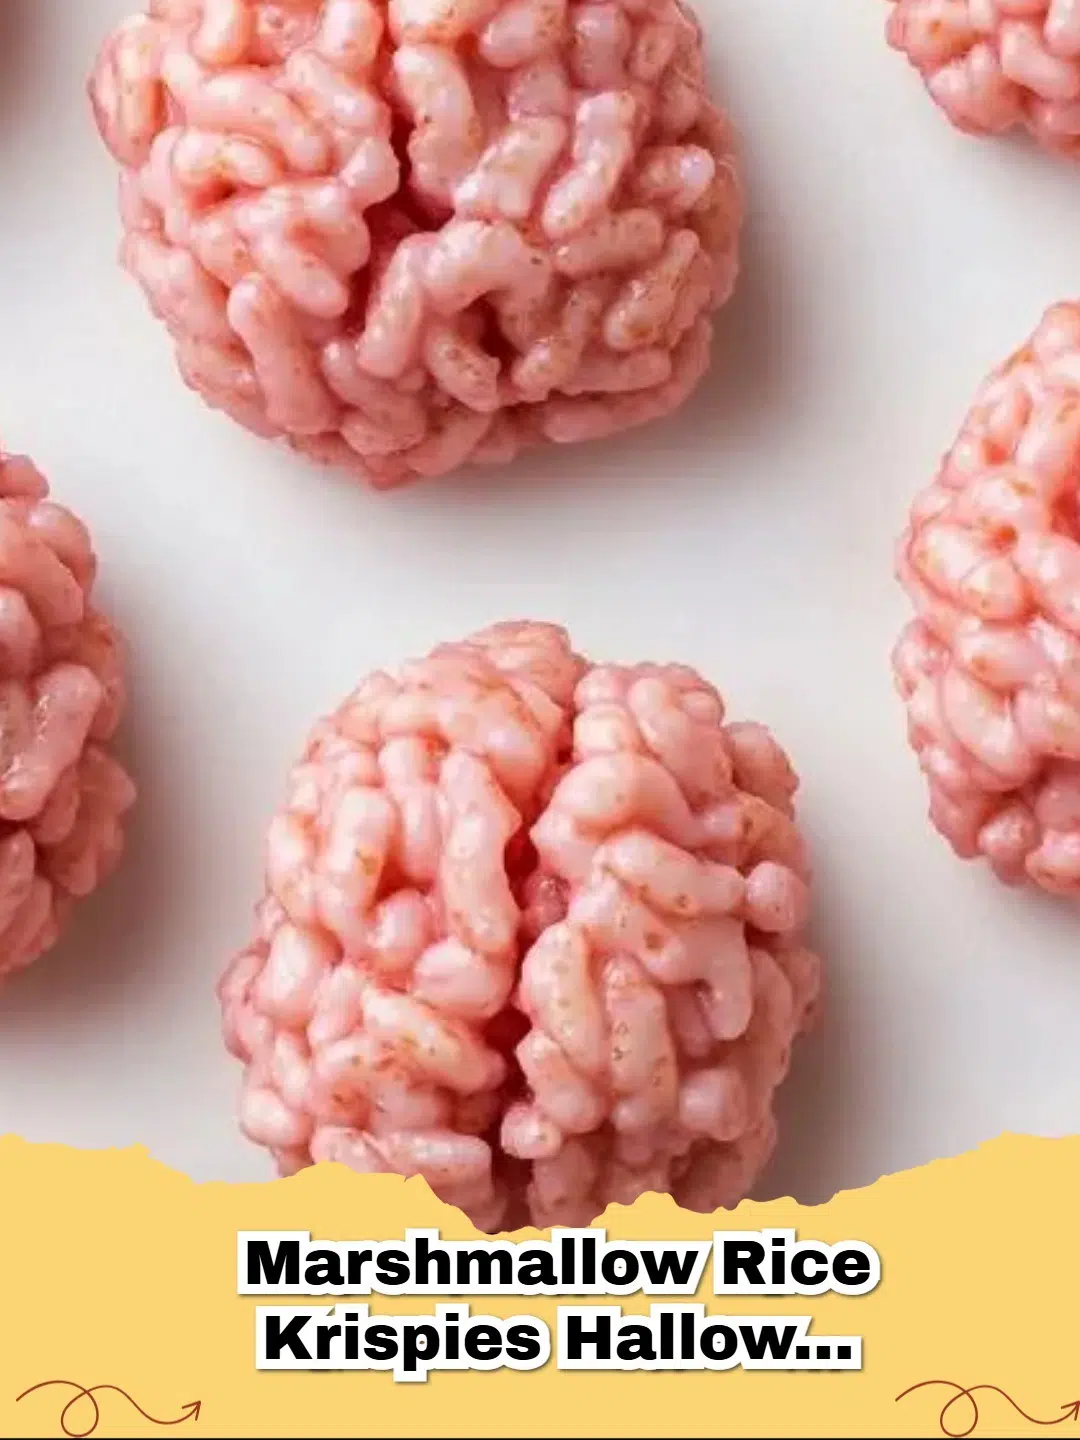
Halloween is all about spooky fun, delicious treats, and a little bit of playful gore. And what's more iconic (and delightfully gruesome) than a brain-shaped dessert? These Halloween Brain Rice Krispie Treats are the ultimate no-bake, easy-to-make, and incredibly fun snack that will be the talk of your next ghoulish gathering.
Forget complicated baking; this recipe takes your favorite childhood cereal treat and gives it a frightfully fantastic makeover. With just a few simple ingredients and a dash of creativity, you'll transform ordinary Rice Krispie Treats into eerie, edible brains that are surprisingly cute (in a creepy way!).
Why These Spooky Brain Treats Are a Must-Make
If you're looking for a crowd-pleasing Halloween dessert that doesn't require hours in the kitchen, you've found it. Here’s why these brainy delights will become your go-to:
- No-Bake Wonder: Perfect for busy schedules, these treats come together quickly without turning on your oven.
- Kid-Friendly Fun: Kids (and adults!) love molding these sticky, sweet brains. It’s an engaging activity that leads to a tasty reward.
- Customizable Creepiness: Adjust the amount of red food coloring for subtle pink brains or truly grotesque red ones.
- Portable & Party-Ready: Easy to transport, making them ideal for school parties, potlucks, or your own haunted house.
They're not just a dessert; they're a centerpiece! Prepare to impress your guests with your culinary (and morbid) creativity.
Gather Your Ghastly Ingredients
You only need a handful of pantry staples to bring these brains to life. Make sure you have everything ready for a smooth and spooky crafting session.
Essential Ingredients:
- Unsalted butter
- Regular marshmallows
- Rice Krispies cereal
- Salt
- Red food coloring (gel food coloring works best for vibrant results!)
That's it! Simple, right? The magic happens with just these few items.
Crafting Your Creepy Confections: Step-by-Step
Making these brains is a straightforward process, but working quickly is key once the marshmallow mixture is ready. Get ready to embrace the mess!
Tips for Perfect Halloween Brains:
- Oil Your Hands: This is crucial! Lightly oiling your hands will prevent the sticky mixture from clinging too much, making shaping much easier.
- Work Fast: The marshmallow mixture sets quickly. Have your workspace and oil ready before you mix the cereal in.
- Don't Over-Mix: Once the cereal is added, stir just enough to coat it. Over-mixing can crush the cereal and lead to dense treats.
- Get Creative with Veins: A toothpick is great for drawing veins. For an extra touch, dilute a tiny bit of red food coloring with a drop of water for a slightly different shade, or use a darker red gel.
For more general tips on working with food coloring, you can check out this helpful guide on Food Network's Food Coloring Guide. It offers great advice for achieving vibrant hues in all your baking endeavors.
Storage and Make-Ahead Tips
These Halloween Brain Rice Krispie Treats are best enjoyed within 2-3 days. Store them in an airtight container at room temperature. They tend to firm up a bit over time, but will remain delightfully chewy. Avoid refrigerating them, as this can make them hard and stale.
If you're making them for a party, you can shape them the day before and add the vein detailing right before serving for the freshest, most gruesome look.
Embrace the Spooky Season!
These Halloween Brain Rice Krispie Treats are more than just a dessert; they're an experience! They're a fantastic way to get into the Halloween spirit, create lasting memories, and share some deliciously creepy fun with friends and family. So, gather your ingredients, unleash your inner mad scientist, and get ready to whip up a batch of brains that everyone will be dying to try!


FAQs
Can I make Halloween Brain Rice Krispie Treats ahead of time?
Yes, you can definitely make these spooky treats up to 2-3 days in advance. Store them in an airtight container at room temperature to keep them fresh and chewy. For best results, add the vein detailing closer to serving time to maintain its vibrancy.
How do I get the perfect brain shape?
The key to perfect brain shapes is to work quickly while the mixture is still warm and pliable. Oil your hands lightly to prevent sticking, then take a portion and gently mold it into an oval. Use a butter knife or the side of your hand to create a central groove, and gently indent smaller ridges to mimic brain convolutions. Don't worry about perfection; a slightly imperfect brain looks even spookier!
What kind of red food coloring is best for the 'brain' effect?
Gel food coloring works best as it's highly concentrated and produces vibrant colors without adding excess liquid. You can use standard red for the base mixture, and a deeper 'blood red' or even a black gel food coloring mixed with red for the vein detailing to create a more realistic, eerie effect.
Are there any variations I can try with these Rice Krispie Treats?
Absolutely! To add extra flavor or texture, consider mixing in a few drops of vanilla extract, a pinch of cinnamon, or even some Halloween-themed sprinkles before shaping. You could also drizzle them with melted white chocolate for a 'bloody' effect or add gummy worms for extra creepiness. Ensure any additions don't make the mixture too wet or difficult to shape.

Halloween Brain Rice Krispie Treats
- Total Time: 30 minutes
- Yield: 8-10 brains 1x
- Diet: Vegetarian
Description
Conjure up some delightfully gruesome Halloween Brain Rice Krispie Treats, an easy, no-bake recipe perfect for parties and spooky fun.
Ingredients
6 tbsp Unsalted butter
6 cups Regular marshmallows
4 cups Rice Krispies cereal
½ tsp Salt
As needed Red food coloring
Instructions
Step 1: Fill a medium saucepan with ½ cup water, bring to a gentle boil, and place a heatproof bowl over it to create a bain-marie (double boiler).
Step 2: Add the 6 tbsp of unsalted butter and 6 cups of regular marshmallows to the bowl over the bain-marie. Melt slowly, whisking continuously until the mixture is smooth and glossy.
Step 3: Carefully remove the bowl from the heat. Whisk in ½ tsp of salt and 2-3 drops of red food coloring. Add more food coloring if you desire a deeper red hue. Ensure the color is evenly distributed.
Step 4: Pour the warm marshmallow mixture over the 4 cups of Rice Krispies cereal in a large mixing bowl. Stir quickly with a spatula to coat the cereal evenly and thoroughly.
Step 5: Lightly oil your hands or spray them with non-stick cooking spray. Take portions of the mixture (about ½ cup each) and gently shape them into oval 'brain' forms. Use a butter knife or the side of your hand to carve a distinct groove down the center of each brain.
Step 6: For an extra spooky effect, dip a clean toothpick into additional red food coloring (or a darker shade if desired) and carefully draw realistic vein patterns over the surface of each brain. Let them set at room temperature for about 15-20 minutes before serving.
Notes
For best results, work quickly when shaping as the mixture sets fast. Lightly oiling your hands is essential to prevent sticking. You can adjust the amount of red food coloring to achieve your desired level of gruesome. Store in an airtight container at room temperature for up to 3 days.
- Prep Time: 20 minutes
- Cook Time: 10 minutes
- Category: Dessert
- Method: No-Bake
- Cuisine: American
Nutrition
- Serving Size: 1 brain
- Calories: 180 kcal
- Sugar: 25g
- Sodium: 150mg
- Fat: 4g
- Saturated Fat: 2g
- Unsaturated Fat: 2g
- Trans Fat: 0g
- Carbohydrates: 35g
- Fiber: 1g
- Protein: 1g
- Cholesterol: 10mg


Leave a Reply