
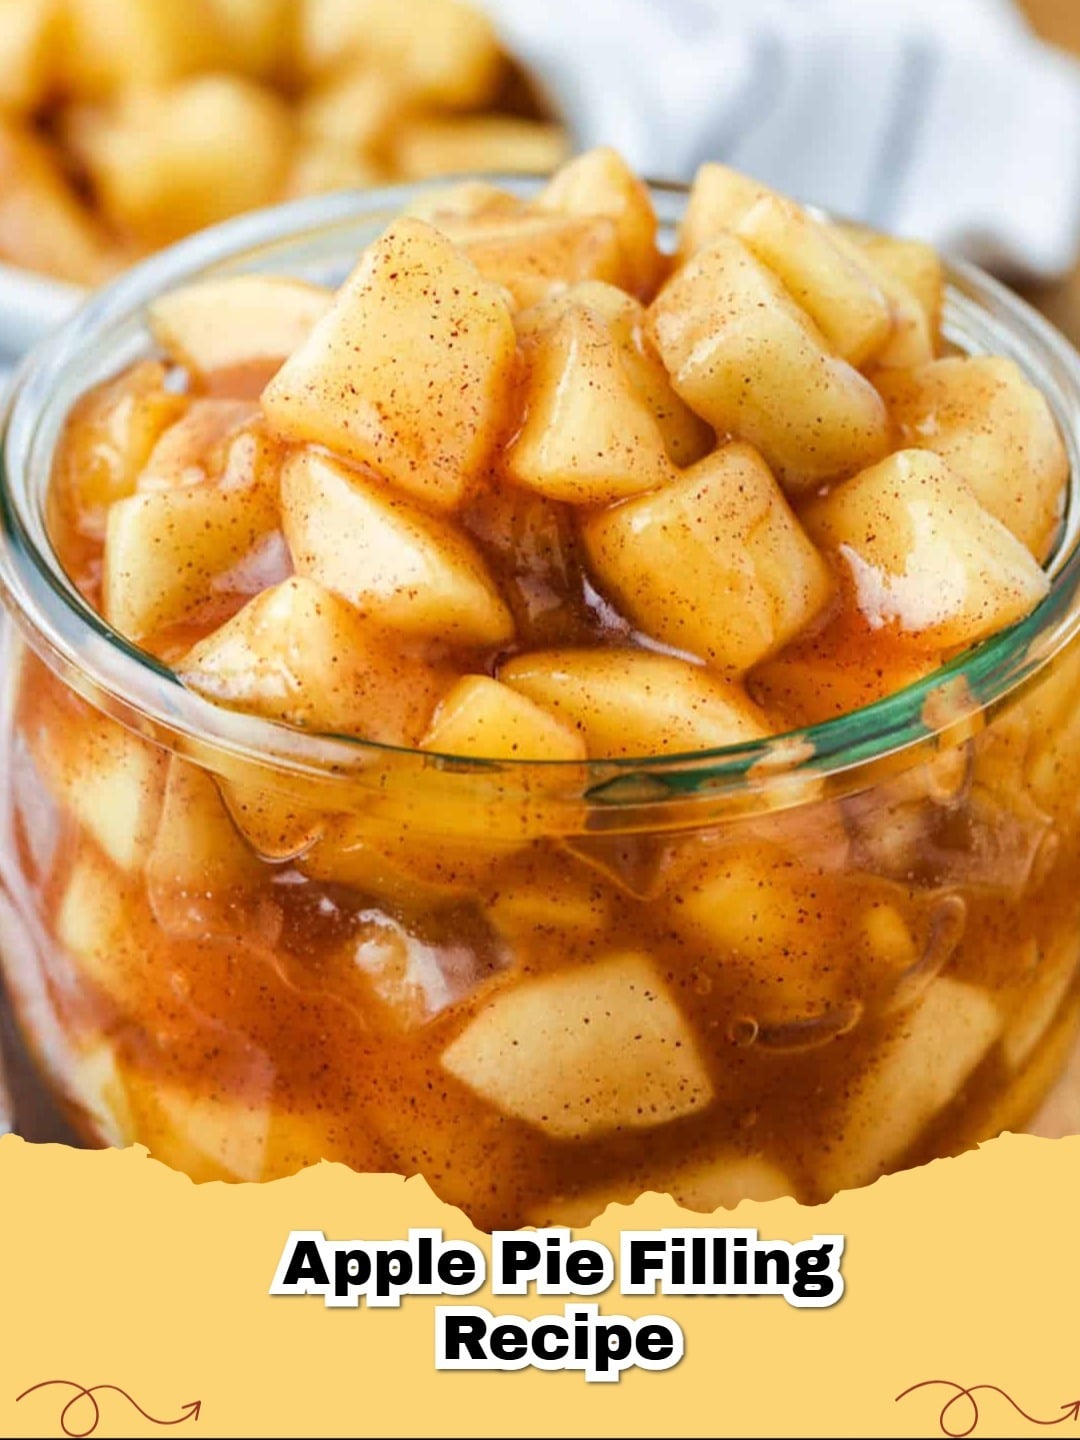
There's nothing quite like the comforting aroma and taste of a homemade apple pie, and the secret to its success lies squarely in the filling. Forget those canned options; making your own apple pie filling from scratch is surprisingly simple and yields a vastly superior flavor and texture that will elevate any dessert.
This recipe ensures perfectly spiced, tender-yet-firm apple slices bathed in a luscious, thick sauce. It's versatile enough for a classic double-crust pie, crumbles, turnovers, or even served warm over ice cream. Get ready to impress with this truly delightful apple pie filling!
Why Homemade Apple Pie Filling is Always Best
While convenience often calls, the benefits of making your own apple pie filling are undeniable. You control the quality of ingredients, the balance of sweetness and spice, and the texture of the apples. No artificial flavors, no excessive sugar, just pure, wholesome goodness. Plus, the process itself is incredibly rewarding.
Choosing the Right Apples
The type of apple you use is crucial for a great filling. A blend often works best, combining tart varieties with sweeter ones for a balanced flavor profile. Here are some top contenders:
- Granny Smith: The quintessential tart apple, holding its shape well.
- Honeycrisp: Sweet, crisp, and maintains texture beautifully.
- Fuji: Sweet, juicy, and firm.
- Braeburn: A good balance of sweet and tart with a firm texture.
- Gala: Mildly sweet and tender.
For best results, aim for a mix of 2-3 different apple varieties to achieve complexity in flavor and texture. When preparing your apples, a Quality Chef's Knife can make peeling and coring a breeze, ensuring uniform slices for even cooking.
Tips for the Perfect Apple Pie Filling
- Don't Skimp on Lemon Juice: It brightens the flavor of the apples and prevents them from browning.
- Cook Down Slightly: Pre-cooking the apples slightly on the stovetop helps them release moisture, preventing a watery pie and ensuring they are tender enough when baked.
- Adjust Sweetness to Taste: The amount of sugar can vary depending on the sweetness of your apples and your personal preference. Taste and adjust before adding to the pie crust.
- Proper Thickening: Flour or cornstarch both work well. Ensure it's fully incorporated before cooking to avoid lumps.
- Spice It Up: Cinnamon is a must, but nutmeg, allspice, or a touch of cloves can add wonderful depth.
Once you master this simple recipe, you'll find yourself reaching for it again and again. It’s the foundation for countless delicious desserts and a truly essential skill for any home baker.
nnFAQs
nnWhat are the best apples for apple pie filling?
For the best apple pie filling, use a mix of tart and sweet apples. Granny Smith (tart) is a classic choice, often paired with sweeter varieties like Honeycrisp, Fuji, Braeburn, or Gala for a balanced flavor and good texture.
Can I make apple pie filling ahead of time?
Yes, you can absolutely make apple pie filling ahead of time! Prepare the filling, let it cool completely, and then store it in an airtight container in the refrigerator for up to 3-4 days. This makes pie assembly much quicker on baking day.
How do I prevent my apple pie filling from being watery?
To prevent watery filling, ensure you cook the apples sufficiently to release their moisture and allow the thickening agent (flour or cornstarch) to fully activate. Using the right amount of thickener for the juiciness of your apples is key. Some people also pre-cook the apples slightly to reduce excess liquid.
Can I freeze apple pie filling?
Yes, apple pie filling freezes beautifully! Allow the cooked filling to cool completely, then transfer it to a freezer-safe bag or airtight container. It can be frozen for up to 3-4 months. Thaw in the refrigerator overnight before using.

Classic Homemade Apple Pie Filling
- Total Time: 35 minutes
- Yield: Fills one 9-inch pie (approx. 6-8 servings) 1x
- Diet: Vegetarian
Description
A simple and delicious recipe for apple pie filling, perfectly spiced and sweetened, ready to elevate your homemade pies.
Ingredients
8-10 medium apples (about 6 cups sliced), a mix of tart and sweet like Granny Smith, Honeycrisp, or Fujin1/2 cup granulated sugar (adjust to taste)n1/4 cup packed light brown sugarn1/4 cup all-purpose flour (or 2 tablespoons cornstarch for gluten-free)n1 teaspoon ground cinnamonn1/4 teaspoon ground nutmegnPinch of ground cloves (optional)n2 tablespoons unsalted buttern1 tablespoon lemon juicen1/4 cup water or apple cider
Instructions
Step 1: Peel, core, and slice the apples into roughly 1/4-inch thick pieces. Place them in a large bowl and toss with lemon juice to prevent browning.nStep 2: In a small bowl, whisk together the granulated sugar, brown sugar, flour (or cornstarch), cinnamon, nutmeg, and cloves. This creates your spice and thickening mixture.nStep 3: Add the sugar and spice mixture to the bowl with the sliced apples. Toss gently until the apples are evenly coated.nStep 4: In a large saucepan or Dutch oven, melt the butter over medium heat. Add the coated apples and the water (or apple cider).nStep 5: Cook the apples, stirring frequently, for 10-15 minutes, or until the apples have softened slightly and the sauce has thickened. You want them tender but still firm enough to hold their shape in the oven. The exact cooking time will depend on the apple variety.nStep 6: Remove the filling from the heat and let it cool completely before using in a pie or storing. This helps the filling set even further.
Notes
For a richer flavor, you can add 1-2 tablespoons of brandy or bourbon along with the water/cider. If your apples are particularly juicy, you might need an extra tablespoon of flour or cornstarch. Taste the filling before cooling and adjust spices or sugar if needed.
- Prep Time: 15 minutes
- Cook Time: 20 minutes
- Category: Dessert
- Method: Simmering
- Cuisine: American
Nutrition
- Serving Size: 1/8th of recipe
- Calories: 280 kcal
- Sugar: 50g
- Sodium: 15mg
- Fat: 4g
- Saturated Fat: 2g
- Unsaturated Fat: 2g
- Trans Fat: 0g
- Carbohydrates: 65g
- Fiber: 6g
- Protein: 1g
- Cholesterol: 8mg


Leave a Reply