
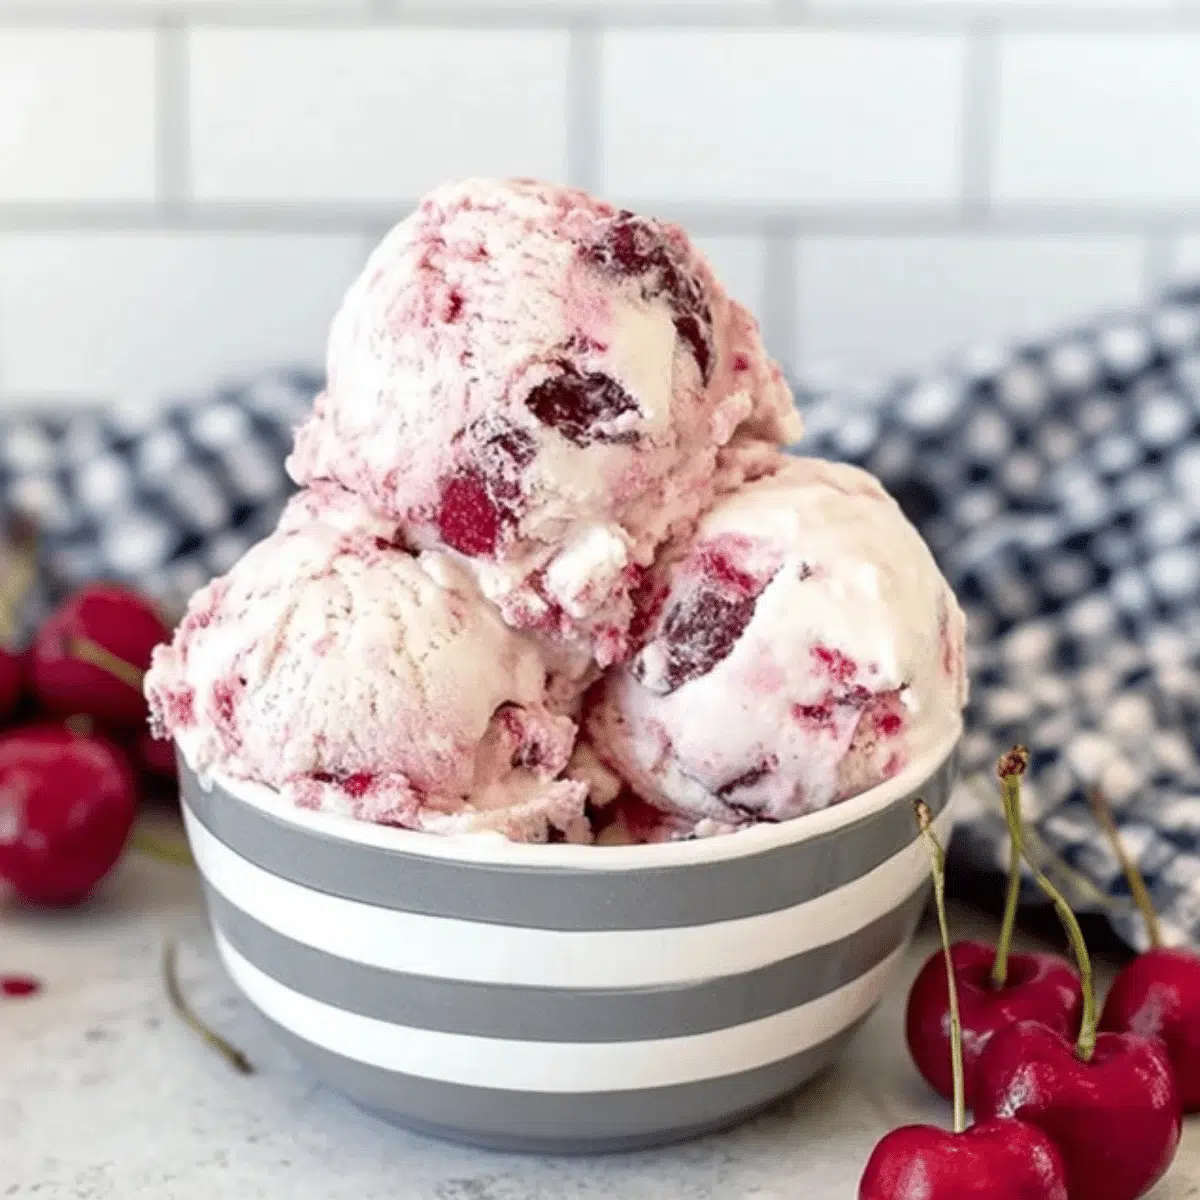
There's nothing quite like the creamy, refreshing taste of homemade ice cream, especially when it features the perfect blend of sweet cherries and rich vanilla. Our Easy & Delicious Homemade Cherry Vanilla Ice Cream recipe brings you that classic, nostalgic flavor with a simple, straightforward process. Forget those store-bought tubs; this is the real deal, packed with fresh fruit and irresistible sweetness!
Why This Homemade Cherry Vanilla Ice Cream Will Be Your New Favorite
This recipe isn't just about making ice cream; it's about crafting a memorable dessert experience. You'll love the vibrant burst of fresh cherries swirled through a luscious vanilla base, elevated by optional chocolate chunks for an extra layer of indulgence. It's surprisingly easy to make, allowing you to control every ingredient for a pure, unadulterated flavor that artificial additives just can't match. Perfect for summer gatherings, family treats, or a quiet evening indulgence, this recipe truly celebrates simple, delicious flavors.
Essential Ingredients for Your Frozen Masterpiece
Crafting this delightful ice cream requires just a few quality ingredients. The star, of course, is fresh, ripe cherries, which will be transformed into a sweet, tangy swirl. Paired with rich heavy cream, whole milk, and pure vanilla extract, these elements combine to create an unforgettable frozen dessert. A touch of sugar balances the flavors beautifully.
Choosing the Perfect Cherries for Maximum Flavor
The success of your cherry vanilla ice cream largely depends on the quality of your cherries. Opt for firm, plump, and shiny sweet cherries like Bing or Rainier. Avoid any with soft spots or blemishes. Pitting them can be a bit of a task, but a cherry pitter makes quick work of it, or you can use a clean chopstick. For more fascinating facts about cherries, including their history and nutritional benefits, you can explore their Wikipedia page.
How to Make Easy Cherry Vanilla Ice Cream: Step-by-Step
Ready to churn up some magic? Follow these straightforward steps to create your own irresistible homemade cherry vanilla ice cream. The process is rewarding, and the results are incredibly delicious!

Tips for the Creamiest Texture and Best Storage
Achieving perfectly creamy homemade ice cream is simple with a few insider tips:
- Chill Thoroughly: Ensure your ice cream maker's bowl is frozen solid (at least 24 hours prior) and that both your vanilla base and cherry swirl are well-chilled before churning. This promotes faster freezing and a smoother texture.
- Prevent Ice Crystals: To keep your ice cream wonderfully smooth and free from ice crystals, press a piece of parchment or wax paper directly onto the surface of the ice cream before covering the container with a lid.
- Don't Overmix the Swirl: When layering the ice cream with the cherry swirl, don't overmix. A few gentle passes with a knife are all you need to create beautiful ribbons of flavor without blending them completely.
If you're a fan of homemade frozen treats, you might also enjoy our recipe for Cookies and Cream Ice Cream – Easy Homemade Recipe, offering another delightful flavor adventure!
Delicious Pairings & Creative Variations
This Cherry Vanilla Ice Cream is divine on its own, but it also lends itself beautifully to various pairings and customizations:
- Serve it in a classic waffle cone or alongside a warm brownie or apple pie.
- For an extra layer of texture, swirl in chopped toasted pecans, walnuts, or even mini marshmallows.
- Drizzle with a high-quality balsamic glaze before serving for a gourmet touch.
- Consider adding a small amount of cherry liqueur to the cherry swirl for an adult version.
For those who love to experiment with unique ice cream flavors, be sure to check out A Step-by-Step Guide to Mexican Fried Ice Cream – Clara's Recipes for a truly adventurous dessert.
Indulge in Homemade Bliss
Making your own ice cream is a truly satisfying experience, and this Easy & Delicious Homemade Cherry Vanilla Ice Cream recipe is a perfect testament to that. It’s a versatile, flavorful dessert that brings joy with every spoonful. Gather your ingredients, prepare your ice cream maker, and get ready to enjoy the freshest, most delicious frozen treat you've ever made!


Homemade Cherry Vanilla Ice Cream
- Total Time: 4 hours 30 minutes
- Yield: 6-8 servings 1x
- Diet: Vegetarian
Description
Indulge in a creamy, delightful homemade ice cream featuring fresh, sweet cherries swirled into a rich vanilla base, perfect for any occasion.
Ingredients
2 cups fresh cherries, pitted and halved
1/2 cup granulated sugar (for cherries)
1 teaspoon vanilla extract (for cherries)
2 cups heavy cream
1 cup whole milk
3/4 cup granulated sugar (for ice cream base)
2 teaspoons pure vanilla extract (for ice cream base)
1/2 cup chopped dark chocolate chunks (optional)
Instructions
Step 1: Prepare the cherry swirl. In a small saucepan, combine the pitted and halved fresh cherries with 1/2 cup granulated sugar and 1 teaspoon vanilla extract. Cook over medium heat for 8-10 minutes, stirring occasionally, until the cherries soften and release their juices, forming a syrupy sauce. Remove from heat, let cool completely, then chill in the refrigerator for at least 1 hour.
Step 2: Make the ice cream base. In a large bowl, whisk together the heavy cream, whole milk, and 3/4 cup granulated sugar until the sugar is fully dissolved. Stir in the 2 teaspoons pure vanilla extract.
Step 3: Chill the base. Cover the ice cream base and refrigerate for at least 2 hours, or preferably overnight, until thoroughly chilled. This is crucial for a creamy texture.
Step 4: Churn the ice cream. Pour the chilled ice cream base into your ice cream maker and churn according to the manufacturer's instructions, typically for 20-25 minutes, until it reaches a soft-serve consistency.
Step 5: Layer and freeze. Gently fold the chopped dark chocolate chunks (if using) into the churned vanilla ice cream. Spoon alternate layers of the churned ice cream and the chilled cherry swirl into a freezer-safe container. Use a knife to swirl gently a few times for a marbled effect.
Step 6: Harden. Press a piece of parchment paper directly onto the surface of the ice cream, then cover the container with an airtight lid. Freeze for at least 4-6 hours, or until firm, before scooping and serving.
Notes
For an even richer flavor, you can steep a vanilla bean in the milk and cream mixture before chilling, then remove it before churning. Ensure all ingredients are very cold for the best results.
- Prep Time: 20 minutes
- Cook Time: 10 minutes
- Category: Dessert
- Method: Churning
- Cuisine: American
Nutrition
- Serving Size: 1/2 cup
- Calories: 320 kcal
- Sugar: 30g
- Sodium: 45mg
- Fat: 20g
- Saturated Fat: 12g
- Unsaturated Fat: 6g
- Trans Fat: 0g
- Carbohydrates: 35g
- Fiber: 2g
- Protein: 4g
- Cholesterol: 95mg
FAQs
Can I make this cherry vanilla ice cream without an ice cream maker?
While an ice cream maker delivers the creamiest results, you can adapt this recipe to a no-churn method. Simply fold the chilled base and cherry swirl into stiffly whipped heavy cream, then freeze. The texture will be slightly softer but still wonderfully delicious.
What type of cherries are best for this homemade ice cream?
Sweet varieties like Bing, Rainier, or Chelan cherries are ideal for their vibrant flavor and color. Look for firm, ripe cherries. If fresh cherries are out of season, you can use good quality frozen pitted cherries, thawed and drained, though fresh will always offer the best taste.
How long does homemade cherry vanilla ice cream last in the freezer?
For the best flavor and texture, homemade ice cream should be enjoyed within 1-2 weeks when stored in an airtight container in the coldest part of your freezer. Pressing a piece of parchment paper directly onto the surface before sealing helps prevent ice crystals.
Can I add other mix-ins or variations to this recipe?
Absolutely! This recipe is very adaptable. Besides chocolate chunks, consider adding chopped toasted almonds, white chocolate chips, or a hint of almond extract to the cherry swirl for an extra layer of flavor. A drizzle of dark chocolate fudge sauce during layering is also a delightful addition.


