
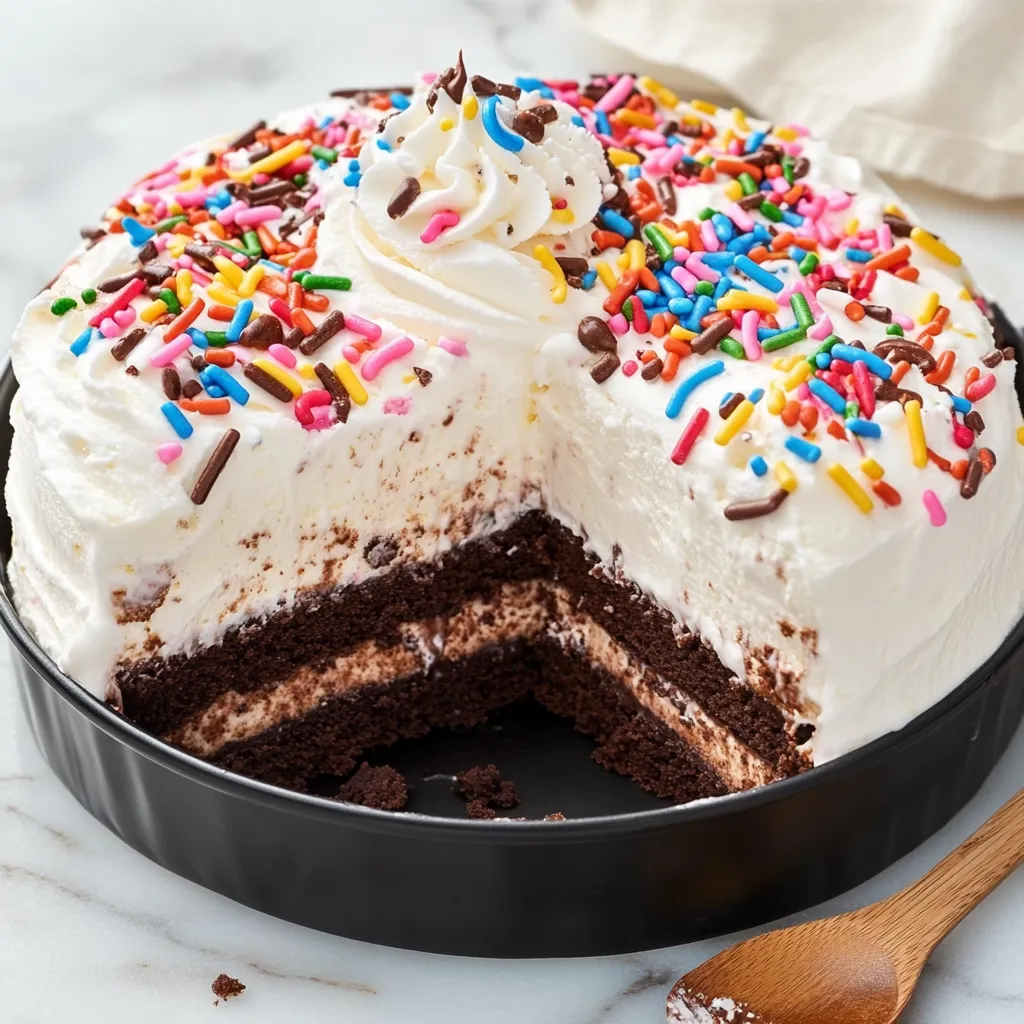
Few desserts bring back fond memories and spark celebration quite like a Dairy Queen ice cream cake. That delightful combination of soft chocolate cake, two layers of creamy ice cream, a rich fudge center, and crunchy Oreo pieces is truly iconic. What if you could capture that magic right in your own kitchen? This recipe makes recreating that beloved classic surprisingly simple, allowing you to craft a stunning homemade DQ ice cream cake that’s perfect for birthdays, holidays, or any moment that calls for an extraordinary treat.
Forget complicated baking techniques – our guide breaks down each step to ensure a foolproof process, even if you’re a beginner. The result is a personalized, fresh, and utterly delicious ice cream cake that will impress everyone at your table. Get ready to layer up the happiness!
Why You'll Adore This Homemade Ice Cream Cake
This isn’t just a dessert; it’s an experience. Here’s why this homemade ice cream cake will become a cherished recipe in your collection:
- Nostalgic Appeal: It delivers that unmistakable taste and texture of a classic Dairy Queen cake.
- Effortlessly Impressive: The layered effect looks incredibly professional, but the assembly is wonderfully straightforward.
- Customizable Fun: Easily swap ice cream flavors or add your favorite candies and toppings to make it uniquely yours.
- Party Perfect: A guaranteed crowd-pleaser that serves as an amazing centerpiece for any celebration.
Gather Your Ingredients & Equipment
To ensure a smooth process, have all your ingredients and equipment ready before you start. You’ll need two 8-inch round cake pans for the cake base. Having a large offset spatula will also be helpful for spreading the ice cream and whipped topping smoothly.
Ingredients:
- 1 box (approx. 15.25 oz) chocolate cake mix (plus ingredients required on box: water, oil, eggs)
- 1 cup water (for cake mix preparation)
- ⅓ cup vegetable oil (for cake mix preparation)
- 3 large eggs (for cake mix preparation)
- 1 half-gallon vanilla ice cream, softened
- 1 half-gallon chocolate ice cream, softened
- 1 cup hot fudge sauce, slightly warmed
- 1 cup whipped topping (like Cool Whip), thawed
- ¼ cup crushed Oreos, for topping
- Chocolate syrup, for drizzling (optional)

Step-by-Step Guide to Your Ultimate DQ Ice Cream Cake
Part 1: Preparing the Cake Base
A moist and tender chocolate cake forms the delicious foundation of our ice cream cake. Using a good quality cake mix keeps this step quick and easy!
- Step 1: Preheat your oven to 350°F (175°C). Prepare two 8-inch round cake pans by greasing and lightly flouring them, or lining the bottoms with parchment paper for easy removal.
- Step 2: In a large mixing bowl, prepare the chocolate cake mix according to the package directions. This typically involves combining the mix with 1 cup of water, ⅓ cup of vegetable oil, and 3 large eggs. Mix until the batter is smooth and well combined.
- Step 3: Divide the cake batter evenly between the two prepared 8-inch cake pans. Bake for 25-30 minutes, or until a toothpick inserted into the center of the cakes comes out clean.
- Step 4: Once baked, remove the cakes from the oven and allow them to cool completely in their pans on a wire rack. This is crucial for preventing the ice cream layers from melting prematurely.
Part 2: Layering the Ice Cream
The star of the show – creamy layers of ice cream! Softening them just slightly makes spreading a breeze.

- Step 5: While the cakes are cooling, take the vanilla and chocolate ice cream out of the freezer and let them sit at room temperature for about 10-15 minutes. They should be soft enough to spread easily but not completely melted.
- Step 6: Once softened, carefully spread an even layer of vanilla ice cream over the top of one cooled chocolate cake. Repeat the process with the chocolate ice cream, spreading it evenly over the second cooled chocolate cake. Ensure the ice cream extends to the very edges of each cake.
- Step 7: Place both ice cream-covered cakes back into the freezer for 1-2 hours, or until the ice cream layers are completely firm. This firming step is essential for clean, distinct layers during assembly.
Part 3: Assembling Your Masterpiece
Now it's time to bring all the delicious components together to create your spectacular ice cream cake!

- Step 8: Once the ice cream layers are firm, carefully place the chocolate ice cream-covered cake layer onto your chosen serving platter or cake stand. This will form the bottom tier of your cake.
- Step 9: Drizzle a generous amount of slightly warmed hot fudge sauce evenly over the chocolate ice cream layer. Spread it gently to cover the surface.
- Step 10: Gently place the vanilla ice cream-covered cake layer directly on top of the fudge layer, ensuring it is centered. Press down lightly to help the layers adhere.
Part 4: The Finishing Touches and Freezing
The iconic whipped topping and crunchy Oreos are the perfect finale for your cake!

- Step 11: Take your thawed whipped topping and spread it evenly over the top and sides of the assembled cake, creating a smooth and inviting finish.
- Step 12: Evenly sprinkle the ¼ cup of crushed Oreos over the whipped topping, creating a signature crunch. If desired, add a final flourish with a drizzle of chocolate syrup.
- Step 13: Place the decorated cake back into the freezer for at least 2 hours, or preferably overnight, before serving. This crucial step ensures all layers are perfectly firm and easy to slice.
- Step 14: When you're ready to enjoy, remove the cake from the freezer and let it sit at room temperature for 5-10 minutes. For the best results, slice with a hot, clean knife and revel in your magnificent homemade DQ ice cream cake!
Tips for Ultimate Success and Creative Variations
- Perfectly Soft Ice Cream: The key is 'spreadable,' not 'melted.' If your ice cream gets too soft, pop it back in the freezer for a few minutes.
- Smooth Whipped Topping: For a super smooth finish, dip your offset spatula or knife in hot water and wipe it dry before spreading the whipped topping.
- Flavor Adventures: Don't be afraid to experiment! Try coffee ice cream, strawberry, or even a swirl of two different flavors in one layer.
- Extra Crunch: In addition to Oreos, consider adding mini chocolate chips, chopped nuts, or other crushed cookies to the fudge layer or on top.
Did you know that the concept of ice cream cakes dates back to the late 19th century, evolving as refrigeration became more widespread? It’s a treat with a surprisingly long history of culinary innovation!


Conclusion
Crafting your own Dairy Queen-inspired ice cream cake is a truly rewarding experience. The synergy of tender chocolate cake, two layers of rich ice cream, a gooey hot fudge core, and that irresistible Oreo crunch creates a dessert that's undeniably special and often even better than store-bought options. It’s a labor of love that promises pure joy with every spoonful.
Whether you’re commemorating a milestone, hosting a gathering, or simply craving a spectacular frozen treat, this homemade ice cream cake is guaranteed to be a hit. So gather your ingredients, follow these simple instructions, and get ready to create a dessert that will delight friends and family alike!
FAQs
Can I use different ice cream flavors for this homemade DQ cake?
Absolutely! While chocolate and vanilla are traditional for a classic DQ style, you can easily customize your cake with your favorite ice cream flavors like strawberry, coffee, or even mint chocolate chip to make it uniquely yours.
How far in advance can I prepare this ice cream cake?
This homemade ice cream cake is perfect for making ahead! You can assemble the entire cake up to 2-3 days before you plan to serve it. Just ensure it's well-wrapped in plastic wrap or stored in an airtight container to prevent freezer burn.
What's the best way to get clean slices of the ice cream cake?
For perfectly clean slices, remove the cake from the freezer and let it sit at room temperature for 5-10 minutes. Use a sharp knife that has been run under hot water and wiped dry before each cut. This helps the knife glide smoothly through the frozen layers.
Can I make this ice cream cake without a cake mix?
Yes, you can certainly use your favorite homemade chocolate cake recipe for the base instead of a box mix. Just ensure the cakes are fully cooled before adding the ice cream layers to prevent melting.

Homemade Dairy Queen Ice Cream Cake
- Total Time: 3 hours 30 minutes (includes freezing)
- Yield: 12-16 servings 1x
- Diet: N/A
Description
An easy-to-follow recipe to recreate the iconic DQ ice cream cake at home, featuring chocolate cake, vanilla and chocolate ice cream, hot fudge, and crushed Oreos.
Ingredients
1 box (approx. 15.25 oz) chocolate cake mix (plus ingredients required on box)
1 cup water (for cake mix preparation)
⅓ cup vegetable oil (for cake mix preparation)
3 large eggs (for cake mix preparation)
1 half-gallon vanilla ice cream, softened
1 half-gallon chocolate ice cream, softened
1 cup hot fudge sauce, slightly warmed
1 cup whipped topping (like Cool Whip), thawed
¼ cup crushed Oreos, for topping
Chocolate syrup, for drizzling (optional)
Instructions
Step 1: Preheat your oven to 350°F (175°C). Prepare two 8-inch round cake pans by greasing and lightly flouring them, or lining the bottoms with parchment paper for easy removal.
Step 2: In a large mixing bowl, prepare the chocolate cake mix according to the package directions. This typically involves combining the mix with 1 cup of water, ⅓ cup of vegetable oil, and 3 large eggs. Mix until the batter is smooth and well combined.
Step 3: Divide the cake batter evenly between the two prepared 8-inch cake pans. Bake for 25-30 minutes, or until a toothpick inserted into the center of the cakes comes out clean.
Step 4: Once baked, remove the cakes from the oven and allow them to cool completely in their pans on a wire rack. This is crucial for preventing the ice cream layers from melting prematurely.
Step 5: While the cakes are cooling, take the vanilla and chocolate ice cream out of the freezer and let them sit at room temperature for about 10-15 minutes. They should be soft enough to spread easily but not completely melted.
Step 6: Once softened, carefully spread an even layer of vanilla ice cream over the top of one cooled chocolate cake. Repeat the process with the chocolate ice cream, spreading it evenly over the second cooled chocolate cake. Ensure the ice cream extends to the very edges of each cake.
Step 7: Place both ice cream-covered cakes back into the freezer for 1-2 hours, or until the ice cream layers are completely firm. This firming step is essential for clean, distinct layers during assembly.
Step 8: Once the ice cream layers are firm, carefully place the chocolate ice cream-covered cake layer onto your chosen serving platter or cake stand. This will form the bottom tier of your cake.
Step 9: Drizzle a generous amount of slightly warmed hot fudge sauce evenly over the chocolate ice cream layer. Spread it gently to cover the surface.
Step 10: Gently place the vanilla ice cream-covered cake layer directly on top of the fudge layer, ensuring it is centered. Press down lightly to help the layers adhere.
Step 11: Take your thawed whipped topping and spread it evenly over the top and sides of the assembled cake, creating a smooth and inviting finish.
Step 12: Evenly sprinkle the ¼ cup of crushed Oreos over the whipped topping, creating a signature crunch. If desired, add a final flourish with a drizzle of chocolate syrup.
Step 13: Place the decorated cake back into the freezer for at least 2 hours, or preferably overnight, before serving. This crucial step ensures all layers are perfectly firm and easy to slice.
Step 14: When you're ready to enjoy, remove the cake from the freezer and let it sit at room temperature for 5-10 minutes. For the best results, slice with a hot, clean knife and revel in your magnificent homemade DQ ice cream cake!
Notes
For an extra treat, try adding a layer of chopped nuts or mini chocolate chips on top of the fudge layer before adding the second cake layer. Ensure all ice cream layers are very firm before stacking for the cleanest presentation.
- Prep Time: 30 minutes
- Cook Time: 25-30 minutes
- Category: Dessert
- Method: Baking and Freezing
- Cuisine: American
Nutrition
- Serving Size: 1 slice
- Calories: 450 kcal
- Sugar: 45g
- Sodium: 380mg
- Fat: 20g
- Saturated Fat: 12g
- Unsaturated Fat: 7g
- Trans Fat: 0g
- Carbohydrates: 65g
- Fiber: 3g
- Protein: 6g
- Cholesterol: 70mg


