
Introduction
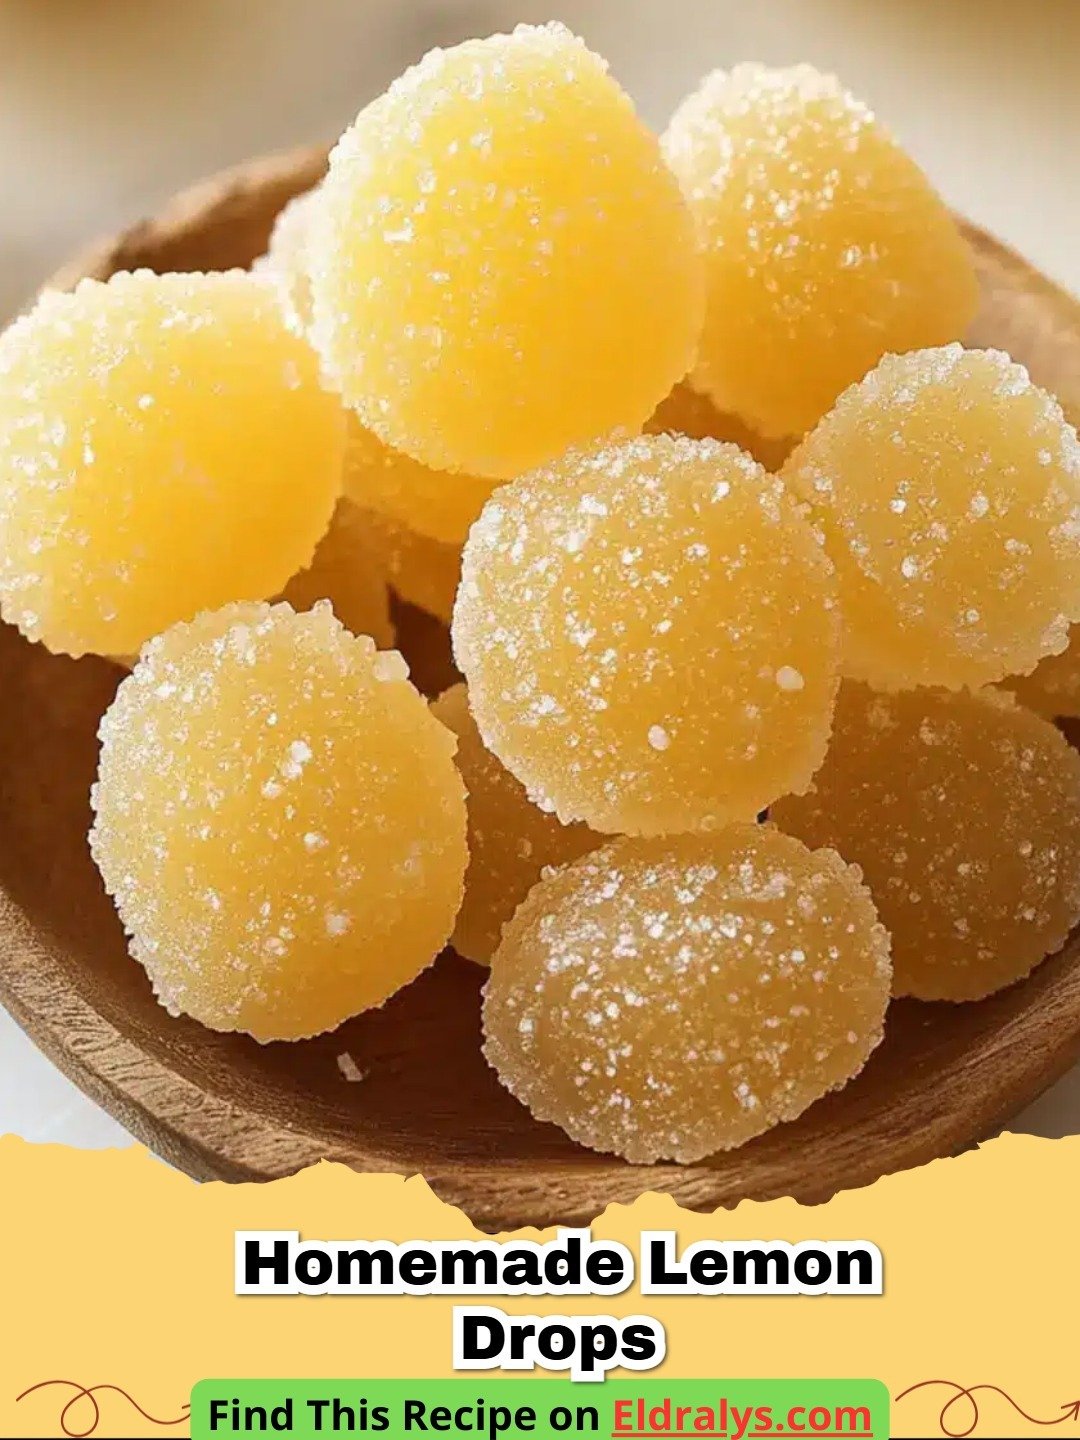
Homemade Lemon Drops are more than just a sweet treat; they are a nostalgic journey back to a time when candy was made with patience, love, and the simplest of ingredients. There is something profoundly satisfying about transforming granulated sugar and fresh citrus into shimmering, golden gems that dance on the tongue with a balance of sharp acidity and mellow sweetness. Making your own confections at home allows you to bypass the artificial dyes and preservatives found in store-bought versions, giving you a pure, vibrant flavor that store-bought varieties simply cannot match.
The process of crafting Homemade Lemon Drops is an exercise in culinary chemistry that is both fascinating and rewarding. As you watch the sugar syrup bubble and darken, you are witnessing the transition of matter through precise temperature control. Whether you are looking to create a thoughtful handmade gift or simply want to master the art of the hard-crack stage, this recipe will guide you through every nuance of the process. Prepare your kitchen for the bright, invigorating scent of boiling lemon oil as we dive into this classic confectionery masterpiece.
The Fascinating History of Hard Candy
Before we pick up our spatulas, it is worth exploring the rich heritage of hard candies. Hard-boiled sweets have been around for centuries, with early versions often utilized for medicinal purposes. In the 18th and 19th centuries, citrus-flavored lozenges were commonly used to soothe sore throats and mask the bitter taste of early medicines. The 'drop' format became popular in England, where confectioners would drop hot sugar onto marble slabs or into small molds to create uniform pieces.
Homemade Lemon Drops eventually evolved from these medicinal roots into a staple of the Victorian candy shop. The bright yellow color and sharp zing made them a favorite among children and adults alike. By making these today, you are participating in a tradition that spans generations. The simplicity of the lemon drop is its greatest strength, relying on the quality of the sugar and the intensity of the lemon to speak for itself without the need for complex additives.
Why You’ll Love It
You will absolutely adore these Homemade Lemon Drops because they offer a customizable level of tartness that commercial candies lack. By controlling the amount of citric acid or fresh lemon zest, you can create a candy that ranges from mildly sweet to mouth-puckeringly sour. Furthermore, the texture of a fresh, homemade hard candy is incomparable; it has a clean break and a smooth melt that feels luxurious.
This recipe is also incredibly cost-effective. With just a few pantry staples, you can produce a large batch of candies that look like they came from a high-end boutique. They are naturally gluten-free and vegan, making them a safe and delightful gift for almost anyone on your list. Plus, the pride of saying you made them from scratch is the ultimate cherry on top of this zesty experience.
The Chemistry of the Hard-Crack Stage
Understanding the science behind Homemade Lemon Drops is the key to consistent success. When we boil sugar and water, the water evaporates, increasing the concentration of sugar in the syrup. Different temperatures correspond to different stages of candy making. For hard candies, we must reach the 'hard-crack' stage, which occurs between 300°F and 310°F.
At this temperature, there is almost no water left in the syrup (less than 1%). If you pull the candy off the heat too early, it will remain sticky or chewy, sticking to your teeth and losing that signature 'snap.' Adding an acid, like lemon juice or cream of tartar, is also essential. This process, known as sugar inversion, helps prevent the sucrose from crystallizing back into large, gritty grains, ensuring your lemon drops remain glass-like and smooth.
Ingredients
The beauty of Homemade Lemon Drops lies in their short ingredient list. You will need 2 cups of granulated white sugar, 1/2 cup of filtered water, 1/4 cup of freshly squeezed lemon juice, and 1/2 teaspoon of cream of tartar. To enhance the flavor and color, consider adding 1 teaspoon of pure lemon extract and a drop of natural yellow food coloring if desired. For the final touch, you will need extra sugar for coating the finished drops.
Notes and Substitutions
If you prefer an even sharper tang, you can substitute the lemon juice with a mixture of lime juice or add a pinch of citric acid to the final coating sugar. Using Simple Lemon Curd Frosting: The Zesty Secret to Your Most Beautiful Cakes as inspiration, you might see how lemon oil provides a deeper aromatic quality than juice alone. For a more floral twist, replace the water with strong lavender tea to create lemon-lavender drops.
Citrus Deep Dive: Selecting the Best Lemons
Not all lemons are created equal when it comes to Homemade Lemon Drops. The standard Eureka or Lisbon lemons found in most grocery stores are excellent because of their high acidity and thick, oil-rich skins. Their juice provides the necessary sharpness to cut through the heavy sweetness of the boiled sugar. However, if you want a more nuanced, sweeter profile, Meyer lemons are an incredible choice.
Meyer lemons are a cross between a lemon and a mandarin orange, offering a complex aroma that is slightly floral. When using Meyer lemons, you may want to increase the lemon juice slightly or add a tiny bit of extra citric acid to maintain that classic lemon drop zing. Regardless of the variety, always choose fruit that feels heavy for its size and has a smooth, bright yellow skin, as these will yield the most juice and fragrant oils.
Equipment
To succeed with Homemade Lemon Drops, you need a heavy-bottomed stainless steel saucepan to ensure even heat distribution and prevent scorching. A high-quality digital candy thermometer is non-negotiable for precision. You will also need a silicone spatula, a silicone candy mold or a parchment-lined baking sheet, and a small sifter for the sugar coating. Having a pair of kitchen shears is helpful if you plan on using the traditional hand-cutting method.
Instructions
- Step 1: Combine the granulated sugar, filtered water, fresh lemon juice, and cream of tartar in your heavy-bottomed saucepan over medium heat.
- Step 2: Stir the mixture constantly until the sugar has completely dissolved and the liquid is clear. Use a wet pastry brush to wash down any sugar crystals from the sides of the pot.
- Step 3: Clip your candy thermometer to the side of the pan, ensuring the bulb is submerged but not touching the bottom. Increase the heat to medium-high and stop stirring.
- Step 4: Boil the syrup until it reaches exactly 300°F (the hard-crack stage). This can take 10 to 15 minutes depending on your stove.
- Step 5: Immediately remove the pan from the heat. Once the bubbling subsides, stir in the lemon extract and any food coloring if you are using it.
- Step 6: Carefully pour the hot liquid into your silicone molds or drop small circles onto a parchment-lined sheet. Be extremely cautious as the syrup is dangerously hot.
- Step 7: Allow the Homemade Lemon Drops to cool completely at room temperature for at least 30 minutes until they are rock hard.
- Step 8: Pop the candies out of the molds or break them apart. Toss them in a bowl of granulated sugar until they are fully coated to prevent them from sticking together.
Confectionery Troubleshooting
Even expert candy makers face challenges. If your Homemade Lemon Drops turn out cloudy, it often means the sugar crystallized because of stirring during the boiling phase or because crystals were left on the side of the pot. If the candy never hardens, your thermometer might be uncalibrated, or you didn't reach the full 300°F. Humidity is another enemy; making hard candy on a rainy day can result in a sticky mess, as sugar is hygroscopic and pulls moisture from the air.
To fix sticky candies, you can try re-boiling the mixture with a little extra water to start over, or simply coat them heavily in cornstarch and powdered sugar to create a moisture barrier. Always ensure your equipment is bone-dry before starting. For more citrus-based baking tips, check out The Best Starbucks Lemon Loaf Recipe You’ll Ever Bake to see how lemon behaves in different dessert structures.


Pro Tips
To take your Homemade Lemon Drops to the next level, always use a high-quality external reference like the hard candy science page to understand sugar structures. For the best flavor, use lemon oil instead of extract if you can find it, as it is heat-stable and won't evaporate as quickly. Cooling your candy too fast in the fridge can cause it to crack or become cloudy, so patience at room temperature is key. Finally, try adding a tiny pinch of salt to the sugar mix to enhance the citrus brightness.
Serving, Storage & Variations
Store your Homemade Lemon Drops in an airtight glass jar kept in a cool, dry place. If you live in a humid climate, adding a food-grade silica gel packet to the jar can be a lifesaver. These candies will stay fresh for up to 6 weeks if kept away from moisture. For variations, try 'Pink Lemonade Drops' by adding a splash of raspberry juice, or 'Honey Lemon Drops' by replacing 1/4 cup of sugar with high-quality honey. You can even dip half of each drop in tempered dark chocolate for a sophisticated adult treat.
Nutrition Information
Below is the estimated nutrition information per single candy serving. This data helps you track your intake while enjoying these delightful zesty treats.
| Nutrient | Amount |
|---|---|
| Calories | 45 kcal |
| Protein | 0g |
| Carbohydrates | 11g |
| Fat | 0g |
| Sugar | 11g |
| Sodium | 1mg |
Note: Nutrition information is an estimate based on standard ingredients and serving sizes.
Conclusion
Mastering Homemade Lemon Drops is a rewarding skill that brings the magic of the candy shop into your own home. With their vibrant flavor and satisfying crunch, these candies are sure to become a family favorite. Remember that patience with the temperature is your best friend in the kitchen. Once you taste the difference that fresh lemon juice makes, you will never go back to store-bought hard candy again. Enjoy the process, stay safe with the hot syrup, and savor every tangy moment of your homemade creation!
FAQs
What temperature do Homemade Lemon Drops need to reach?
The candy mixture must reach the hard-crack stage, which is between 300u00b0F and 310u00b0F (149u00b0C to 154u00b0C), to ensure the drops are hard and not chewy.
Why are my lemon drops sticky after they cool?
Stickiness is usually caused by high humidity or not cooking the sugar to a high enough temperature. Storing them in an airtight container with a bit of cornstarch can help.
Can I use bottled lemon juice for this recipe?
While you can use bottled juice, fresh lemon juice provides a much more vibrant and authentic flavor profile for Homemade Lemon Drops.

Homemade Lemon Drops
- Total Time: 55 minutes
- Yield: 40-50 candies 1x
- Diet: Vegan, Gluten-Free
Description
Tangy, sweet, and perfectly hard, these classic lemon hard candies are made with fresh citrus and zero artificial preservatives.
Ingredients
2 cups granulated white sugar
1/2 cup filtered water
1/4 cup fresh lemon juice
1/2 teaspoon cream of tartar
1 teaspoon lemon extract
1/2 cup extra sugar for coating
Instructions
Step 1: Mix sugar, water, lemon juice, and cream of tartar in a heavy saucepan.
Step 2: Stir over medium heat until the sugar is fully dissolved.
Step 3: Bring to a boil without stirring until the mixture reaches 300°F to 310°F on a candy thermometer.
Step 4: Remove from heat and stir in the lemon extract.
Step 5: Carefully pour the syrup into silicone molds or drop onto parchment paper.
Step 6: Let cool completely at room temperature until hard.
Step 7: Toss the hardened candies in granulated sugar to coat.
Notes
Ensure your candy thermometer is accurate by testing it in boiling water (should read 212°F at sea level).
- Prep Time: 10 minutes
- Cook Time: 15 minutes
- Category: Dessert
- Method: Stovetop Boiling
- Cuisine: American
Nutrition
- Serving Size: 1 candy
- Calories: 45 kcal
- Sugar: 11g
- Sodium: 1mg
- Fat: 0g
- Saturated Fat: 0g
- Unsaturated Fat: 0g
- Trans Fat: 0g
- Carbohydrates: 11g
- Fiber: 0g
- Protein: 0g
- Cholesterol: 0mg
Related posts:
 The Ultimate Cowboy Steak with Truffle Honey Butter That Will Melt Your Heart
 The Most Irresistible Honey Garlic Steak Bites That Will Melt Your Heart
 The Most Divine High Protein Sugar-Free Monkey Bread That Will Melt Your Soul
 The Most Legendary Authentic Thai Crying Tiger (Sua Rong Hai) Steak Recipe That Will Heal Your Soul

Leave a Reply