
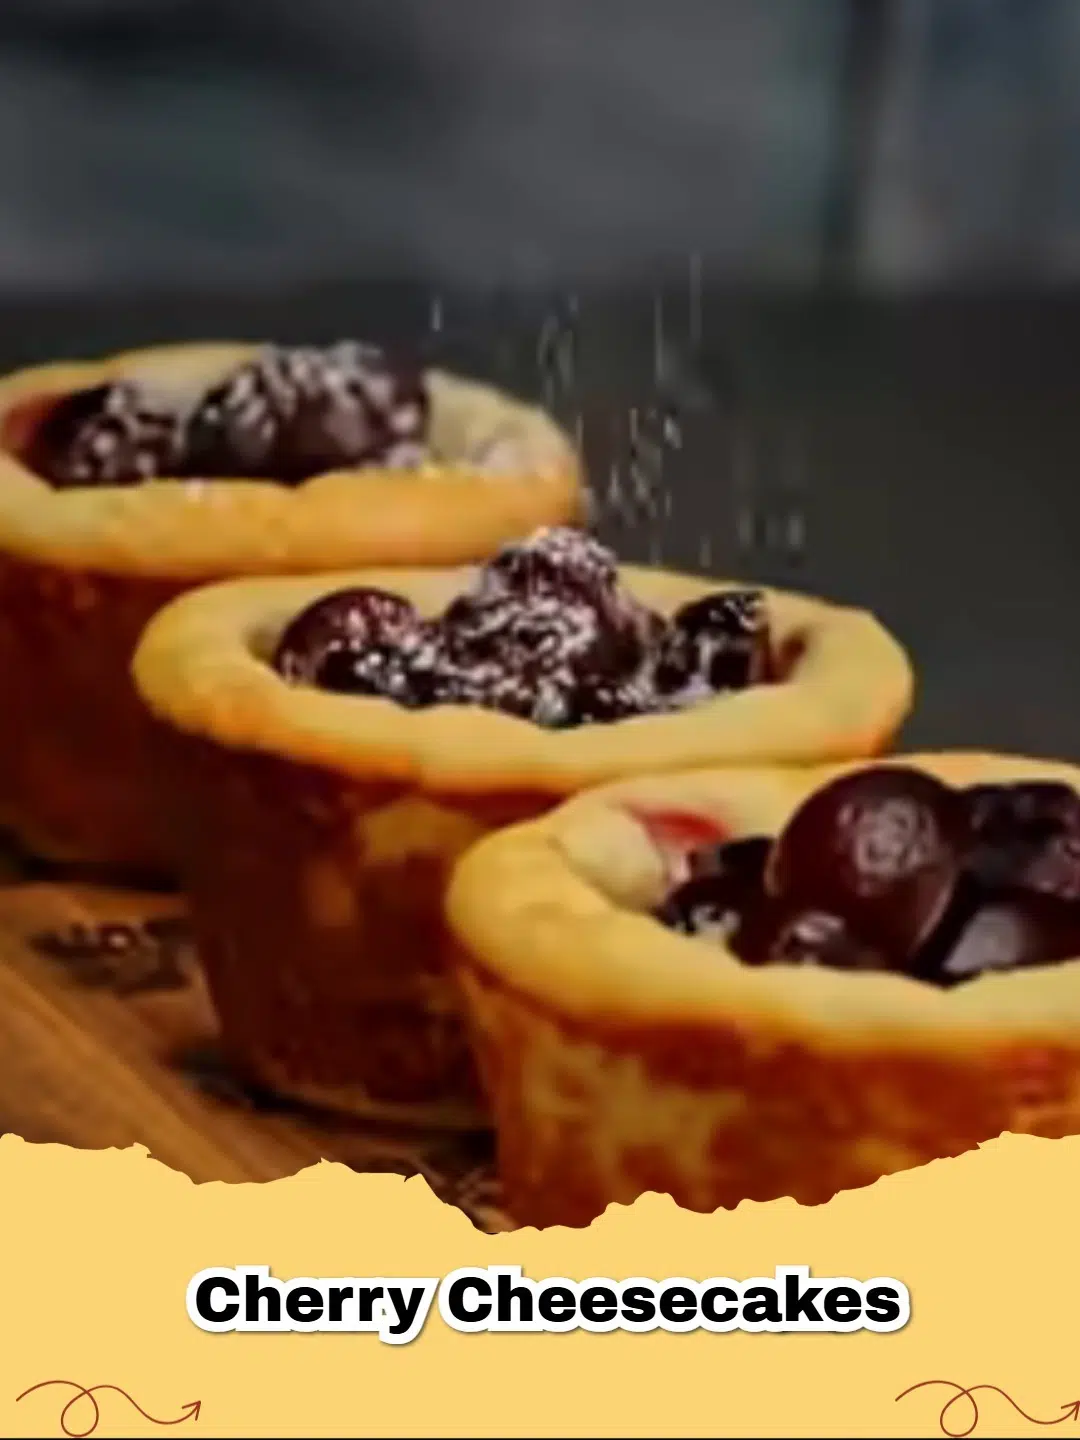
When it comes to desserts that impress without demanding hours in the kitchen, these Mini No-Bake Cherry Cheesecakes are absolute champions. Imagine a buttery graham cracker crust, a luscious, creamy cheesecake filling, and a vibrant, sweet-tart cherry topping – all in individual, perfectly portioned servings. It’s a dessert dream come true!
This recipe is designed for ease and maximum flavor. No oven required, which means less fuss and more time to enjoy your culinary creation. Whether you're hosting a dinner party, planning a summer picnic, or simply craving a delightful treat, these mini cheesecakes are guaranteed to be a hit. They are visually stunning, incredibly delicious, and surprisingly simple to whip up.
Why You'll Love These Mini Cherry Cheesecakes
These aren't just any cheesecakes; they're your new go-to for effortless elegance. Here's why they'll become a fast favorite:
- No-Bake Bliss: Say goodbye to water baths and cracked cheesecakes! This recipe requires zero oven time, making it perfect for hot days or when you want a stress-free dessert.
- Individual Portions: Mini cheesecakes are not only adorable but also incredibly convenient for serving. No slicing, no mess, just perfect little bites of heaven.
- Crowd-Pleaser: The classic combination of creamy cheesecake and tangy cherry is universally loved, making this a guaranteed hit at any gathering.
- Make-Ahead Friendly: These cheesecakes taste even better after chilling, so you can prepare them hours or even a day in advance.
Ingredients You'll Need
Gathering your ingredients is the first step to creating these delightful treats. Most of these are likely already in your pantry or easily found at any grocery store.
For the Graham Cracker Crust:
- Graham cracker crumbs
- Melted unsalted butter
- Granulated sugar
For the Cheesecake Filling:
- Cream cheese, softened
- Powdered sugar
- Heavy cream
- Vanilla extract
- Lemon juice (optional, for a brighter flavor)
For the Cherry Topping:
- Canned cherry pie filling
- Fresh cherries (pitted and halved, optional for garnish)
How to Make Mini Cherry Cheesecakes
Let's dive into the simple steps to create these individual masterpieces. You'll be surprised how quickly they come together!
The history of cheesecake spans millennia, with variations found in ancient Greece and Rome, evolving into the creamy dessert we know and love today.
Tips for Success
- Soften Cream Cheese: Ensure your cream cheese is at room temperature for a smooth, lump-free filling.
- Whip Cream Until Stiff: Over-whipping can turn your heavy cream grainy, but under-whipping will result in a runny filling. Aim for firm peaks.
- Chill Time is Key: Do not rush the chilling process! This is crucial for the cheesecakes to set properly and maintain their shape.
- Garnish with Freshness: A dollop of whipped cream and a fresh cherry or mint sprig can elevate the presentation.
Variations to Try
Feel free to get creative with your mini cheesecakes!
- Different Fruit: Swap cherry pie filling for blueberry, strawberry, or even a mixed berry compote.
- Chocolate Lovers: Add cocoa powder to the crust or a drizzle of chocolate ganache over the top.
- Citrus Zest: Incorporate lemon or orange zest into the cheesecake filling for a brighter flavor.
- Nutty Crust: Mix finely chopped nuts (like pecans or almonds) into the graham cracker crust.
Serving Suggestions
These mini cheesecakes are fantastic on their own, but a few additions can make them even more special:
- A swirl of homemade whipped cream
- A sprinkle of chocolate shavings
- A side of fresh berries
- A light dusting of powdered sugar
Enjoy crafting and devouring these delightful Mini No-Bake Cherry Cheesecakes. They're a testament to the fact that sometimes, the simplest desserts are the most satisfying!
FAQs
Can I make mini cherry cheesecakes ahead of time?
Yes, mini cherry cheesecakes are perfect for making ahead! You can prepare them up to 2-3 days in advance and store them covered in the refrigerator. This makes them an ideal dessert for parties and gatherings.


What kind of cherries should I use for the topping?
For ultimate convenience, a good quality canned cherry pie filling works wonderfully. If you prefer a homemade touch, you can use fresh or frozen cherries, cooked down with a little sugar and cornstarch to create a thickened sauce.
How do I prevent a soggy graham cracker crust?
To ensure a crisp crust, make sure your graham cracker crumbs are thoroughly mixed with melted butter and pressed very firmly into the muffin liners. Chilling the crust for at least 15-20 minutes before adding the filling also helps set it and prevents sogginess.
Can I use different fruit toppings for these mini cheesecakes?
Absolutely! These mini cheesecakes are incredibly versatile. Feel free to experiment with other fruit toppings like blueberry, strawberry, raspberry, or even a mixed berry compote to suit your taste or the season.

Mini No-Bake Cherry Cheesecakes
- Total Time: 3 hours 20 minutes
- Yield: 12 mini cheesecakes 1x
- Diet: Vegetarian
Description
An effortlessly delicious recipe for creamy, tangy mini cherry cheesecakes with a simple graham cracker crust, perfect for any occasion.
Ingredients
1.5 cups graham cracker crumbs (about 10-12 full graham cracker sheets)
1/4 cup granulated sugar
6 tablespoons unsalted butter, melted
16 oz (2 blocks) cream cheese, softened
1 cup powdered sugar
1 teaspoon vanilla extract
2 tablespoons lemon juice (optional, for tang)
1.5 cups heavy cream, very cold
1 (21 oz) can cherry pie filling
Instructions
Step 1: Line a 12-cup muffin tin with paper liners. Set aside.
Step 2: In a medium bowl, combine the graham cracker crumbs, granulated sugar, and melted butter. Mix until well combined and the crumbs are moistened.
Step 3: Divide the crumb mixture evenly among the muffin liners (about 1.5-2 tablespoons each). Press firmly into the bottom of each liner using the back of a spoon or a small glass. Place the muffin tin in the refrigerator to chill while you prepare the filling.
Step 4: In a large mixing bowl, beat the softened cream cheese with an electric mixer until smooth and creamy. Gradually add the powdered sugar and beat until fully incorporated and light.
Step 5: Stir in the vanilla extract and lemon juice (if using).
Step 6: In a separate, chilled bowl, whip the cold heavy cream with an electric mixer on medium-high speed until stiff peaks form.
Step 7: Gently fold the whipped cream into the cream cheese mixture until no streaks remain and the mixture is light and fluffy.
Step 8: Spoon the cheesecake filling evenly over the chilled crusts in the muffin tin. Smooth the tops with a spoon or offset spatula.
Step 9: Refrigerate the mini cheesecakes for at least 3 hours, or until thoroughly set. For best results, chill overnight.
Step 10: Once set, top each cheesecake with a generous spoonful of cherry pie filling. Garnish with a fresh cherry or a dollop of whipped cream, if desired, before serving. Carefully peel off the paper liners.
Notes
Ensure all dairy ingredients, especially the cream cheese and heavy cream, are very cold for optimal whipping and setting. For a smoother cherry topping, you can slightly mash the cherries in the pie filling before spooning it on. These cheesecakes can be stored in an airtight container in the refrigerator for up to 3 days.
- Prep Time: 20 minutes
- Cook Time: 0 minutes
- Category: Dessert
- Method: No-Bake, Chilling
- Cuisine: American
Nutrition
- Serving Size: 1 mini cheesecake
- Calories: 350 kcal
- Sugar: 28g
- Sodium: 180mg
- Fat: 20g
- Saturated Fat: 12g
- Unsaturated Fat: 6g
- Trans Fat: 0g
- Carbohydrates: 40g
- Fiber: 1g
- Protein: 5g
- Cholesterol: 75mg


Leave a Reply