
Introduction
An Oreo Milkshake is more than just a beverage; it is a time-traveling vessel that carries you back to the golden days of summer vacations and drive-in diners. The very mention of this creamy delight conjures images of thick, swirling ivory waves of vanilla speckled with the dark, crunchy constellations of the world’s most famous chocolate cookie. When you craft an Oreo Milkshake in your own kitchen, you aren’t just mixing dairy and sugar; you are conducting a symphony of textures and temperatures that results in a decadent masterpiece. In this guide, we will explore the nuances of the perfect blend, ensuring every sip is as satisfying as the first crunch of a cookie. Whether you are treating yourself after a long week or surprising your family with a weekend treat, this recipe is designed to deliver a premium dessert experience that rivals any high-end creamery.
Why You’ll Love It
You will absolutely fall in love with this version of the classic treat because it strikes the perfect balance between velvety smoothness and chunky texture. Unlike many fast-food versions that can feel overly airy or artificial, this homemade Oreo Milkshake utilizes high-quality whole milk and real vanilla bean ice cream to provide a dense, luxurious mouthfeel. It is incredibly customizable, allowing you to control exactly how much cookie crunch you want in every mouthful. Furthermore, it takes less than five minutes to prepare, making it the ultimate solution for those sudden, late-night sweet cravings. It is a crowd-pleasing classic that never goes out of style, much like The Ultimate Oreo Cake Recipe: A Cookies and Cream Dream Come True, which celebrates the same iconic flavor profile in a different format.
The Fascinating History of the Milkshake
Before we dive into the ingredients, it is worth noting that the milkshake has undergone a massive evolution since its inception. In the late 19th century, the term was actually used to describe an alcoholic tonic containing whiskey and eggs. It wasn’t until the early 20th century, with the invention of the electric blender by Steven Poplawski, that the milkshake transformed into the frothy, non-alcoholic dairy delight we know today. By the 1930s, malt shops were the social hubs of America, and the cookies and cream variation became a staple once the Oreo cookie gained nationwide fame. Understanding this history helps us appreciate the humble Oreo Milkshake as a piece of culinary Americana that has survived through generations by offering simple, unadulterated joy in a glass.
The Story of the Iconic Oreo Cookie
To understand why an Oreo Milkshake is so successful, one must look at the cookie itself. Invented in 1912 at the Nabisco factory in New York City, the Oreo became the best-selling cookie in the United States by the mid-20th century. The unique combination of dark Dutch-processed cocoa and a sweet, hydrogenated vegetable oil-based filling creates a specific chemical profile that interacts beautifully with dairy. When blended, the cocoa fats in the cookie bits partially melt into the cold cream, creating those beautiful gray and black swirls that define a true cookies and cream experience. This synergy is why we often see similar success in other dairy-based treats like Indulge in Minutes: Easy 3-Ingredient Cake Batter Milkshake, where the base cream carries the specific notes of the mix-in perfectly.
Ingredients
To create the perfect Oreo Milkshake, you need high-quality ingredients that allow the flavors to shine. The quality of your ice cream will directly correlate with the success of your shake.
- Vanilla Ice Cream: 3 large scoops of full-fat, premium vanilla bean ice cream.
- Whole Milk: 1/2 cup to 3/4 cup, depending on your preferred thickness.
- Oreo Cookies: 5 to 7 cookies, plus extra for the garnish.
- Chocolate Syrup: For drizzling inside the glass.
- Whipped Cream: For that professional, decadent finish.
Notes and Substitutions
If you are looking for a dairy-free option, you can easily substitute the vanilla ice cream with an oat-milk or coconut-milk based alternative. Similarly, almond milk or soy milk can replace the whole milk, though the result may be slightly less creamy. For a double-chocolate experience, try using chocolate ice cream instead of vanilla. You can also experiment with different Oreo flavors, such as Mint or Golden Oreos, to create a unique twist on the classic Oreo Milkshake.
Equipment
The primary tool required for this recipe is a high-speed blender to ensure the ice cream and milk are emulsified into a smooth liquid. A long-handled spoon is also useful for scraping the sides of the blender jar. For presentation, a tall glass and a wide-diameter straw are essential to accommodate the thick consistency and cookie pieces.
The Science of Blender Speed and Temperature
Achieving the perfect Oreo Milkshake requires a bit of blender technique. If you blend too fast for too long, the friction from the blades generates heat, which can melt the ice cream and turn your shake into cold milk. To prevent this, always start on the lowest speed to break up the large chunks of ice cream, then pulse for short bursts once the cookies are added. Chilling your blender jar in the freezer for ten minutes before use can also help maintain the ideal low temperature during the process. This ensures that the air incorporated into the mixture remains trapped in a cold fat matrix, giving the shake its signature thick, spoonable quality.
Instructions
Follow these steps to ensure a flawless result every time you crave an Oreo Milkshake.
- Step 1: Begin by placing your serving glass in the freezer for at least 15 minutes. A frosted glass helps prevent the shake from melting too quickly as you enjoy it.
- Step 2: Add the 3 scoops of vanilla ice cream and the 1/2 cup of whole milk to the blender. It is important to add the liquid first to create a lubricant for the blades.
- Step 3: Place 5 Oreo cookies into the blender. You can break them in half by hand to assist the blender in grabbing the cookies during the initial spin.
- Step 4: Blend on a medium-low setting for about 20 to 30 seconds. Do not over-process; you want small flecks of cookie visible throughout the mixture.
- Step 5: Remove the chilled glass from the freezer and drizzle chocolate syrup around the inner walls in a swirl pattern.
- Step 6: Pour the Oreo Milkshake into the glass, leaving about an inch of space at the top.
- Step 7: Top with a generous mound of whipped cream, a whole Oreo cookie, and a final sprinkle of crushed cookie crumbs. Serve immediately with a wide straw.
Pro Tips
To elevate your Oreo Milkshake to professional levels, try these expert techniques. First, use slightly softened ice cream rather than rock-hard scoops; this allows it to blend more evenly without needing excess milk. Second, for the ultimate texture, add two cookies at the very end of the blending process and pulse only twice; this ensures you have some larger, crunchy chunks to enjoy. Third, always use whole milk if possible, as the higher fat content is what creates that velvety lingering finish on the palate. Finally, consider adding a tiny pinch of sea salt to the blender; it enhances the cocoa flavor of the Oreos and cuts through the intense sweetness of the vanilla cream.
Sourcing the Best Ingredients for Your Milkshake
When shopping for your Oreo Milkshake components, look for ice cream that has a short ingredient list. Avoid brands that use excessive gums or fillers, as these can give the shake a gummy, sticky texture when blended. Organic whole milk is often richer and provides a cleaner flavor profile. If you are a purist, look for the original Oreo cookies rather than the double-stuf variety, as the ratio of chocolate wafer to cream filling in the original is ideal for creating the dark chocolate swirls we associate with a classic cookies and cream treat.
Serving, Storage & Variations
This Oreo Milkshake is best enjoyed immediately while the temperature is at its lowest and the cookies are still crisp. If you have leftovers, they can be stored in the freezer, but the texture will change to a hard ice cream consistency; you will need to re-blend it with a splash of milk to restore the shake texture. For variations, try a ‘Boozy Oreo Shake’ by adding an ounce of vanilla vodka or Irish cream. Alternatively, turn it into a ‘Peanut Butter Oreo Shake’ by adding a tablespoon of creamy peanut butter before blending. The possibilities are endless when you have such a solid foundational recipe.
Creative Garnishing and Presentation
The visual appeal of your Oreo Milkshake is half the fun. Beyond whipped cream, you can rim your glass with melted chocolate and roll it in crushed Oreos before filling. Using a variety of cookie sizes—from fine dust to large halves—creates a more dynamic looking drink. For a festive touch, you can add a colorful paper straw that matches the occasion. Presentation matters because it primes the brain for the indulgence to follow, making the first sip feel like a truly special event rather than just another snack.
Milkshake Pairings: Beyond Just a Drink
While an Oreo Milkshake is a meal in itself for many, it also pairs wonderfully with salty, savory foods. The classic pairing is a hot, salty order of french fries, which offers a contrast in temperature and flavor. It also goes exceptionally well with a gourmet cheeseburger or a spicy chicken sandwich, where the cool creaminess of the shake helps to extinguish the heat of the spices. For a dessert-on-dessert pairing, serve it alongside a warm fudge brownie to play with the different expressions of chocolate.


Nutrition Information
The following nutrition facts are based on a single serving prepared with whole milk and standard vanilla ice cream.
| Nutrient | Amount |
|---|---|
| Calories | 580 kcal |
| Protein | 8g |
| Carbohydrates | 75g |
| Fat | 30g |
| Saturated Fat | 18g |
| Sugar | 55g |
| Sodium | 320mg |
Note: The nutritional information provided above is an estimate based on standard ingredients and may vary depending on specific brands used.
Conclusion
Mastering the Oreo Milkshake is a skill that will serve you well for years to come. By focusing on the quality of your ice cream, the ratio of milk, and the timing of your blend, you can create a world-class dessert in your own kitchen. This shake is a celebration of simple flavors done perfectly, providing a nostalgic comfort that few other treats can match. We hope this guide inspires you to fire up your blender and enjoy the creamy, crunchy bliss that only a homemade cookies and cream shake can provide. Cheers to your next delicious indulgence!
FAQs
What is the best ice cream for an Oreo Milkshake?
For the most authentic flavor, high-quality full-fat vanilla bean ice cream is recommended. It provides a rich base that complements the cocoa notes of the cookies.
How do I make my Oreo Milkshake thicker?
To achieve a thicker consistency, increase the ratio of ice cream to milk. Use less milk initially and blend on a lower speed to maintain the frozen structure.
Can I make this milkshake without a blender?
Yes, you can soften the ice cream slightly, place it in a large mason jar with milk and crushed cookies, then shake or stir vigorously until combined.

The Ultimate Homemade Oreo Milkshake
- Total Time: 5 minutes
- Yield: 1 serving 1x
- Diet: Vegetarian
Description
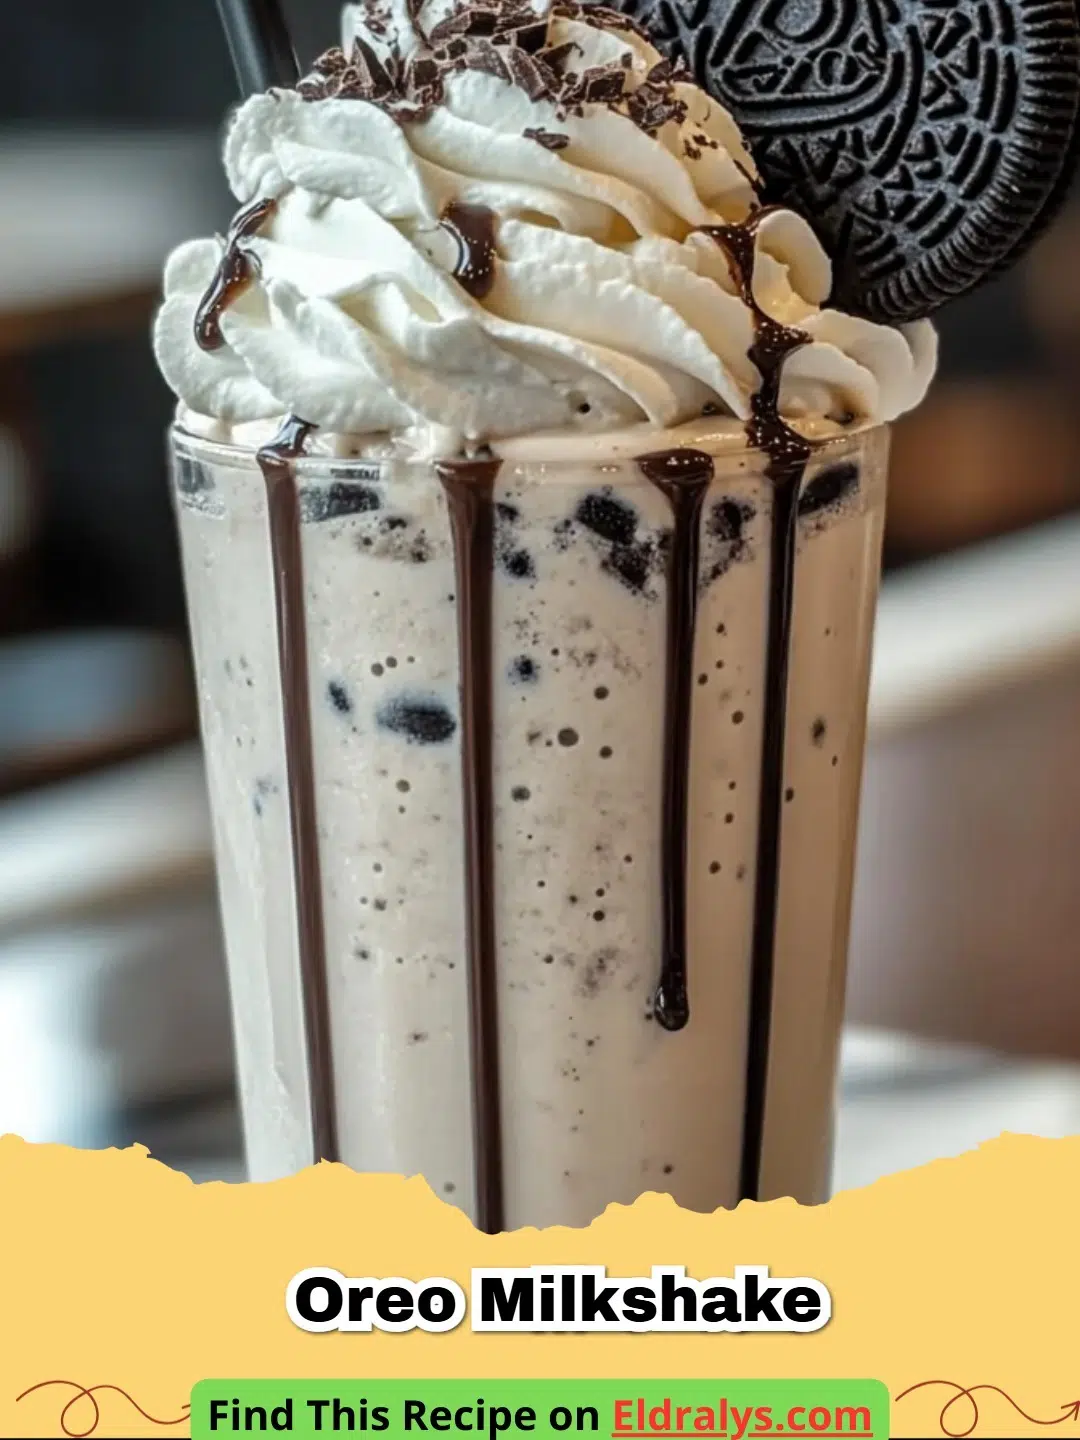
A thick and creamy cookies and cream milkshake made with premium vanilla ice cream and real Oreo cookies.
Ingredients
3 large scoops vanilla bean ice cream
1/2 cup whole milk
5 Oreo cookies
Whipped cream (for garnish)
Chocolate syrup (optional)
1 extra Oreo cookie (crushed, for garnish)
Instructions
Step 1: Place your serving glass in the freezer for 15 minutes to chill.
Step 2: In a blender, combine the vanilla ice cream and whole milk.
Step 3: Add the Oreo cookies into the blender, breaking them into smaller pieces if necessary.
Step 4: Blend on low to medium speed for 20-30 seconds until combined but still thick with small cookie bits.
Step 5: Drizzle chocolate syrup inside the chilled glass for a decorative look.
Step 6: Pour the milkshake into the glass.
Step 7: Garnish with whipped cream, extra crushed cookies, and a whole Oreo on top.
Notes
For a thinner shake, add 2-3 extra tablespoons of milk. For a malted version, add 1 tablespoon of malted milk powder before blending.
- Prep Time: 5 minutes
- Cook Time: 0 minutes
- Category: Dessert
- Method: Blending
- Cuisine: American
Nutrition
- Serving Size: 1 shake
- Calories: 580 kcal
- Sugar: 55g
- Sodium: 320mg
- Fat: 30g
- Saturated Fat: 18g
- Unsaturated Fat: 12g
- Trans Fat: 0g
- Carbohydrates: 75g
- Fiber: 2g
- Protein: 8g
- Cholesterol: 85mg
Related posts:
 The Ultimate Cowboy Steak with Truffle Honey Butter That Will Melt Your Heart
 The Most Irresistible Honey Garlic Steak Bites That Will Melt Your Heart
 The Most Divine High Protein Sugar-Free Monkey Bread That Will Melt Your Soul
 The Most Legendary Authentic Thai Crying Tiger (Sua Rong Hai) Steak Recipe That Will Heal Your Soul

Leave a Reply