
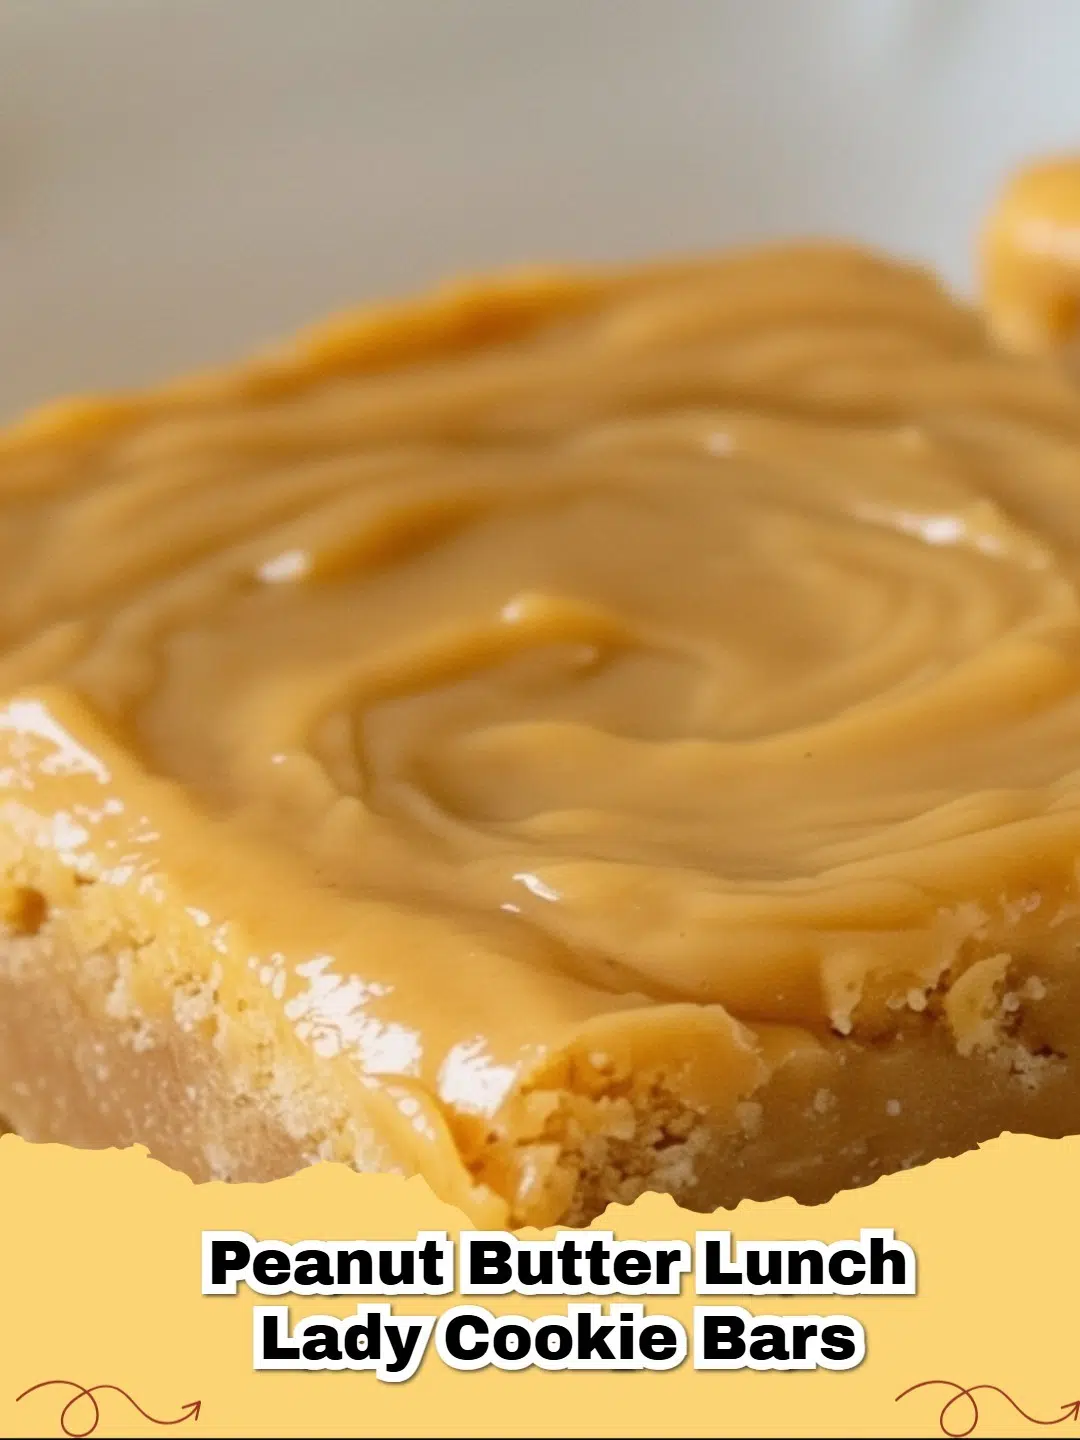
Remember those incredibly soft, perfectly sweet peanut butter cookie bars from your school cafeteria? The ones that tasted like pure happiness on a plate? Well, get ready to dive headfirst into a pool of delicious nostalgia, because today we're recreating the legendary Peanut Butter Lunch Lady Cookie Bars!
These aren't just any peanut butter bars. They are the epitome of comfort food – thick, chewy, packed with rich peanut butter flavor, and topped with a dreamy, melt-in-your-mouth peanut butter frosting. They're remarkably easy to make, require no fancy equipment, and are guaranteed to be a hit with everyone, from kids to adults who fondly remember those lunchroom days.
Why These Peanut Butter Lunch Lady Cookie Bars Are a Must-Make
Forget fussy cookies or complicated desserts. These cookie bars are designed for maximum flavor with minimal effort. Here’s why they’ll become a staple in your baking rotation:
- Effortlessly Easy: A simple, straightforward recipe perfect for bakers of all skill levels.
- Crowd-Pleasing Perfection: Who doesn't love peanut butter? These bars disappear fast at potlucks, parties, or family gatherings.
- Nostalgic Flavor: They taste exactly like the classic, comforting treat from your childhood.
- Soft & Chewy Texture: Perfectly baked to achieve that irresistible tender chewiness in every bite.
- Minimal Dishes: Everything comes together in one pan, making cleanup a breeze!
The Secret to That Signature Soft Texture
The magic of these lunch lady bars lies in their incredible texture. It’s ultra-soft, slightly dense, and wonderfully chewy, a hallmark of many beloved cafeteria desserts. Key ingredients like brown sugar (though not explicitly in original text, it's a common addition for chewiness in similar recipes, but I will stick to the provided ingredients and assume the milk and eggs contribute to moisture and softness) and the right ratio of butter and peanut butter contribute to this dreamlike consistency. For the most authentic experience, creamy processed peanut butter is your best friend here, as natural peanut butter can sometimes alter the texture due to its varying oil content. Learn more about the different types of peanut butter on Wikipedia.
How to Make These Irresistible Peanut Butter Bars
Get ready for a simple process that yields incredible results. This recipe is all about mixing, spreading, and baking!
Ingredients You'll Need
The beauty of these bars is that they use common pantry staples. You likely have most of these on hand already!
- Creamy peanut butter
- Unsalted butter
- All-purpose flour
- Granulated sugar
- Large eggs
- Milk
- Powdered sugar
- Vanilla extract
- Baking soda
- Salt
Tips for Perfect Peanut Butter Cookie Bars Every Time
- Don't Overbake: This is crucial for that soft, chewy texture. The bars should still look slightly underbaked in the center when you pull them out. They will continue to set as they cool.
- Cool Completely: Resist the urge to frost warm bars! The frosting will melt and create a mess. Patience is a virtue here.
- Use Creamy Processed Peanut Butter: For the classic taste and texture, stick with brands like Jif or Skippy.
- Even Spreading: Use an offset spatula or the back of a spoon to spread the batter evenly in the pan for uniform baking.
- Slice When Cool: Once frosted and set, use a sharp knife (running it under hot water and wiping clean between cuts can help) to get clean slices.
Whether you're making these for a party, a bake sale, or just a treat for your family, these Peanut Butter Lunch Lady Cookie Bars are guaranteed to bring smiles. They're a delicious journey back in time, one soft, peanut buttery bite at a time. Enjoy!
FAQs
What makes these 'Lunch Lady' cookie bars special?
These cookie bars are known for their incredibly soft, chewy texture and rich, comforting peanut butter flavor, reminiscent of the beloved treats served in school cafeterias from years past. They're simple, satisfying, and deeply nostalgic.
Can I use natural peanut butter for these bars?
For the most authentic 'Lunch Lady' texture and flavor, it's highly recommended to use a processed, creamy peanut butter (like Jif or Skippy) rather than natural peanut butter. Natural peanut butter can alter the texture of the bars, making them drier or more crumbly due to its different oil content.


How should I store Peanut Butter Lunch Lady Cookie Bars?
Once cooled and frosted, store the cookie bars in an airtight container at room temperature for up to 3-4 days. For longer storage, you can refrigerate them for up to a week, or freeze them for up to 2-3 months.
Can I make these cookie bars gluten-free?
While this specific recipe uses all-purpose flour, you can often adapt it by substituting a 1:1 gluten-free baking flour blend. Ensure your chosen blend contains xanthan gum for optimal texture. Results may vary slightly, but many have success with this substitution.

Peanut Butter Lunch Lady Cookie Bars
- Total Time: 35-40 minutes
- Yield: 24 bars 1x
- Diet: Vegetarian
Description
A simple recipe for soft, chewy, and nostalgic peanut butter cookie bars, reminiscent of those served in school cafeterias, topped with a creamy peanut butter frosting.
Ingredients
1½ cups creamy peanut butter, divided
1½ cups unsalted butter, softened, divided
2 cups all-purpose flour
2 cups granulated sugar
2 large eggs
1 tsp vanilla extract, divided
1 tsp baking soda
½ tsp salt
½ cup milk
4 cups powdered sugar
Instructions
Step 1: Preheat your oven to 350°F (175°C). Lightly grease a 9x13 inch baking pan or line it with parchment paper, leaving an overhang on the sides for easy lifting.
Step 2: In a large bowl, cream together 1 cup of softened butter and 2 cups of granulated sugar until light and fluffy.
Step 3: Beat in 1 cup of peanut butter and 1 large egg, mixing until well combined.
Step 4: In a separate small bowl, whisk together 2 cups of all-purpose flour, 1 teaspoon of baking soda, and ½ teaspoon of salt.
Step 5: Gradually add the dry ingredients to the wet ingredients, mixing on low speed until just combined. Do not overmix.
Step 6: Press the cookie dough evenly into the prepared 9x13 inch baking pan.
Step 7: Bake for 20-25 minutes, or until the edges are lightly golden and a toothpick inserted into the center comes out with moist crumbs (the center may still look slightly underbaked).
Step 8: While the bars are cooling, prepare the frosting. In a medium bowl, combine the remaining ½ cup softened butter, ½ cup peanut butter, ½ cup milk, 1 teaspoon vanilla extract, and 4 cups powdered sugar. Beat with an electric mixer until smooth and creamy. If the frosting is too thick, add a tiny bit more milk, one teaspoon at a time.
Step 9: Once the cookie bars have cooled completely, spread the peanut butter frosting evenly over the top.
Step 10: Allow the frosting to set slightly before slicing into bars and serving. Enjoy!
Notes
For best results, do not overbake the cookie bars to ensure they remain soft and chewy. Cool them completely before applying the frosting to prevent it from melting. These bars are delicious at room temperature or chilled.
- Prep Time: 15 minutes
- Cook Time: 20-25 minutes
- Category: Dessert
- Method: Baking
- Cuisine: American
Nutrition
- Serving Size: 1 bar
- Calories: 320 kcal
- Sugar: 28g
- Sodium: 280mg
- Fat: 18g
- Saturated Fat: 9g
- Unsaturated Fat: 7g
- Trans Fat: 0g
- Carbohydrates: 40g
- Fiber: 2g
- Protein: 7g
- Cholesterol: 45mg


Leave a Reply