
Get ready for a dessert that’s so good, it should be illegal! If you're a fan of the classic peanut butter and chocolate combination, especially the iconic Reese's candy, then you are in for an absolute treat. This Reese's Peanut Butter No-Bake Dessert Cheese Ball is ridiculously easy to make, requires no oven, and comes together in minutes. It's the ultimate party appetizer or sweet indulgence that will have everyone asking for the recipe!
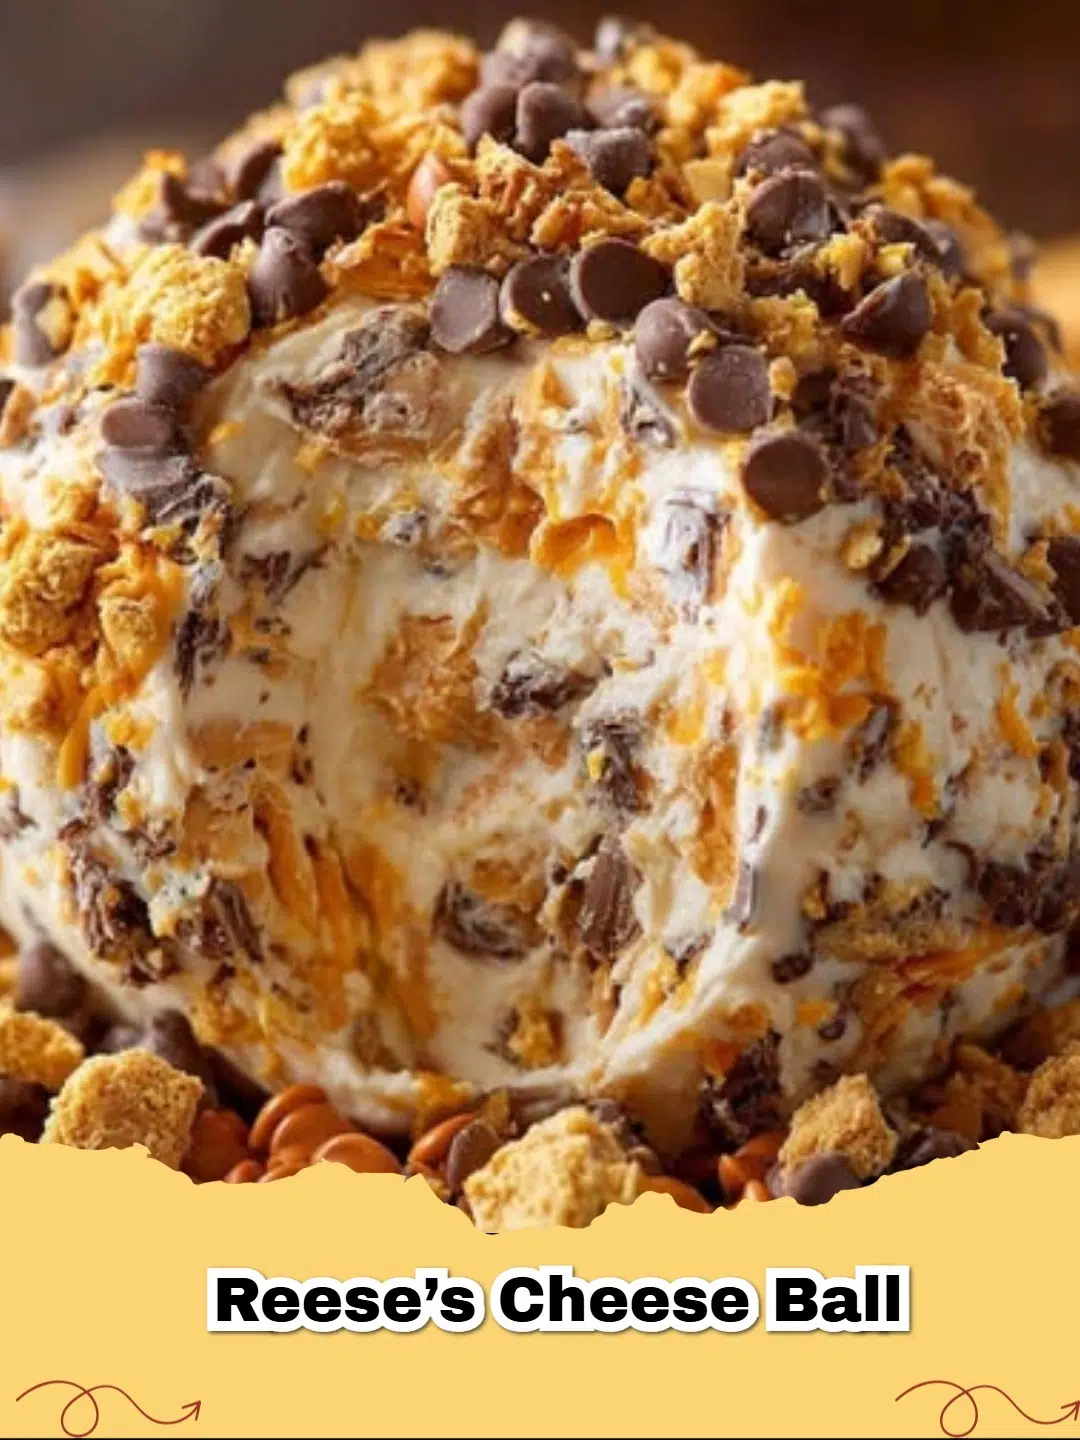
Imagine a creamy, dreamy blend of softened cream cheese and rich peanut butter, sweetened just right, and studded with chopped Reese's Peanut Butter Cups and mini chocolate chips. Then, it's rolled in even more candy goodness, creating an irresistible dessert experience that's perfect for potlucks, holidays, or just a sweet craving.
Why You'll Love This Reese's Peanut Butter Cheese Ball
- Effortlessly Easy: No baking required! Just mix, chill, and serve.
- Crowd-Pleaser: Who can resist the magic of Reese's and cream cheese?
- Make-Ahead Friendly: Prepare it hours or even days in advance.
- Versatile Serving: Perfect with crackers, fruit, or by the spoonful!
- Kid-Friendly: A fun dessert that kids will love to help make (and eat!).
Ingredients You'll Need
The beauty of this recipe lies in its simplicity and familiar ingredients. You'll need:
- Cream Cheese: Make sure it's softened to ensure a smooth, lump-free mixture. Learn more about cream cheese and its versatile uses in cooking and baking.
- Peanut Butter: Creamy peanut butter works best for a smooth texture.
- Powdered Sugar & Brown Sugar: For the perfect balance of sweetness and a hint of molasses flavor from the brown sugar.
- Vanilla Extract: To enhance all the delicious flavors.
- Reese's Peanut Butter Cups & Mini Chocolate Chips: The stars of the show, providing that signature chocolate-peanut butter crunch and flavor.
How to Make the Perfect No-Bake Dessert Cheese Ball (Step-by-Step)
Making this cheese ball is as simple as 1-2-3. Follow these steps, and you'll have a show-stopping dessert ready in no time!
Preparing Your Ingredients
Ensure your cream cheese is properly softened. This is crucial for a smooth, homogenous mixture. You can leave it on the counter for about 30-60 minutes, or gently warm it in the microwave for a few seconds if you're short on time.
Mixing and Shaping
In a large bowl, you'll combine the softened cream cheese and peanut butter until perfectly smooth. Then, the sugars and vanilla are added, creating a light and fluffy base. After that, it's time for the fun part: folding in the chopped Reese's and chocolate chips, then shaping it into a ball. Don't worry if it's a little sticky at this stage – the chilling process will firm it right up.
Chilling and Serving
Chilling is essential not only to firm up the cheese ball but also to allow all those incredible flavors to meld together beautifully. Once chilled and coated, this dessert is ready to be the star of your spread! Serve it with your favorite dippers, from salty pretzels to crisp apple slices.
Tips for Success
- Softened Cream Cheese is Key: Do not skip this! Cold cream cheese will result in a lumpy mixture.
- Get Creative with Coatings: Instead of (or in addition to) Reese's and chocolate chips, try chopped peanuts, crushed cookies, or even sprinkles for a festive touch.
- Storage: Keep the cheese ball tightly wrapped in the refrigerator. It's best enjoyed within 3-4 days.
- Serving Temperature: While it needs to be chilled to set, letting it sit out for 10-15 minutes before serving can soften it slightly, making it easier to spread.
Frequently Asked Questions (FAQ)
Curious about how long it lasts or what to serve with it? Check out our FAQ section below for answers to common questions about this delightful no-bake dessert.
This Reese's Peanut Butter No-Bake Dessert Cheese Ball is truly a game-changer for anyone who loves easy, impressive, and utterly delicious desserts. It's proof that you don't need to be a master baker to create something spectacular. So go ahead, whip one up, and watch it disappear!
FAQs
How long does the Reese's Peanut Butter Cheese Ball need to chill?
For best results and to allow the flavors to fully meld and the cheese ball to firm up, we recommend chilling it for at least 1 hour in the refrigerator. If you can chill it longer, up to 3-4 hours, it will be even better!


Can I make this dessert cheese ball ahead of time?
Absolutely! This Reese's Peanut Butter Cheese Ball is a fantastic make-ahead dessert. You can prepare it up to 2-3 days in advance. Just keep it covered tightly with plastic wrap in the refrigerator until you're ready to serve.
What can I serve with this peanut butter cheese ball?
The options are endless! Classic pairings include graham crackers, vanilla wafers, or pretzel crisps for a sweet and salty crunch. For a healthier option, apple slices or banana slices also pair wonderfully with the rich peanut butter flavor.
How do I store leftover Reese's Peanut Butter Cheese Ball?
Store any leftover cheese ball tightly wrapped in plastic wrap or in an airtight container in the refrigerator for up to 3-4 days. It's best enjoyed chilled.

Reese's Peanut Butter No-Bake Dessert Cheese Ball
- Total Time: 1 hour 15 minutes
- Yield: 8-10 servings 1x
- Diet: Vegetarian
Description
A delightfully easy and irresistible no-bake dessert cheese ball featuring the beloved flavor combination of Reese's peanut butter and cream cheese, perfect for any occasion.
Ingredients
8 ounces (1 block) cream cheese, softened
1/2 cup creamy peanut butter
1/2 cup powdered sugar
1/4 cup light brown sugar, packed
1 teaspoon vanilla extract
1 cup Reese's Peanut Butter Cups, chopped (plus more for garnish)
1/2 cup mini chocolate chips (or Reese's Pieces)
Instructions
Step 1: In a large mixing bowl, beat the softened cream cheese and peanut butter with an electric mixer until smooth and well combined.
Step 2: Add the powdered sugar, brown sugar, and vanilla extract to the bowl. Beat again until the mixture is light, fluffy, and thoroughly incorporated. Scrape down the sides of the bowl as needed.
Step 3: Gently fold in about half of the chopped Reese's Peanut Butter Cups and half of the mini chocolate chips (or Reese's Pieces) into the cream cheese mixture until just combined.
Step 4: Scrape the mixture onto a large piece of plastic wrap. Using the plastic wrap, form the mixture into a neat ball.
Step 5: Place the remaining chopped Reese's Peanut Butter Cups and mini chocolate chips (or Reese's Pieces) on a shallow plate. Unwrap the cheese ball and roll it in the candy mixture, pressing gently to ensure it's fully coated.
Step 6: Place the coated cheese ball on a serving plate, cover with plastic wrap, and refrigerate for at least 1 hour to allow it to firm up and flavors to meld.
Step 7: Serve chilled with graham crackers, pretzel crisps, vanilla wafers, apple slices, or banana slices.
Notes
For an extra festive touch, you can drizzle the finished cheese ball with melted chocolate or a dollop of whipped cream before serving. Ensure your cream cheese is at room temperature for the smoothest possible mixture.
- Prep Time: 15 minutes
- Cook Time: 0 minutes
- Category: Dessert
- Method: No-Bake
- Cuisine: American
Nutrition
- Serving Size: 1/8 of cheese ball
- Calories: 320 kcal
- Sugar: 25g
- Sodium: 180mg
- Fat: 20g
- Saturated Fat: 10g
- Unsaturated Fat: 9g
- Trans Fat: 0g
- Carbohydrates: 35g
- Fiber: 2g
- Protein: 8g
- Cholesterol: 70mg


Leave a Reply