
There are very few things that instantly transport me back to my grandmother’s bustling kitchen on a Sunday morning quite like the scent of freshly made buttermilk waffles. The aroma of rich vanilla, the subtle tang of buttermilk, and that irresistible promise of a golden, crispy exterior giving way to a cloud-like interior – it’s a memory etched deep in my heart. Grandma wasn't one for shortcuts; her philosophy was that good food takes time and love, and her buttermilk waffles were a testament to that. As a child, I’d watch, mesmerized, as she’d whisk the batter, humming a soft tune, and then pour it into her trusty cast-iron waffle maker. The steam would rise, and eventually, out would come these masterpieces, dusted with powdered sugar and drowning in maple syrup. These weren't just breakfast; they were an experience, a ritual, a warm hug in food form. This recipe for classic buttermilk waffles is my attempt to capture that magic, to bring a piece of those cherished Sunday mornings into your home, ensuring every bite is a fluffy, flavorful journey back to simpler times.
Why These Buttermilk Waffles Are a Must-Try
Unbeatable Texture
Forget soggy or dense waffles! Our recipe guarantees buttermilk waffles with an incredibly crispy, golden-brown exterior that shatters beautifully with every bite, perfectly contrasting with a light, airy, and fluffy interior.
Rich, Tangy Flavor Profile
The star ingredient, buttermilk, not only contributes to the tender texture but also imparts a subtle tang that elevates the flavor beyond ordinary waffles. It’s a sophisticated taste that pairs wonderfully with both sweet and savory toppings.
Easily Customizable & Versatile
Whether you're craving classic maple syrup and berries or something more adventurous like fried chicken and gravy, these buttermilk waffles provide the perfect canvas. They're also fantastic with various mix-ins, from chocolate chips to savory herbs.
Simple & Rewarding
Despite their gourmet taste and texture, these buttermilk waffles are surprisingly simple to prepare. With clear, step-by-step instructions and a few pro tips, even beginner cooks can achieve waffle perfection.
Key Ingredient Notes
Buttermilk: The Secret Weapon
True buttermilk is the liquid left after churning butter, and it’s slightly acidic. This acidity is crucial for activating the baking soda in our recipe, creating those airy pockets that make buttermilk waffles so incredibly fluffy. If you don't have buttermilk on hand, you can make a substitute: for every cup of buttermilk needed, pour 1 tablespoon of white vinegar or lemon juice into a liquid measuring cup, then fill the rest with regular milk (dairy or non-dairy). Let it sit for 5-10 minutes until it slightly curdles. While this works in a pinch, genuine buttermilk offers a superior depth of flavor and tenderness that’s hard to beat for the best buttermilk waffles.
Leavening Agents: Baking Soda & Baking Powder
Our recipe for buttermilk waffles employs both baking soda and baking powder. This isn't overkill; it's chemistry at its finest! Baking soda reacts with the acidic buttermilk to produce carbon dioxide, contributing to the initial lift. Baking powder, which is double-acting, provides additional lift both when it's mixed with the wet ingredients and when it hits the heat of the waffle iron. This dynamic duo ensures your buttermilk waffles are consistently light, airy, and tall.
Eggs: Structure and Richness
Eggs play multiple roles in achieving the perfect buttermilk waffles. The egg yolks add richness, color, and tenderness, while the egg whites, when beaten separately and folded in, contribute significantly to the waffle's light and fluffy structure. This technique, though it adds an extra step, is a game-changer for achieving that desired crisp-yet-fluffy texture that defines truly great buttermilk waffles.

Step-by-Step Guide with Pro Tips
Making delicious buttermilk waffles isn't just about mixing ingredients; it's about technique. Follow these steps for waffle perfection:
- Step 1: In a large mixing bowl, whisk together all the dry ingredients: all-purpose flour, granulated sugar, baking powder, baking soda, and salt. Ensure there are no lumps and the ingredients are evenly distributed. This ensures consistent leavening throughout your buttermilk waffles.
- Step 2: In a separate medium bowl, whisk together the wet ingredients: the buttermilk, melted unsalted butter, and vanilla extract. In another small bowl, separate the egg whites from the yolks. Whisk the egg yolks into the buttermilk mixture.
- Step 3: Using an electric mixer (or a whisk and a lot of arm strength!), beat the egg whites in a clean, dry bowl until stiff peaks form. This step is crucial for achieving truly fluffy buttermilk waffles.
- Step 4: Pour the wet ingredients into the dry ingredients. Mix gently with a spoon or spatula until just combined. A few lumps are perfectly fine; overmixing will develop the gluten in the flour, resulting in tough, dense buttermilk waffles instead of light, airy ones.
- Step 5: Gently fold the beaten egg whites into the waffle batter. Use a rubber spatula and a light hand, trying to incorporate as much air as possible without deflating the whites. This will create a light, airy batter, essential for the best buttermilk waffles.
- Step 6: Preheat your waffle iron according to the manufacturer’s instructions. Lightly grease it with cooking spray or a brush of melted butter, even if it's non-stick.
- Step 7: Pour or ladle the batter onto the hot waffle iron. Don't overfill it! Close the lid and cook for 3-5 minutes, or until the waffles are golden brown and crispy. The cooking time will vary depending on your waffle iron model.
- Step 8: Carefully remove the cooked buttermilk waffles from the iron and serve immediately with your favorite toppings. To keep waffles warm while you cook the rest, place them on a wire rack in a single layer in an oven preheated to 200°F (95°C). This prevents them from getting soggy.
Variations & Serving Suggestions
These buttermilk waffles are incredibly versatile. Here are some ideas to spark your culinary creativity:
Sweet Add-ins
Fold in 1/2 cup of chocolate chips, fresh blueberries, diced peaches, or chopped nuts (like pecans or walnuts) into the batter before cooking. For a touch of spice, add 1/2 teaspoon of cinnamon or a pinch of nutmeg to the dry ingredients. These variations add new dimensions to your classic buttermilk waffles.
Savory Buttermilk Waffles
For a unique twist, omit the sugar from the recipe and add 1/4 cup of grated Parmesan cheese, 2 tablespoons of chopped fresh chives, or even some crumbled cooked bacon bits to the batter. These savory buttermilk waffles are fantastic served with fried chicken, a poached egg, or a dollop of sour cream and smoked salmon.
Topping Extravaganza
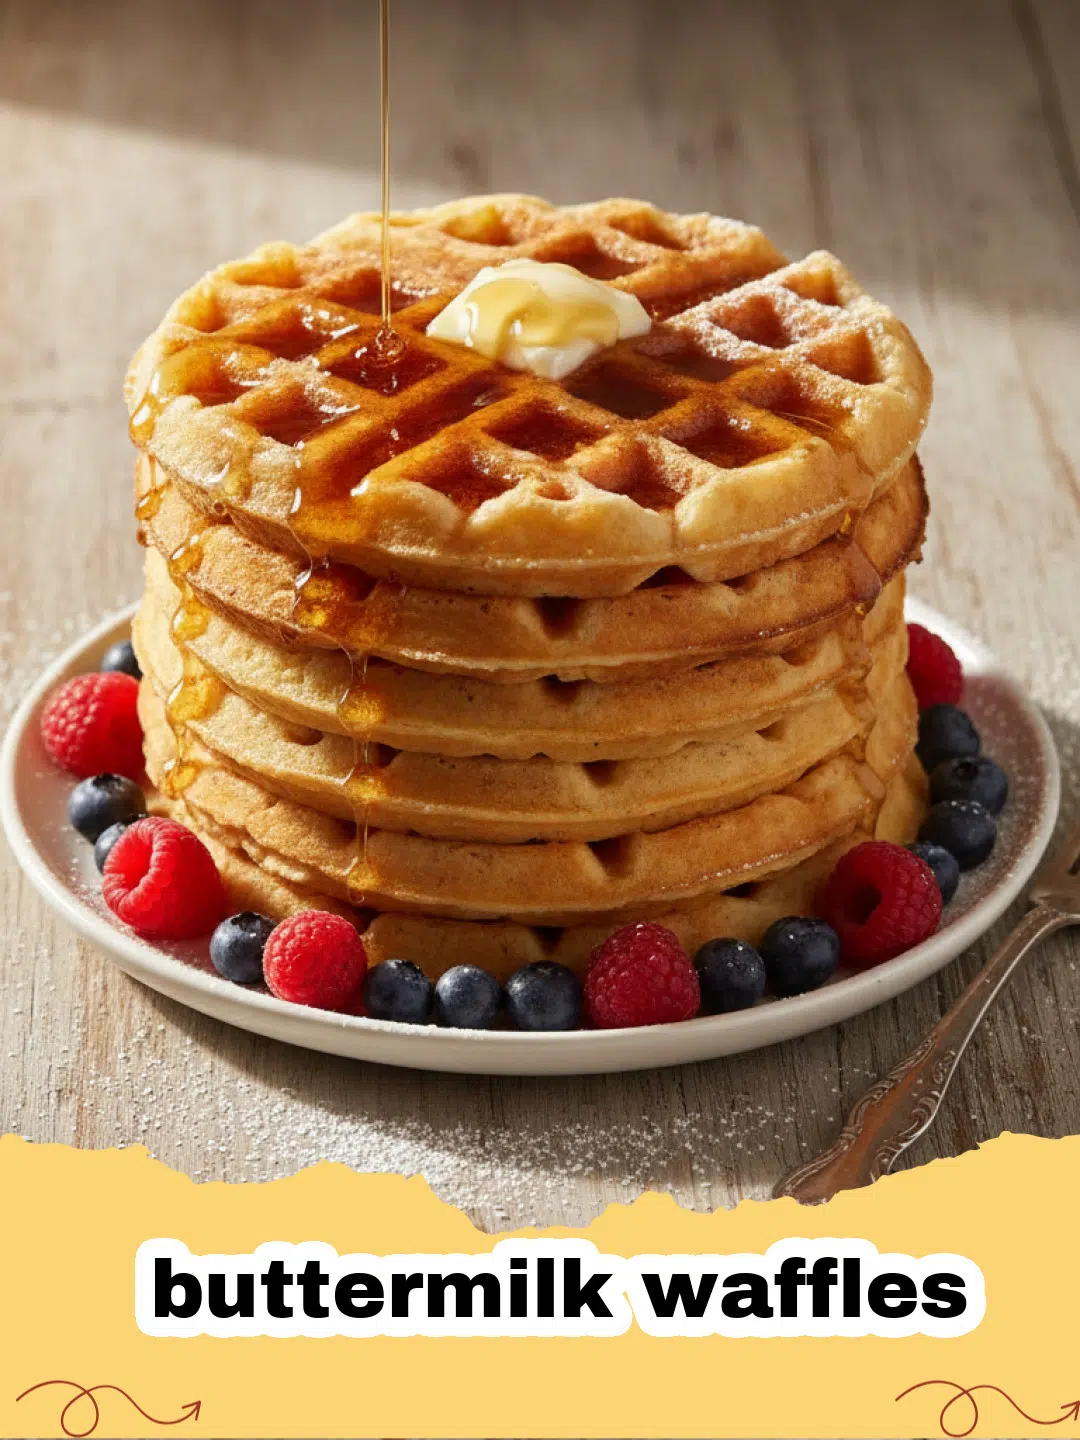
The possibilities are endless! Classic maple syrup and butter are always a winner. Other delicious options include: fresh berries (strawberries, raspberries, blueberries), whipped cream, fruit compotes, powdered sugar, chocolate sauce, caramel sauce, a scoop of ice cream, or even a drizzle of honey. Don't forget that a side of bacon or sausage always complements the sweetness of buttermilk waffles.

Make Ahead & Freeze
These buttermilk waffles freeze beautifully. Cook them, let them cool completely on a wire rack, then stack them with parchment paper in between and place them in an airtight freezer bag. Reheat in a toaster, toaster oven, or even a regular oven for a quick and easy breakfast on busy mornings. Storing leftover batter or cooked buttermilk waffles is a breeze. I often use durable glass food storage containers to keep them fresh in the fridge for a day or two, or in the freezer for longer. While these buttermilk waffles are perfect for a relaxed weekend, for a quick weeknight dinner, you might enjoy something like our Flavor-Packed Chicken Ramen Stir Fry.


Nutrition Information
| Nutrient | Amount Per Serving |
|---|---|
| Calories | 320 kcal |
| Carbohydrates | 45 g |
| Cholesterol | 75 mg |
| Fat | 15 g |
| Fiber | 1 g |
| Protein | 9 g |
| Saturated Fat | 9 g |
| Serving Size | 1 waffle |
| Sodium | 450 mg |
| Sugar | 10 g |
| Trans Fat | 0.5 g |
| Unsaturated Fat | 5 g |
Conclusion
Making a batch of these glorious buttermilk waffles is more than just cooking; it’s an act of creating comfort, joy, and delicious memories. From the satisfying crunch of the first bite to the fluffy interior, every element comes together to form the ultimate breakfast experience. Whether you’re sharing them with loved ones on a lazy Sunday or treating yourself to a special weekday start, these buttermilk waffles are sure to become a beloved staple in your kitchen. So grab your apron, preheat that waffle iron, and prepare to indulge in the best buttermilk waffles you’ve ever tasted. For another delightful recipe to try, perhaps our Crispy Honey Garlic Tofu could be your next culinary adventure.
FAQs
What makes buttermilk waffles so fluffy?
Buttermilk waffles are extra fluffy primarily due to the chemical reaction between acidic buttermilk and baking soda, which creates carbon dioxide bubbles for lift. Additionally, using both baking soda and baking powder, and often folding in stiffly beaten egg whites, contributes to their incredibly light and airy texture.
Can I make buttermilk waffles batter ahead of time?
Yes, you can prepare the dry and wet ingredients (excluding the beaten egg whites) the night before. Keep them separate and chilled. In the morning, combine them, gently fold in freshly beaten egg whites, and then cook. The batter with egg whites is best used immediately for maximum fluffiness.
How do I get my buttermilk waffles crispy?
For crispy buttermilk waffles, ensure your waffle iron is fully preheated and well-oiled. Avoid overfilling, which can steam the waffles. Cook them until they are deeply golden brown, often slightly longer than the minimum time. Using a recipe with sufficient fat (like butter) and a good balance of leavening agents also helps achieve that desirable crisp exterior.
What can I substitute for buttermilk in waffles?
If you don't have buttermilk, you can make a substitute by adding 1 tablespoon of white vinegar or lemon juice to a liquid measuring cup, then filling the rest with regular milk (dairy or non-dairy) to make 1 cup. Let it sit for 5-10 minutes until it slightly curdles. While this works, using real buttermilk often yields superior flavor and texture for your buttermilk waffles.

Classic Fluffy Buttermilk Waffles
- Total Time: 35 minutes
- Yield: 6-8 waffles 1x
Description
Indulge in the ultimate breakfast experience with these perfectly golden, crispy on the outside, and incredibly fluffy buttermilk waffles. Made with simple ingredients, they deliver a rich, tangy flavor that's unbeatable for any morning feast.
Ingredients
2 cups all-purpose flour
2 tablespoons granulated sugar
2 teaspoons baking powder
1 teaspoon baking soda
1/2 teaspoon salt
2 cups buttermilk
1/2 cup unsalted butter, melted
1 teaspoon vanilla extract
2 large eggs, separated
Instructions
Step 1: In a large mixing bowl, whisk together the flour, sugar, baking powder, baking soda, and salt. Make sure all dry ingredients are well combined.
Step 2: In a separate medium bowl, whisk together the buttermilk, melted butter, and vanilla extract. Add the egg yolks to this mixture and whisk until smooth.
Step 3: In a clean, dry bowl, beat the egg whites with an electric mixer until stiff peaks form.
Step 4: Pour the wet ingredients into the dry ingredients. Mix gently with a spoon or spatula until just combined. Do not overmix; a few lumps are fine.
Step 5: Gently fold the beaten egg whites into the waffle batter using a rubber spatula. Be careful not to deflate the whites, as they contribute significantly to the waffle's fluffiness.
Step 6: Preheat your waffle iron according to the manufacturer's instructions. Lightly grease it with cooking spray or a brush of melted butter if needed.
Step 7: Pour about 1/2 to 3/4 cup of batter (depending on your waffle iron size) onto the hot iron. Close the lid and cook for 3-5 minutes, or until the waffle is golden brown and crispy.
Step 8: Carefully remove the cooked waffle and serve immediately with your favorite toppings. Repeat with the remaining batter. Keep finished waffles warm in a 200°F (95°C) oven on a wire rack.
Notes
For extra crispy waffles, don't open the waffle iron too early. Let the steam escape naturally, and only open when the golden-brown color is visible. You can also slightly increase the butter in the batter for a richer taste. Ensure your waffle iron is adequately hot before adding batter for even cooking.
- Prep Time: 15 minutes
- Cook Time: 20 minutes
- Category: Breakfast & Brunch
- Cuisine: American
Nutrition
- Serving Size: 1 waffle
- Calories: 320 kcal
- Sugar: 10 g
- Sodium: 450 mg
- Fat: 15 g
- Saturated Fat: 9 g
- Unsaturated Fat: 5 g
- Trans Fat: 0.5 g
- Carbohydrates: 45 g
- Fiber: 1 g
- Protein: 9 g
- Cholesterol: 75 mg


Leave a Reply