
Introduction to a Classic Loaf
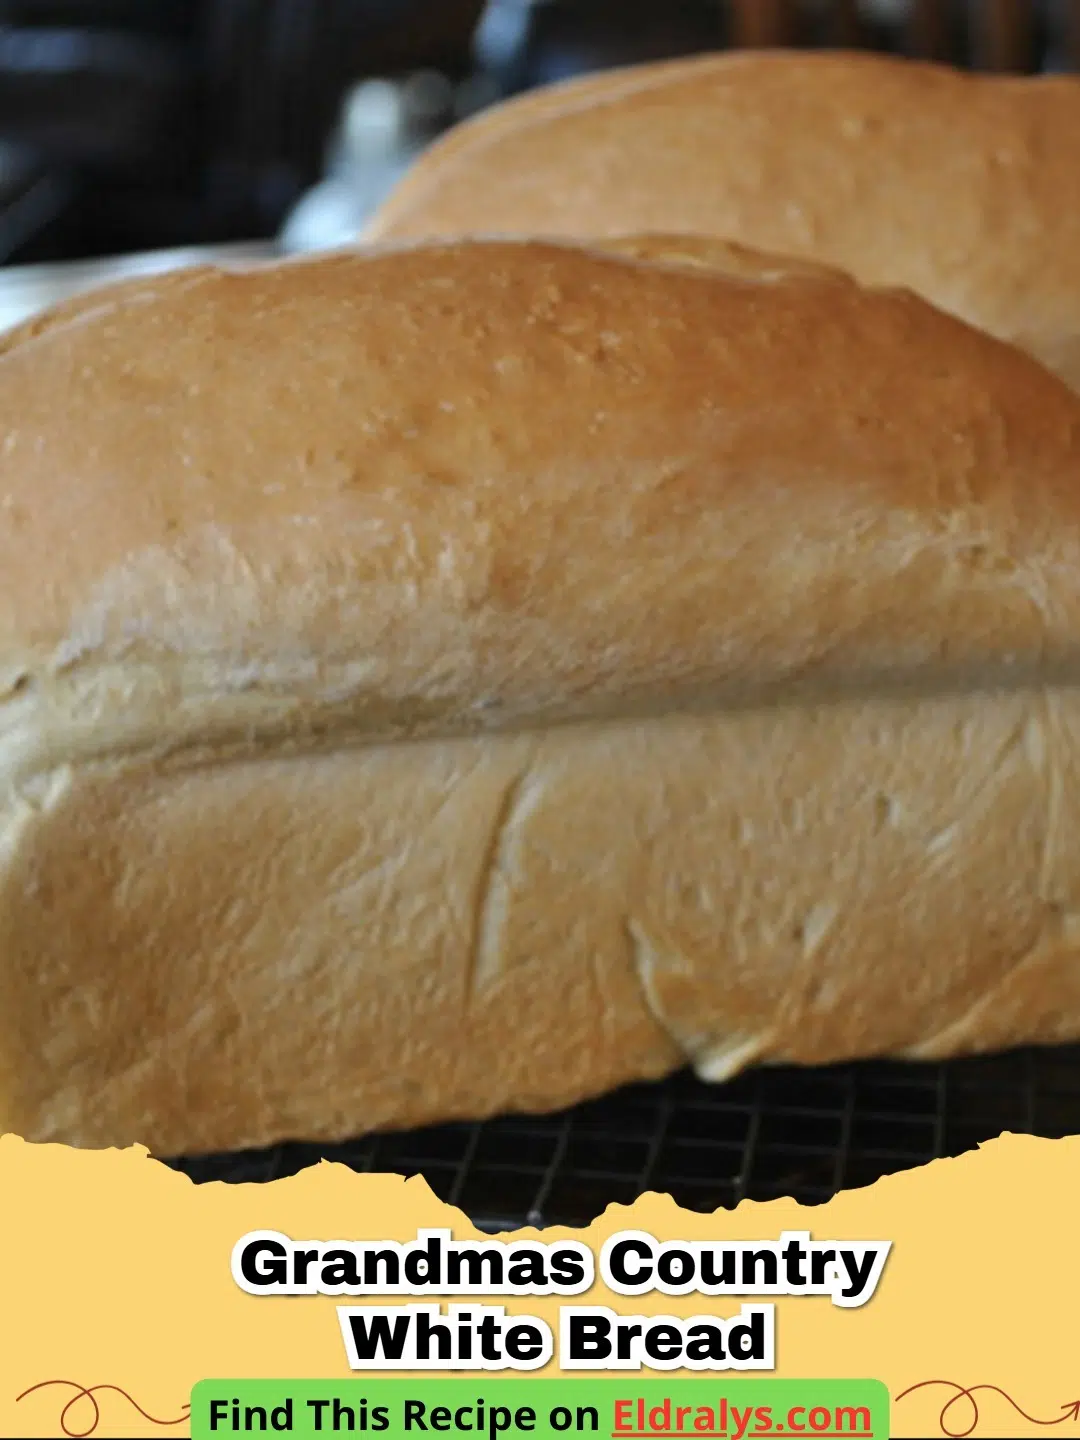
Grandmas country white bread is more than just a staple food; it is a sensory journey back to a simpler time when the kitchen was the heart of the home. There is something deeply primal and comforting about the rhythm of kneading dough, the quiet patience required for a proper rise, and that unmistakable aroma that fills every corner of the house as the oven works its magic. When you bake grandmas country white bread, you are not just making a sandwich vessel; you are preserving a culinary legacy that has been passed down through generations of farmhouse kitchens. This specific loaf is characterized by its exceptionally soft, pillowy interior and a crust that is just sturdy enough to hold a thick layer of jam but delicate enough to melt in your mouth. Whether you are a seasoned baker or a novice taking your first steps into the world of yeast, this recipe is designed to be approachable, reliable, and ultimately rewarding.
For many of us, the memory of grandmas country white bread is tied to childhood afternoons spent waiting for the timer to ding. It represents the ultimate comfort food, often served warm with a simple spread. To truly elevate this experience, you might want to try making your own fat to spread over the top, which you can learn about in The Magic of Freshness: The Absolute Easiest Homemade Butter Recipe You’ll Ever Master. The combination of fresh bread and hand-churned dairy is a match made in heaven. As we dive into this guide, we will explore the history, the science, and the soulful techniques required to master this timeless bake.
The Rich History of Country Baking
The origins of grandmas country white bread trace back to early American settlers who had to rely on basic pantry staples to feed large families. In the rural heartlands, bread was the literal bread of life. Unlike the artisanal sourdoughs found in European cities, country white bread focused on a slightly sweeter profile and a softer texture, achieved by adding fats like lard or butter and sweeteners like honey or sugar. This style of baking was pragmatic; it produced a loaf that stayed fresh longer and was versatile enough for breakfast toast, lunchtime sandwiches, and dinner sides. Over the years, the method remained largely unchanged because of its perfection in simplicity.
Historically, grandmas country white bread was made without the aid of modern stand mixers or temperature-controlled proofing drawers. Grandmothers would judge the temperature of the water by the feel of their wrist and the readiness of the dough by the specific elasticity against their palms. This tactile connection to the food is what gave the bread its soul. Today, we use digital thermometers and high-powered mixers, but the essence of the grandmas country white bread remains the same: it is a labor of love that rewards the patient baker with a loaf that puts any store-bought alternative to shame. Understanding this history helps us appreciate the importance of not rushing the process.
Why You’ll Love It
You will absolutely fall in love with grandmas country white bread because of its incredible versatility and the deep satisfaction it provides. Unlike many commercial breads that are filled with preservatives and artificial softeners, this homemade version relies on high-quality ingredients to achieve its superior flavor profile. The crumb is tight and even, making it the perfect base for everything from French toast to a classic grilled cheese sandwich. If you find yourself enjoying the process of making this loaf, you might also be interested in trying The Ultimate Soft Homemade White Bread: Perfect for Sandwiches Every Time for a slightly different take on the classic white loaf.
Furthermore, grandmas country white bread is an emotional experience. The act of sharing a fresh loaf with friends or family creates a bond that store-bought food simply cannot replicate. It is a recipe that fills your home with warmth and provides a tangible sense of accomplishment. The simplicity of the ingredients—flour, water, yeast, salt, sugar, and fat—demonstrates how a few humble items can be transformed into something extraordinary. This bread is also a fantastic project for kids, allowing them to see the living science of yeast in action while learning a valuable life skill.
The Science of Yeast and Flour
To master grandmas country white bread, one must understand the basic biology of yeast. Yeast is a living organism that consumes sugars and releases carbon dioxide gas as a byproduct. This gas is what gets trapped in the gluten network of the dough, causing it to rise and creating the airy structure we love. In grandmas country white bread, we typically use active dry yeast, which requires a short ‘bloom’ in warm water to wake it up. If the water is too cold, the yeast stays dormant; if it is too hot, you will kill it. Precision here is the difference between a tall, proud loaf and a flat, dense one.
Flour choice is equally critical for grandmas country white bread. While all-purpose flour is fine, bread flour is preferred by many experts because of its higher protein content. This protein turns into gluten when hydrated and agitated (kneaded). The stronger the gluten, the better the bread can hold those gas bubbles. When making grandmas country white bread, the goal is to develop enough gluten to give the bread height but not so much that it becomes tough. It is a delicate balance that is achieved through proper kneading and adequate rest periods. You can find out more about the composition of white bread and its nutritional role on authority sites like Wikipedia.
Ingredients for Success
Creating the perfect grandmas country white bread starts with measuring your ingredients accurately. Always try to use the spoon-and-level method for flour to avoid packing too much into the cup, which can lead to dry bread. The water should be filtered if possible, as high chlorine levels can sometimes inhibit yeast growth. For the fat component, high-quality unsalted butter provides the best flavor, though some traditionalists swear by lard for an even softer crumb.
Notes and Substitutions
If you don't have granulated sugar, honey or maple syrup can be used in grandmas country white bread to provide the necessary fuel for the yeast. For a dairy-free version, use a neutral oil like grapeseed or a plant-based butter alternative. If you only have instant yeast instead of active dry, you can skip the blooming step and mix it directly with the dry ingredients, though you may need to adjust the liquid temperature slightly lower to avoid over-proofing.
Essential Equipment
To bake grandmas country white bread, you will need a few basic tools: a large mixing bowl, a sturdy wooden spoon or a stand mixer with a dough hook, a digital thermometer for the water, a set of measuring cups and spoons (or a kitchen scale for better accuracy), and two 9x5 inch loaf pans. A wire cooling rack is also essential to prevent the bottom of the bread from becoming soggy after baking.
Instructions
Follow these steps carefully to ensure your grandmas country white bread turns out perfectly every time. Patience is the key ingredient here.
- Step 1: In a small bowl, combine the warm water (110°F), yeast, and one tablespoon of the sugar. Stir gently and let it sit for 5-10 minutes until it becomes foamy and fragrant.
- Step 2: In your large mixing bowl or the bowl of a stand mixer, combine the remaining sugar, salt, melted butter, and three cups of the flour. Pour in the yeast mixture.
- Step 3: Mix until a shaggy dough forms. Gradually add the remaining flour, half a cup at a time, until the dough pulls away from the sides of the bowl.
- Step 4: Knead the dough on a lightly floured surface for 8-10 minutes (or 5-7 minutes on low speed in a mixer) until it is smooth, elastic, and slightly tacky but not sticky.
- Step 5: Place the dough in a greased bowl, cover with a damp cloth, and let it rise in a warm spot for about 1 to 1.5 hours, or until it has doubled in size.
- Step 6: Gently punch the dough down to release the air. Divide it into two equal portions, shape them into loaves, and place them into greased loaf pans.
- Step 7: Cover and let the loaves rise again for 30-45 minutes. Bake in a preheated oven at 375°F for 30-35 minutes until the tops are golden brown and the bottom sounds hollow when tapped.
The Art of Kneading and Proofing
Kneading is perhaps the most therapeutic part of making grandmas country white bread. If you are doing it by hand, use the heel of your palm to push the dough away from you, fold it back, and rotate. This repetitive motion aligns the gluten strands. You will know the dough for grandmas country white bread is ready when it passes the 'windowpane test'—you should be able to stretch a small piece of dough thin enough to see light through it without it tearing. If it tears quickly, it needs more kneading.
Proofing is the stage where flavor develops. During the first rise of your grandmas country white bread, the yeast is busy creating those essential air pockets. If your kitchen is cold, you can place the bowl inside an oven that is turned off but has the light on; the small amount of heat from the bulb is often enough to create a perfect proofing environment. Never rush this stage, as a slow rise contributes to a better crumb structure and a more complex wheat flavor.
Pro Tips for the Perfect Loaf
To ensure your grandmas country white bread is a success, always check your yeast's expiration date. Old yeast is the most common cause of failed bread. Secondly, don't over-flour your work surface. Adding too much flour during the kneading process will result in a heavy, dry loaf. Instead, use just enough to keep the dough from sticking. Lastly, for an extra-soft crust, brush the top of the hot bread with melted butter as soon as it comes out of the oven. This traps the steam and softens the exterior as it cools, giving grandmas country white bread that signature farmhouse feel.


Serving, Storage & Variations
Grandmas country white bread is best served slightly warm, sliced thick, and slathered with salted butter. It is also the superior choice for making cinnamon toast or honey-drizzled snacks. To store, keep the bread in a paper bag or a bread box at room temperature for up to 3 days. Avoid refrigerating it, as this can actually cause the bread to go stale faster due to starch retrogradation. For long-term storage, wrap the loaf tightly in plastic wrap and then foil, and freeze for up to 3 months.
For variations on grandmas country white bread, consider adding a tablespoon of dried herbs like rosemary or thyme to the dough for a savory twist. You can also swap half of the white flour for whole wheat flour to add a nutty depth, though you may need to add a splash more water. Another popular variation is to brush the top with honey and sprinkle with oats before the final rise for a beautiful, rustic texture.
Nutrition Information
| Nutrient | Amount |
|---|---|
| Calories | 150 kcal |
| Protein | 4g |
| Carbohydrates | 28g |
| Fat | 3g |
The nutritional information provided is an estimate based on standard ingredients and serving sizes. Actual values may vary depending on specific brands used.
Conclusion
In the end, baking grandmas country white bread is a rewarding journey that connects you to the past while providing a delicious gift for the present. By following these steps and respecting the process of fermentation and gluten development, you can create a loaf that is infinitely better than anything found in a grocery store aisle. There is no greater joy than the sound of a crust crackling as it cools or the sight of a family gathered around a fresh loaf. We hope this grandmas country white bread recipe becomes a cherished part of your own family traditions for years to come.
FAQs
Why is my country white bread so dense?
Density usually occurs if the yeast didn't bloom correctly or if the dough wasn't allowed to rise long enough. Ensure your water is between 105u00b0F and 115u00b0F and that you proof the dough in a warm, draft-free spot until it has doubled in size.
Can I use all-purpose flour instead of bread flour?
Yes, you can use all-purpose flour for grandmas country white bread. However, bread flour contains more protein, which creates a stronger gluten network and a slightly chewier, taller loaf. If using all-purpose, ensure you knead it well to develop what structure you can.
How do I get a golden, shiny crust?
For that classic grandma-style finish, brush the top of the loaf with melted butter immediately after it comes out of the oven. Alternatively, an egg wash applied before baking will provide a deeper, shinier golden brown color.

Grandma's Country White Bread
- Total Time: 2 hours 40 minutes
- Yield: 2 loaves (24 slices) 1x
- Diet: Vegetarian
Description
A traditional, soft, and buttery white bread recipe passed down through generations for the perfect sandwich loaf.
Ingredients
2 cups warm water (110°F)
1 tablespoon active dry yeast
1/2 cup granulated sugar
1 1/2 teaspoons salt
1/4 cup unsalted butter, melted
6 cups bread flour (plus more for dusting)
Instructions
Step 1: Proof the yeast by mixing it with warm water and 1 tablespoon of sugar; let sit for 10 minutes until foamy.
Step 2: In a large bowl, combine the yeast mixture with the remaining sugar, salt, and melted butter.
Step 3: Gradually add the flour, mixing until a soft dough forms and pulls away from the bowl.
Step 4: Knead the dough on a floured surface for 8-10 minutes until it is smooth and elastic.
Step 5: Place in a greased bowl, cover, and let rise in a warm place for 1.5 hours until doubled in size.
Step 6: Punch down the dough, divide in half, shape into two loaves, and place in greased 9x5 inch pans.
Step 7: Let rise for 45 minutes, then bake at 375°F for 30-35 minutes until golden brown.
Notes
For an even softer loaf, replace 1/2 cup of the water with warm whole milk.
- Prep Time: 20 minutes
- Cook Time: 35 minutes
- Category: Bread
- Method: Baking
- Cuisine: American
Nutrition
- Serving Size: 1 slice
- Calories: 150 kcal
- Sugar: 4g
- Sodium: 150mg
- Fat: 3g
- Saturated Fat: 1.5g
- Unsaturated Fat: 1g
- Trans Fat: 0g
- Carbohydrates: 28g
- Fiber: 1g
- Protein: 4g
- Cholesterol: 5mg
Related posts:
 The Ultimate Cowboy Steak with Truffle Honey Butter That Will Melt Your Heart
 The Most Irresistible Honey Garlic Steak Bites That Will Melt Your Heart
 The Most Divine High Protein Sugar-Free Monkey Bread That Will Melt Your Soul
 The Most Legendary Authentic Thai Crying Tiger (Sua Rong Hai) Steak Recipe That Will Heal Your Soul

Leave a Reply