
Introduction to the Ultimate No-Bake Oreo Icebox Cake
The Oreo Icebox Cake is a dessert that transcends generations, bringing a sense of nostalgic joy to every dinner table it graces. This specific Oreo Icebox Cake recipe is designed to be the easiest yet most impressive treat in your culinary repertoire. There is something truly magical about the way simple chocolate sandwich cookies transform into soft, cake-like layers when smothered in sweetened whipped cream. Whether you are hosting a summer backyard barbecue or looking for a comforting winter indulgence, this Oreo Icebox Cake fits every occasion perfectly. The concept of an icebox cake dates back to the early 20th century, but adding the iconic Oreo cookie brings it into the modern era of decadence. By following this guide, you will learn the subtle nuances that make an Oreo Icebox Cake stand out from the rest. We will dive deep into the science of cookie softening and the importance of cream stability to ensure every bite is perfection.
Why You’ll Love It
You will fall in love with this Oreo Icebox Cake because it requires zero oven time and only a handful of ingredients. It is the perfect solution for busy parents, amateur bakers, or anyone who wants a five-star dessert without the stress of baking. This Oreo Icebox Cake is incredibly versatile, allowing you to customize the flavors with different Oreo varieties or added fruit. Unlike traditional cakes that can be dry or crumbly, an Oreo Icebox Cake offers a consistent, moist, and creamy texture that melts in your mouth. If you enjoyed The Ultimate No-Bake Dirt Cake: Easy, Creamy, and Nostalgically Delicious!, you will find this recipe to be a sophisticated cousin to that childhood favorite. The balance of dark cocoa from the cookies and the light sweetness of the cream is a match made in dessert heaven. It is also a fantastic make-ahead dessert, actually tasting better the longer it sits in the refrigerator.
The Essential Ingredients
To create the perfect Oreo Icebox Cake, you need high-quality ingredients that work together to create a stable yet soft structure. The star of the show, of course, is the chocolate sandwich cookie. You will need about two full packages to ensure you have enough for multiple layers and a decorative topping. For the cream, using cold heavy whipping cream is non-negotiable to achieve the stiff peaks required for a tall, beautiful cake. You will also need powdered sugar for sweetness and a touch of pure vanilla extract to enhance the dairy notes. Some chefs prefer to add a pinch of salt to balance the sugar, which is a secret tip for a professional-tasting Oreo Icebox Cake. If you are a fan of berry-infused treats, you might also appreciate the flavor profile of the Strawberry Icebox Cake: Easy, No-Bake Delight for Summer, though the chocolate version remains a classic staple for many.
Notes and Substitutions
If you cannot find standard Oreos, any high-quality chocolate sandwich cookie will work for your Oreo Icebox Cake. For a lighter version, you can use a lower-fat whipped topping, though the texture will be less stable. Gluten-free Oreos are widely available now, making it easy to adapt this Oreo Icebox Cake for those with dietary restrictions. You can also experiment with flavored extracts like peppermint or almond to give the cream a unique twist. For an extra rich experience, some people fold in a half cup of mascarpone or cream cheese into the whipped cream mixture, which adds a delightful tang and extra firmness to the layers.
Equipment Needed
You do not need much to assemble your Oreo Icebox Cake. A large mixing bowl and an electric hand mixer (or a stand mixer) are essential for whipping the cream. A 9x13 inch baking dish is the standard vessel for this dessert, but a springform pan can be used if you want to create a round, free-standing cake. A rubber spatula is helpful for folding and spreading the cream evenly. Finally, have some plastic wrap ready to cover the dish during the long chill time.
Instructions for the Perfect Result
Follow these steps carefully to assemble your masterpiece. Precision in whipping the cream is the most important factor in a successful Oreo Icebox Cake.
- Step 1: In a large chilled bowl, combine the heavy whipping cream, powdered sugar, and vanilla extract. Beat on medium-high speed until stiff peaks form, taking care not to overbeat the mixture into butter.
- Step 2: Spread a thin layer of the whipped cream on the bottom of your 9x13 dish to act as an anchor for the first layer of cookies.
- Step 3: Arrange a single layer of Oreos over the cream. You can leave them whole or break a few to fill in any large gaps between the circles.
- Step 4: Spread about one-third of the remaining whipped cream over the cookies, ensuring every cookie is completely covered. This moisture is what softens the cookies into a cake.
- Step 5: Repeat the layers of cookies and cream twice more, ending with a final smooth layer of cream on top.
- Step 6: Crush the remaining cookies and sprinkle them generously over the top of the Oreo Icebox Cake for a beautiful, textured finish.
- Step 7: Cover the dish tightly with plastic wrap and refrigerate for at least 4 hours, though 24 hours provides the best results for a true cake-like texture.
Pro Tips for the Best Oreo Icebox Cake
To ensure your Oreo Icebox Cake is a resounding success, always start with a cold bowl and cold beaters when whipping your cream. This helps the fat molecules stay stable and creates more volume. When spreading the cream, be gentle so you do not displace the cookies. If you want the layers to look perfectly defined, you can briefly dip each Oreo in milk before placing it in the pan, though this is optional. For a deeper flavor, consider the history of the dessert as detailed by culinary historians at Britannica. The more time you give the Oreo Icebox Cake to rest, the more the flavors meld together, resulting in a cohesive and delicious slice every single time.
Serving, Storage & Variations
Serve your Oreo Icebox Cake cold, straight from the refrigerator. You can garnish each slice with a fresh strawberry or a drizzle of chocolate ganache for an elegant touch. To store, keep the cake covered in the fridge for up to 3 days. Any longer and the cookies may become too mushy. For variations, try a 'Mint Oreo Icebox Cake' by using mint-flavored cookies and a drop of green food coloring in the cream. Another popular twist is the 'Peanut Butter Oreo Icebox Cake', where you drizzle melted peanut butter between the layers. You can even make a frozen version by popping the dish in the freezer; it turns into a refreshing treat similar to a gourmet ice cream sandwich cake.
Nutrition Information
| Nutrient | Amount |
|---|---|
| Calories | 380 kcal |
| Protein | 4g |
| Carbohydrates | 42g |
| Fat | 22g |
| Saturated Fat | 12g |
| Sodium | 210mg |
| Sugar | 28g |
Disclaimer: The nutrition information provided is an estimate based on standard ingredients and serving sizes. Actual values may vary depending on the specific brands and products used.
Conclusion
The Oreo Icebox Cake is a timeless classic that never fails to impress. Its simplicity is its strength, proving that you don't need a hot oven to create a masterpiece. By following the tips and instructions provided in this guide, you will be able to whip up an Oreo Icebox Cake that is perfectly balanced, beautifully layered, and undeniably delicious. It is a dessert that brings people together, one creamy, chocolatey slice at a time. Enjoy the process of creating this no-bake wonder and watch as it disappears within minutes of being served!
FAQs
How long does Oreo Icebox Cake need to chill?
For the best results, you should chill your Oreo Icebox Cake for at least 4 to 6 hours, or ideally overnight. This allows the cookies to absorb moisture from the cream and soften into a cake-like texture.


Can I use store-bought whipped topping instead of heavy cream?
Yes, you can substitute homemade whipped cream with store-bought whipped topping. However, homemade whipped cream provides a richer flavor and a more stable structure for the layers.
Does the Oreo Icebox Cake freeze well?
Yes, this cake freezes beautifully. You can serve it directly from the freezer for a texture similar to an ice cream cake, or let it thaw in the fridge for 30 minutes before serving.
What is the best way to slice an icebox cake?
To get clean slices, use a sharp knife dipped in hot water and wiped dry between each cut. Ensure the cake is fully chilled before attempting to slice it.

Oreo Icebox Cake
- Total Time: 4 hours 20 minutes
- Yield: 12 servings 1x
- Diet: Vegetarian
Description
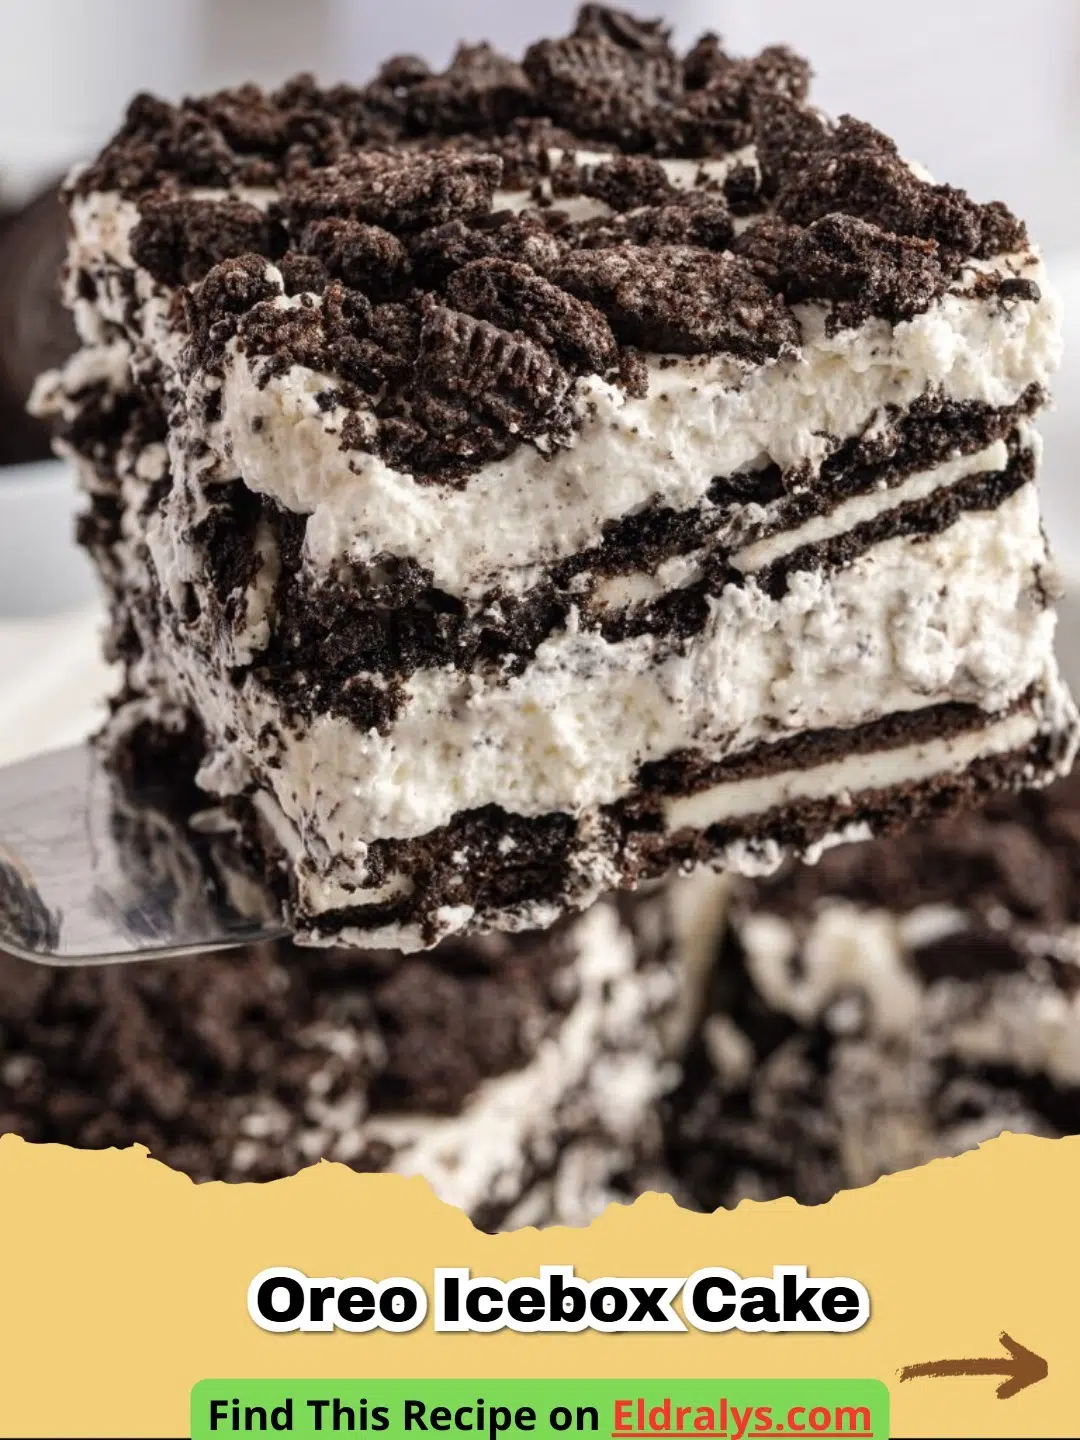
A decadent and easy no-bake dessert featuring layers of chocolate Oreo cookies and homemade vanilla whipped cream.
Ingredients
2 packages (14.3 oz each) Oreo cookies
3 cups heavy whipping cream, cold
1/2 cup powdered sugar
1 tablespoon pure vanilla extract
Optional: Chocolate syrup for drizzling
Instructions
Step 1: Place a large metal mixing bowl and beaters in the freezer for 10 minutes to chill.
Step 2: In the chilled bowl, beat the heavy cream, powdered sugar, and vanilla until stiff peaks form.
Step 3: Spread a thin layer of whipped cream on the bottom of a 9x13 inch baking dish.
Step 4: Arrange a layer of Oreos over the cream, breaking some to fill the gaps.
Step 5: Spread a thick layer of whipped cream over the cookies.
Step 6: Repeat the layers until you have used most of the cookies and cream, ending with a cream layer.
Step 7: Crush the remaining cookies and sprinkle them over the top. Cover and refrigerate for at least 4 hours before serving.
Notes
Ensure the heavy cream is very cold before whipping to get the best volume. You can substitute with double-stuffed Oreos for an even creamier result.
- Prep Time: 20 minutes
- Cook Time: 0 minutes
- Category: Dessert
- Method: No-Bake
- Cuisine: American
Nutrition
- Serving Size: 1 slice
- Calories: 380 kcal
- Sugar: 28g
- Sodium: 210mg
- Fat: 22g
- Saturated Fat: 12g
- Unsaturated Fat: 8g
- Trans Fat: 0g
- Carbohydrates: 42g
- Fiber: 1g
- Protein: 4g
- Cholesterol: 65mg
Related posts:
 The Most Heavenly Chocolate Peanut Butter Cottage Cheese Parfaits That Will Melt Your Heart
 The Ultimate Strawberry Cheesecake Pancakes: A Gourmet Breakfast Dream
 The Most Enchanting Rose Chocolate Chip Cookies Recipe: A Floral Twist on a Classic
 The Most Unforgettable Cheddar Bay Crab Cakes with Lemon Butter Drizzle You'll Ever Crave

Leave a Reply