
The aroma of freshly baked sourdough bread is unlike anything else. For years, I dreamt of achieving that perfect crust, that airy, open crumb, and that signature tangy flavor right in my own kitchen. My journey into baking sourdough bread began quite unexpectedly during a quiet period, a time when I found myself yearning for simple, tangible achievements. I remember my first few attempts – dense, brick-like loaves that, while edible, were a far cry from the artisanal beauties I admired online. There was a moment of pure frustration, almost giving up. But then, a friend shared her robust, bubbly starter, and a new resolve sparked within me. With her guidance, endless hours of research, and a healthy dose of patience, I slowly started to understand the magic of fermentation and the delicate dance between flour, water, salt, and that incredible living organism. Each successful loaf felt like a triumph, a testament to persistence and the simple joy of creating something truly nourishing with my own hands. This recipe is the culmination of that journey, designed to guide you to your own perfect loaf of sourdough bread.
Why This Sourdough Bread Recipe is a Must-Try
- Beginner-Friendly No-Knead Method: Forget the strenuous kneading! This recipe focuses on long fermentation and gentle folding, making the process accessible even if you're new to baking sourdough bread. You'll achieve professional results with minimal effort.
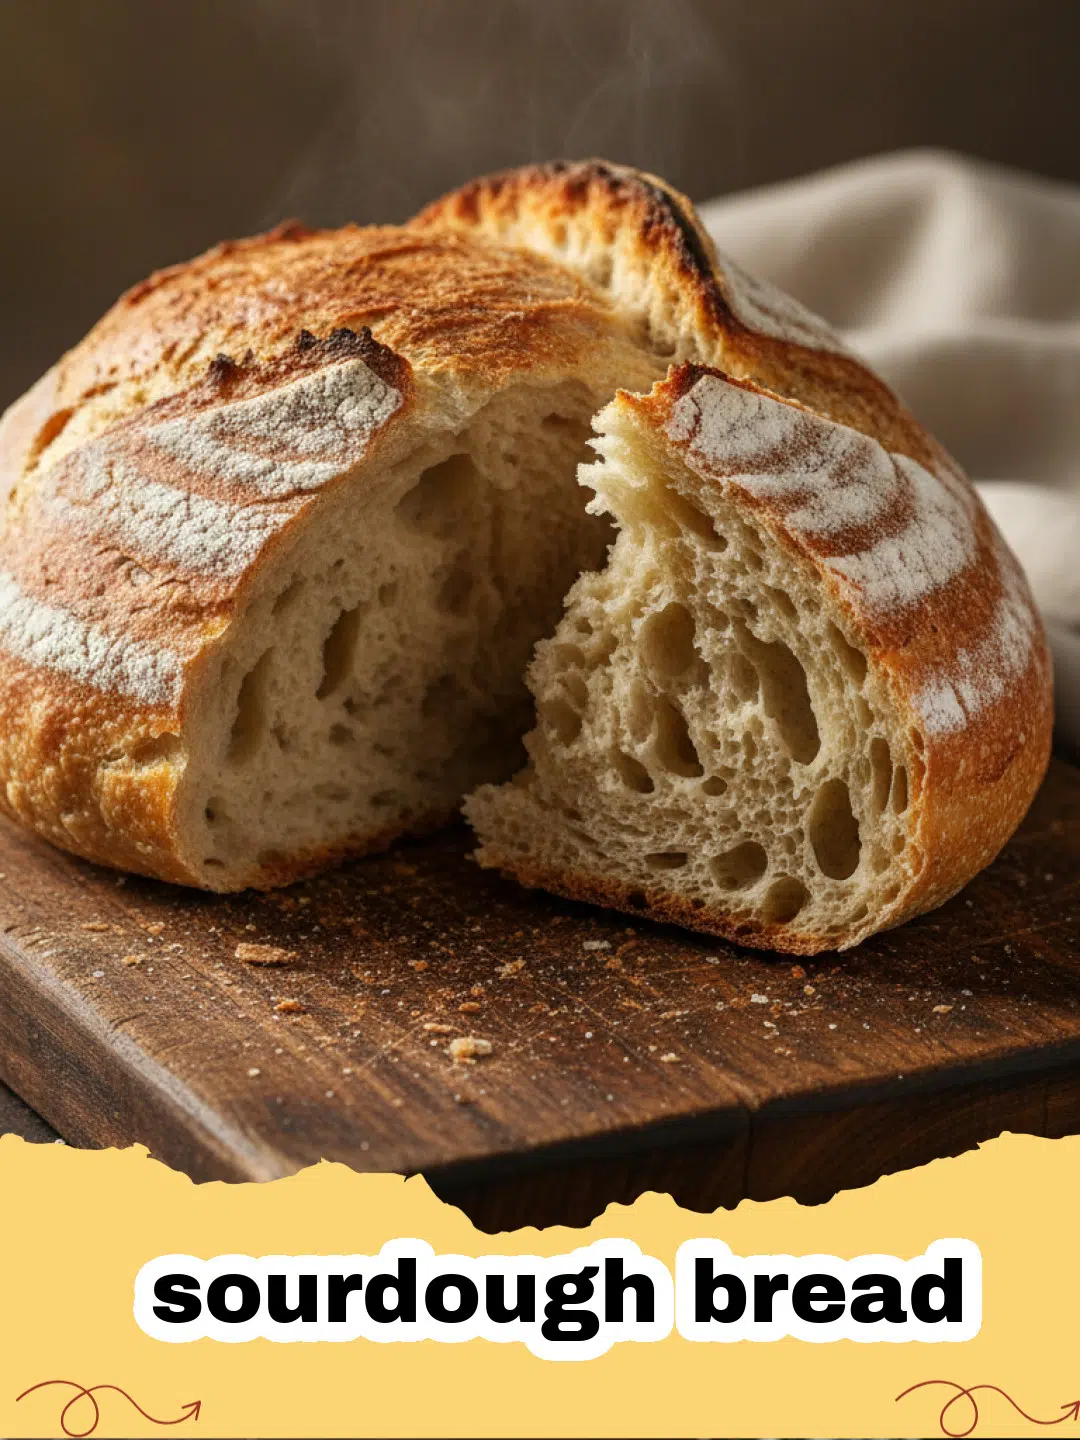
- Incredible Flavor and Texture: Expect a beautiful, blistered crust, a wonderfully chewy and airy crumb, and that characteristic tangy flavor that makes homemade sourdough bread so addictive. This sourdough bread will elevate any meal.
- Deeply Rewarding Experience: There’s immense satisfaction in creating something so delicious and fundamental from scratch. The process of making sourdough bread connects you to ancient culinary traditions and yields a product far superior to anything store-bought.
- Versatile and Wholesome: Enjoy your homemade sourdough bread with endless accompaniments, from simple butter to elaborate spreads. It’s a healthy, satisfying bread with a naturally lower glycemic index due to its fermentation.
Key Ingredient Notes for Perfect Sourdough Bread
While the beauty of sourdough bread lies in its simplicity – just flour, water, salt, and starter – the quality and state of these few ingredients are paramount.
Active Sourdough Starter
Your starter is the heart and soul of your sourdough bread. It needs to be active, bubbly, and fed. A strong starter will double or triple in size within 4-8 hours after feeding and pass the float test (a small spoonful floating in water). If your starter isn't robust, your sourdough bread won't rise properly. Plan to feed your starter 4-12 hours before you intend to mix your dough, ensuring it's at its peak activity.
High-Quality Bread Flour
Using a good quality bread flour with a higher protein content (typically 12-14%) is crucial for developing strong gluten networks. This gluten structure is what traps the gasses produced by the starter, giving your sourdough bread its characteristic open crumb and chewy texture. All-purpose flour can work, but bread flour will yield a superior loaf of sourdough bread. Experiment with different brands to find your favorite.
Non-Chlorinated Water
Chlorine in tap water can inhibit the activity of the beneficial bacteria and yeasts in your sourdough starter, potentially leading to a dense loaf. Always use filtered or distilled water when making sourdough bread. If you don't have a filter, you can leave tap water out on the counter overnight to allow the chlorine to dissipate.

Step-by-Step Guide to Baking Perfect Sourdough Bread with Pro Tips
Baking sourdough bread is a journey of patience and observation. Follow these steps carefully, and you’ll be rewarded with an incredible loaf.
The Autolyse (Optional but Recommended for Better Hydration)
Step 1: In a large bowl, combine 400g bread flour and 300g non-chlorinated water. Mix until just combined and no dry flour remains. Cover the bowl with a damp cloth or plastic wrap and let it rest for 30 minutes to 1 hour. This step, called autolyse, allows the flour to fully hydrate and gluten development to begin naturally, making your sourdough bread easier to work with.
Mixing the Dough
Step 2: After the autolyse, add 100g active sourdough starter to the flour mixture. Mix gently with your hand, squeezing the dough between your fingers, until the starter is fully incorporated. The dough will feel sticky. Cover again and let rest for 30 minutes.
Step 3: Now, add 8g fine sea salt. Wet your hands slightly and gently fold the dough over itself for a few minutes, working the salt in. The dough will feel a bit shaggy at first, but as you continue, it will become smoother. Cover and rest for 30 minutes.
Bulk Fermentation (The Magic Happens Here)
Step 4: Over the next 3-4 hours (depending on your room temperature and starter strength), perform a series of 'stretch and folds'. Every 30 minutes, with wet hands, gently grab a portion of the dough from one side, stretch it upwards, and fold it over to the opposite side. Rotate the bowl and repeat this 3-4 times. This builds strength in your sourdough bread dough without kneading. You'll perform 4-6 sets of stretch and folds. The dough should become noticeably smoother, gassy, and more elastic.
Step 5: After the stretch and folds, let the dough rest, covered, at room temperature for another 8-14 hours (or until it has roughly doubled in size and shows signs of activity – bubbles, domed surface). This is the bulk fermentation, and its duration varies greatly depending on temperature. A cooler kitchen means a longer bulk fermentation for your sourdough bread.
Shaping the Loaf
Step 6: Gently turn your dough out onto a lightly floured surface. Divide the dough if making two smaller loaves. Gently pre-shape the dough into a loose round or rectangle. Let it rest, uncovered, for 20-30 minutes. This allows the gluten to relax.
Step 7: For the final shape, gently shape your sourdough bread into a tight boule or batard. The goal is to create surface tension. For a boule, gently pull the edges into the center, flip it over, and use your hands to cup and rotate the dough, tightening the surface. Place the shaped dough seam-side up into a floured banneton basket or a bowl lined with a floured towel. This basket helps the sourdough bread hold its shape during proofing.
Cold Proofing (Developing Flavor)
Step 8: Cover the banneton with plastic wrap or a plastic bag and refrigerate for 12-24 hours. Cold proofing slows down fermentation, which significantly enhances the flavor and makes the dough easier to score. This step is crucial for complex-flavored sourdough bread.
Baking Your Sourdough Bread
Step 9: Preheat your oven to 475°F (245°C) with a Dutch oven inside for at least 45 minutes to 1 hour. A thoroughly preheated Dutch oven is key to achieving a great crust on your sourdough bread.
Step 10: Carefully remove the hot Dutch oven from the oven. Gently invert the cold dough from the banneton into the hot Dutch oven. Score the top of your sourdough bread with a sharp razor blade or lame. A single deep score or a more intricate design allows the bread to expand beautifully during baking (called 'oven spring'). Bake with the lid on for 25 minutes.


Step 11: Remove the lid and reduce the oven temperature to 450°F (230°C). Continue baking for another 20-25 minutes, or until the crust is a deep golden brown and the internal temperature reaches 200-210°F (93-99°C). The color is important for flavor development in sourdough bread.
Cooling (Don't Skip This!)
Step 12: Carefully remove the sourdough bread from the Dutch oven and place it on a wire rack to cool completely for at least 1-2 hours before slicing. Slicing too early can result in a gummy texture. This waiting period allows the internal structure to set.
Variations & Serving Suggestions for Your Homemade Sourdough Bread
Creative Variations:
- Seeded Sourdough: Incorporate 1/4 cup of mixed seeds (sesame, poppy, sunflower, flax) during the initial mixing stage. Toasting some of the seeds beforehand can enhance their flavor for your sourdough bread.
- Herbed Sourdough: Add 1-2 tablespoons of finely chopped fresh rosemary, thyme, or dried herbs to the dough with the salt.
- Cheese & Jalapeño Sourdough: Fold in 1/2 cup shredded cheddar or Gruyere and 1-2 finely diced jalapeños (deseeded for less heat) during the last few stretch and folds.
- Whole Wheat Sourdough: Substitute up to 100g of the bread flour with whole wheat flour for a nuttier flavor and denser crumb. Adjust water as whole wheat absorbs more.
Serving Suggestions:
- Classic with Butter: Nothing beats a slice of warm sourdough bread with good quality butter.
- Amazing Sandwiches: Elevate your everyday sandwiches, from a simple turkey and cheese to a gourmet BLT, with the sturdy and flavorful base of sourdough bread.
- Bruschetta & Toasts: Slice thin, toast lightly, and top with fresh tomatoes and basil, avocado, or smoked salmon and cream cheese. Perfect for appetizers or a light meal.
- Soups & Stews: The hearty crust and open crumb of this sourdough bread make it ideal for dipping into your favorite soups, such as a rich tomato soup or a robust beef stew.
- Paired with Dips: Serve thick slices alongside a vibrant dip like The Ultimate Vegan Italian Veggie Hoagie Dip or use it as a base for various spreads. You can also toast leftover sourdough bread and cut it into chips for dipping, much like Crunchy Perfection: The Ultimate Guide to Homemade Baked Pita Chips.
Store your finished sourdough bread at room temperature, cut-side down on a cutting board, or in a bread bag for 2-3 days. For longer storage, slice and freeze. To keep your starter healthy and happy, consider storing it in quality Basics Glass Food Storage containers.
Sourdough Bread Nutrition Information
Nutrient Amount per Serving Calories 250 kcal Carbohydrates 48g Protein 9g Fat 2g Saturated Fat 0.5g Trans Fat 0g Unsaturated Fat 1.5g Cholesterol 0mg Sodium 350mg Fiber 3g Sugar 1g Serving Size 1 slice (approx. 70g)
Baking your own sourdough bread is a profoundly satisfying endeavor, transforming simple ingredients into a masterpiece of flavor and texture. It teaches patience, observation, and rewards you with arguably the best bread you'll ever taste. Don't be discouraged by initial failures; each loaf is a learning experience. With this guide, you're well on your way to baking beautiful, delicious sourdough bread that will impress family and friends and fill your home with an irresistible aroma. Happy baking!
FAQs
What is the secret to a great sourdough bread crust?
The secret to a beautifully crisp and blistered sourdough bread crust lies in baking at a high temperature, ideally in a preheated Dutch oven with the lid on for the first part of the bake. This traps steam, allowing the crust to expand and develop without drying out, resulting in a thin, crackly exterior.
How do I know if my sourdough starter is active enough?
An active sourdough starter will have doubled or tripled in size within 4-8 hours after feeding, be full of visible bubbles, and smell pleasantly tangy. A simple float test can confirm its readiness: drop a small spoonful of starter into a glass of water; if it floats, it's ready to use for your sourdough bread.
Can I skip the cold proofing step for sourdough bread?
While technically possible to bake your sourdough bread directly after shaping and a shorter room-temperature proof, cold proofing (refrigerating) is highly recommended. It significantly deepens the flavor of the sourdough, makes the dough much easier to handle and score, and helps achieve a better rise and crust.
What is the best way to store homemade sourdough bread?
For optimal freshness, store your sourdough bread at room temperature, cut-side down on a clean cutting board, or in a breathable bread bag for 2-3 days. Avoid airtight containers as they can make the crust soft. For longer storage, slice the bread and freeze it in an airtight bag or container; toast slices from frozen as needed.

Classic No-Knead Sourdough Bread
- Total Time: 13-19 hours (including fermentation)
- Yield: 1 large loaf 1x
Description
A step-by-step guide to baking artisanal no-knead sourdough bread at home, perfect for beginners and experienced bakers alike, resulting in a crusty exterior and a chewy, airy crumb with that signature tangy flavor.
Ingredients
400g strong bread flour (approximately 3 cups)
300g non-chlorinated water (approximately 1 ¼ cups)
100g active sourdough starter (fed and bubbly)
8g fine sea salt (approximately 1 ½ teaspoons)
Instructions
Step 1: In a large bowl, combine the bread flour and non-chlorinated water. Mix until just combined and no dry flour remains. Cover the bowl with a damp cloth or plastic wrap and let it rest for 30 minutes to 1 hour (autolyse).
Step 2: Add the active sourdough starter to the flour mixture. Mix gently with your hand, squeezing the dough between your fingers, until the starter is fully incorporated. Cover again and let rest for 30 minutes.
Step 3: Add the fine sea salt. Wet your hands slightly and gently fold the dough over itself for a few minutes, working the salt in. Cover and rest for 30 minutes.
Step 4: Over the next 3-4 hours, perform a series of 'stretch and folds'. Every 30 minutes, with wet hands, gently grab a portion of the dough from one side, stretch it upwards, and fold it over to the opposite side. Rotate the bowl and repeat this 3-4 times. Perform 4-6 sets of stretch and folds.
Step 5: After the stretch and folds, let the dough rest, covered, at room temperature for another 8-14 hours (bulk fermentation), or until it has roughly doubled in size and shows signs of activity (bubbles, domed surface).
Step 6: Gently turn your dough out onto a lightly floured surface. Gently pre-shape the dough into a loose round or rectangle. Let it rest, uncovered, for 20-30 minutes.
Step 7: For the final shape, gently shape your dough into a tight boule or batard. Place the shaped dough seam-side up into a floured banneton basket or a bowl lined with a floured towel.
Step 8: Cover the banneton with plastic wrap or a plastic bag and refrigerate for 12-24 hours (cold proofing).
Step 9: Preheat your oven to 475°F (245°C) with a Dutch oven inside for at least 45 minutes to 1 hour.
Step 10: Carefully remove the hot Dutch oven from the oven. Gently invert the cold dough from the banneton into the hot Dutch oven. Score the top of your sourdough bread with a sharp razor blade or lame. Bake with the lid on for 25 minutes.
Step 11: Remove the lid and reduce the oven temperature to 450°F (230°C). Continue baking for another 20-25 minutes, or until the crust is a deep golden brown and the internal temperature reaches 200-210°F (93-99°C).
Step 12: Carefully remove the bread from the Dutch oven and place it on a wire rack to cool completely for at least 1-2 hours before slicing.
Notes
Ensure your sourdough starter is very active and bubbly before beginning. Room temperature significantly affects fermentation times; adjust accordingly. For best results, use a Dutch oven.
- Prep Time: 20 minutes active, 12-18 hours bulk fermentation
- Cook Time: 45 minutes
- Category: Breads & Doughs
- Cuisine: Artisan
Nutrition
- Serving Size: 1 slice (approx. 70g)
- Calories: 250 kcal
- Sugar: 1g
- Sodium: 350mg
- Fat: 2g
- Saturated Fat: 0.5g
- Unsaturated Fat: 1.5g
- Trans Fat: 0g
- Carbohydrates: 48g
- Fiber: 3g
- Protein: 9g
- Cholesterol: 0mg
Related posts:
 Blueberry Fluffy Cottage Cheese Cloud Bread: Light, Sweet & Protein-Packed
 The Ultimate Soft & Fluffy Condensed Milk Bread Rolls: A Melt-in-Your-Mouth Recipe
 Irresistible Cinnamon Sugar Cream Cheese Rolls: Fluffy, Sweet & Utterly Decadent!
 No-Oven Stovetop Bread: Easy Homemade Bread Without an Oven!

Leave a Reply