
There is nothing quite like the whimsical joy of baking a batch of wicked witch hat brownies as the crisp autumn air starts to settle in. Every year, when the leaves begin to turn shades of burnt orange and gold, my kitchen transforms into a miniature laboratory of sugary spells and chocolatey concoctions. I remember one specific Halloween when the rain was lashing against the windowpane, and my little ones were practically vibration with excitement for the neighborhood party. We decided to create something more than just a standard tray bake; we wanted magic. That was the day the first wicked witch hat brownies were born in our household. The kitchen was covered in a light dusting of cocoa powder, and green buttercream seemed to find its way onto every surface, but the laughter echoing through the halls was worth every bit of the mess. These treats aren't just desserts; they are edible memories that capture the playful spirit of the season.
As we whisked the batter and carefully dipped the chocolate cones, I realized that the enchanting appeal of wicked witch hat brownies is undeniable. They bridge the gap between a sophisticated chocolate dessert and a fun, craft-like activity that keeps everyone engaged. Whether you are hosting a high-end masquerade or a simple school bake sale, these brownies stand out as a centerpiece that sparks conversation. I’ve found that mastering the art of wicked witch hat brownies is easier than it looks, yet the results look like they came straight from a professional bakery. Over the years, I have refined this recipe to ensure the brownie base is perfectly fudgy, providing a sturdy foundation for the towering ‘hats’ that sit atop them. Sharing these wicked witch hat brownies with neighbors has become a cherished ritual, a way to spread a little bit of ‘wicked’ sweetness during the most haunting month of the year.
Why This Recipe is a Must-Try
- Visually Stunning: The iconic silhouette of the witch hat makes these wicked witch hat brownies an instant showstopper at any Halloween gathering.
- Perfect Texture: We utilize a high-quality cocoa base to ensure these wicked witch hat brownies are incredibly fudgy and rich, satisfying even the deepest chocolate cravings.
- Kid-Friendly Activity: Assembling the hats on top of the wicked witch hat brownies is a fantastic way to get children involved in the kitchen without complex baking techniques.
- Customizable Colors: While green is classic, you can easily swap the frosting colors on your wicked witch hat brownies to match any spooky theme or personal preference.
Key Ingredient Notes
When you are preparing to make wicked witch hat brownies, the quality of your cocoa powder is paramount. For that deep, dark, almost obsidian look that fits the ‘wicked’ theme, I highly recommend using a Dutch-processed cocoa powder. This type of cocoa has been neutralized for acidity, resulting in a smoother, more intense chocolate flavor that serves as the perfect canvas for your decorations. If you enjoy experimenting with different brownie profiles, you might notice that these differ slightly in complexity from The Ultimate Fudgy Matcha Brownies Recipe, which relies on earthy tea notes rather than pure chocolate intensity.
The second critical component for your wicked witch hat brownies is the ‘hat’ itself. We use sugar cones or waffle cones, which are then coated in melted dark chocolate. This provides a satisfying crunch that contrasts beautifully with the soft, chewy brownie beneath. Ensure your cones are fresh; stale cones can lose their structural integrity and might lean over, which—while fitting for a ‘melting’ witch—isn't always the look we are going for. Lastly, the frosting acts as the ‘glue.’ I suggest a stiff buttercream or even a thick royal icing. This ensures the hats stay firmly attached to the wicked witch hat brownies, even if you are transporting them to a party across town.

Step-by-Step Guide with Pro Tips
The secret to wicked witch hat brownies is in the assembly and the patience you exercise during the cooling process. Start by preparing your favorite brownie batter. I like to fold in extra chocolate chips to give the base more weight and texture. Once your brownies are baked, it is crucial to let them cool completely. If you attempt to decorate your wicked witch hat brownies while they are still warm, the frosting will melt, and your witch hats will slide right off. For the most uniform look, use a circular biscuit cutter to cut rounds out of your sheet of brownies. This gives each of the wicked witch hat brownies a clean, professional edge.
As you move to the decoration phase, melting your chocolate for the cones should be done carefully. Use a microwave-safe bowl and heat in 30-second increments to avoid scorching. Dipping the cones can be messy, so use a fork or a skewer to submerge them and let the excess chocolate drip off. While the chocolate on the cones is still slightly tacky, you can even add a few ‘spells’ in the form of black sanding sugar or edible glitter. If you want wicked witch hat brownies that stand out, consider adding a small ‘buckle’ made of a yellow star sprinkle or a tiny piece of fondant at the base of the hat’s brim. This attention to detail is what makes these wicked witch hat brownies truly magical. Just like my experience making The Most Magical St. Patrick’s Day Sugar Cookies That Will Melt Your Soul, festive baking is all about those little touches that bring the character of the holiday to life.
Variations & Serving Suggestions
Customizing your wicked witch hat brownies can be so creative and fun. If you have guests with dietary restrictions, the brownie base can easily be swapped for a gluten-free flour blend. For a different flavor profile, try adding a hint of peppermint extract to the green frosting to create a ‘minty witch’ variation. You can also make mini wicked witch hat brownies by using a smaller circular cutter and using the very tips of the waffle cones for a bite-sized appetizer version. This is particularly useful for large parties where guests want to sample multiple treats.
When it comes to serving, these wicked witch hat brownies look best on a dark platter or a wooden board to make the colors pop. I like to scatter some purple and orange chocolate candies around the base to enhance the Halloween vibe. If you are preparing these in advance, storing your wicked witch hat brownies correctly is key to keeping the cones crunchy. I recommend using high-quality containers like the Basics Glass Food Storage to keep the air out and the freshness in. Keeping the air away from the sugar cones prevents them from softening, ensuring every bite of these wicked witch hat brownies is pure magic.
Nutrition Information
Below is the estimated nutrition information for one serving of these wicked witch hat brownies. Please note that these are estimates based on standard ingredient measurements.
| Nutrient | Amount per Serving |
|---|---|
| Calories | 385 kcal |
| Carbohydrate Content | 48 g |
| Cholesterol Content | 45 mg |
| Fat Content | 21 g |
| Fiber Content | 3 g |
| Protein Content | 4 g |
| Saturated Fat Content | 12 g |
| Serving Size | 1 brownie |
| Sodium Content | 150 mg |
| Sugar Content | 32 g |
| Trans Fat Content | 0 g |
| Unsaturated Fat Content | 7 g |
Conclusion
Planning your wicked witch hat brownies ahead of time will save you a lot of stress on Halloween night, allowing you to actually enjoy the festivities. These treats have a way of bringing people together, whether through the process of decorating them or the simple pleasure of eating them. Every bite of these wicked witch hat brownies is a reminder that the best part of the holidays is the creativity we share with those we love. So, grab your cauldron (or just a mixing bowl), and get ready to whip up a batch of wicked witch hat brownies that will have everyone under your spell! Happy Halloween baking!


FAQs
Can I make these wicked witch hat brownies in advance?
Yes! You can bake the brownies and coat the cones a day ahead. However, I recommend assembling the final wicked witch hat brownies on the day of serving to ensure the cone remains crispy and doesn't soften from the moisture in the frosting.
What is the best way to store leftovers?
Store any remaining wicked witch hat brownies in an airtight container at room temperature for up to 2 days. For longer storage, you can keep them in the fridge, but the cones may lose their crunch over time.
Can I use a boxed brownie mix for this recipe?
Absolutely! If you're short on time, a boxed fudgy brownie mix works perfectly as a base for these wicked witch hat brownies. Just follow the package instructions and proceed with the decorating steps as directed.

Wicked Witch Hat Brownies
- Total Time: PT55M
- Yield: 12 servings 1x
Description
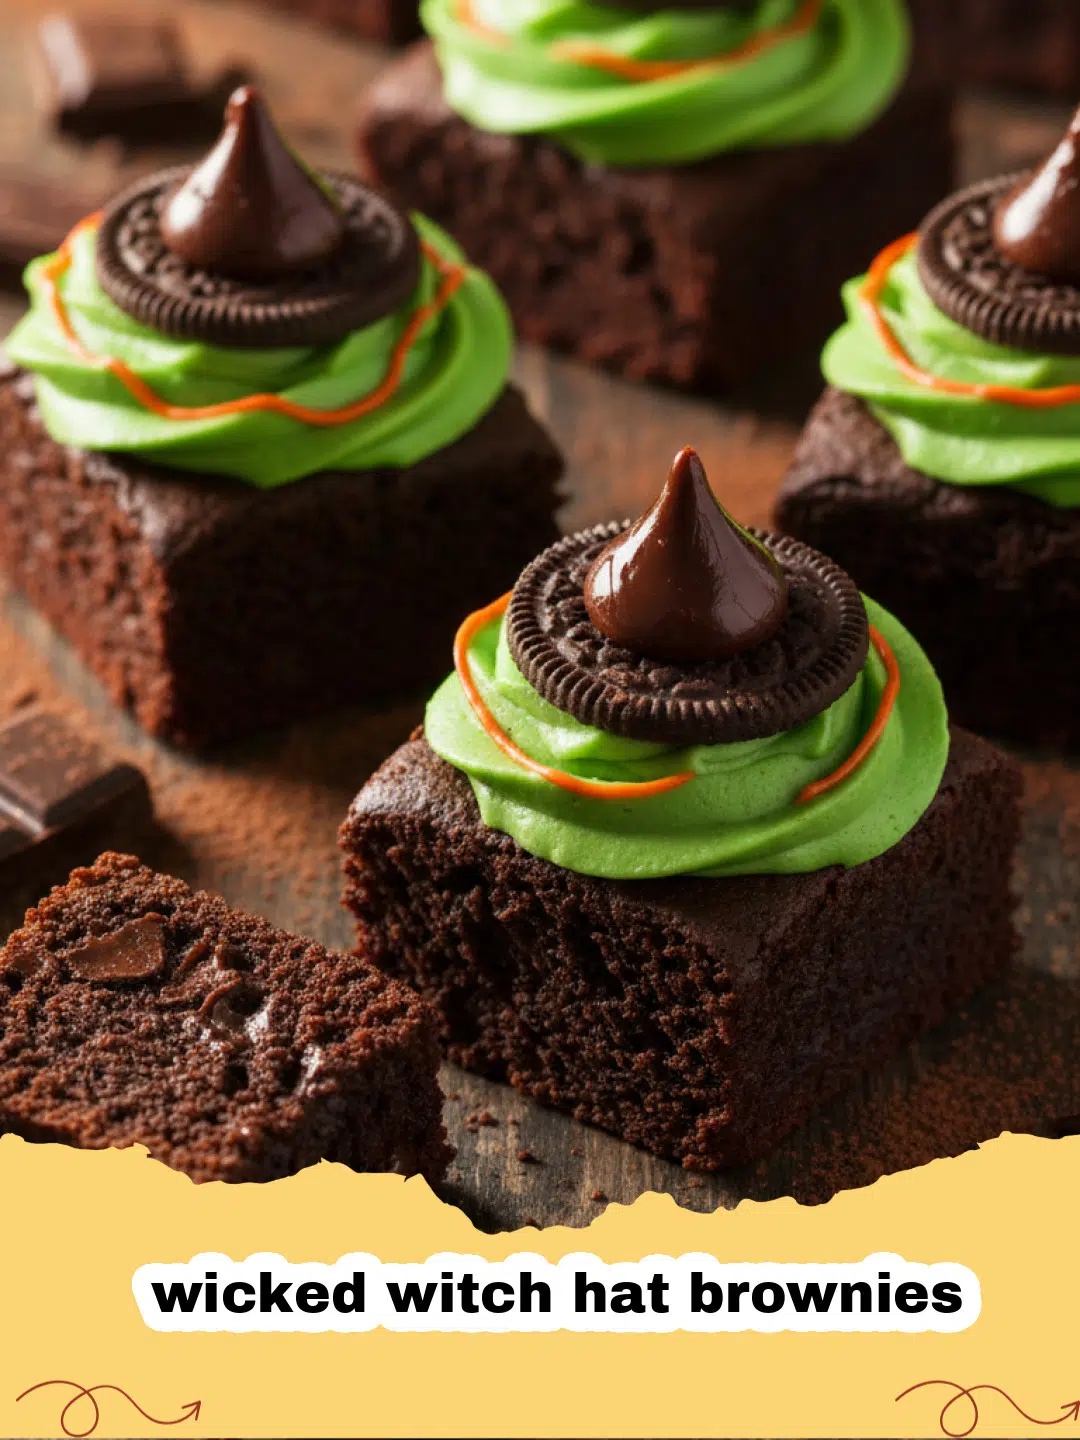
Fudgy chocolate brownies topped with chocolate-covered waffle cones and vibrant green frosting to create the ultimate spooky Halloween treat.
Ingredients
1 cup unsalted butter, melted
2 cups granulated sugar
4 large eggs
1 tablespoon vanilla extract
3/4 cup Dutch-processed cocoa powder
1 cup all-purpose flour
1/2 teaspoon salt
1 cup semi-sweet chocolate chips
12 sugar cones (or waffle cones)
1 cup dark chocolate melting wafers
1 cup vanilla buttercream frosting
Green food coloring
Halloween-themed sprinkles
Instructions
Step 1: Preheat your oven to 350°F (175°C) and grease a 9x13 inch baking pan or line it with parchment paper for easy removal.
Step 2: In a large bowl, whisk together the melted butter and sugar. Add eggs one at a time, followed by the vanilla extract, and whisk until smooth.
Step 3: Sift in the cocoa powder, flour, and salt. Fold the dry ingredients into the wet mixture until just combined, then stir in the chocolate chips.
Step 4: Pour the batter into the prepared pan and bake for 22-25 minutes. Let the brownies cool completely in the pan.
Step 5: While the brownies cool, melt the dark chocolate wafers in the microwave. Dip each sugar cone into the chocolate until fully coated. Place on wax paper to set.
Step 6: Once the brownies are cold, use a 3-inch round cutter to cut out 12 brownie circles. These will serve as the base for your wicked witch hat brownies.
Step 7: Tint your buttercream frosting with green food coloring. Pipe a thick ring of green frosting onto each brownie round.
Step 8: Press a chocolate-coated cone onto the center of each frosting ring. The frosting should squeeze out slightly to look like the ribbon on a hat. Add sprinkles for the buckle and enjoy!
Notes
Ensure the brownies are completely chilled before cutting to get perfect circles. If the cones are too tall, you can carefully trim the bottom with a serrated knife before dipping in chocolate.
- Prep Time: PT30M
- Cook Time: PT25M
- Category: Holiday & Seasonal
- Cuisine: American
Nutrition
- Serving Size: 1 brownie
- Calories: 385 kcal
- Sugar: 32 g
- Sodium: 150 mg
- Fat: 21 g
- Saturated Fat: 12 g
- Unsaturated Fat: 7 g
- Trans Fat: 0 g
- Carbohydrates: 48 g
- Fiber: 3 g
- Protein: 4 g
- Cholesterol: 45 mg


Leave a Reply