
Creating a blood drip red velvet cake is the ultimate way to showcase your baking skills while embracing a delightfully dark aesthetic for your next party. I remember the first time I decided to host a gothic-themed dinner party. I wanted a centerpiece that was both elegant and slightly unsettling. After hours of sketching designs, I realized that nothing speaks to the balance of beauty and horror quite like a blood drip red velvet cake. The deep crimson sponge, paired with stark white frosting and a shocking red ganache, created a moment of silence when I brought it to the table. Everyone was hesitant to cut into it, but once they tasted the moist, cocoa-infused layers, it was gone in minutes. Since then, this blood drip red velvet cake has become my go-to for Halloween and themed celebrations. It is more than just a dessert; it is a conversation starter that tastes even better than it looks.
Why This Recipe is a Must-Try
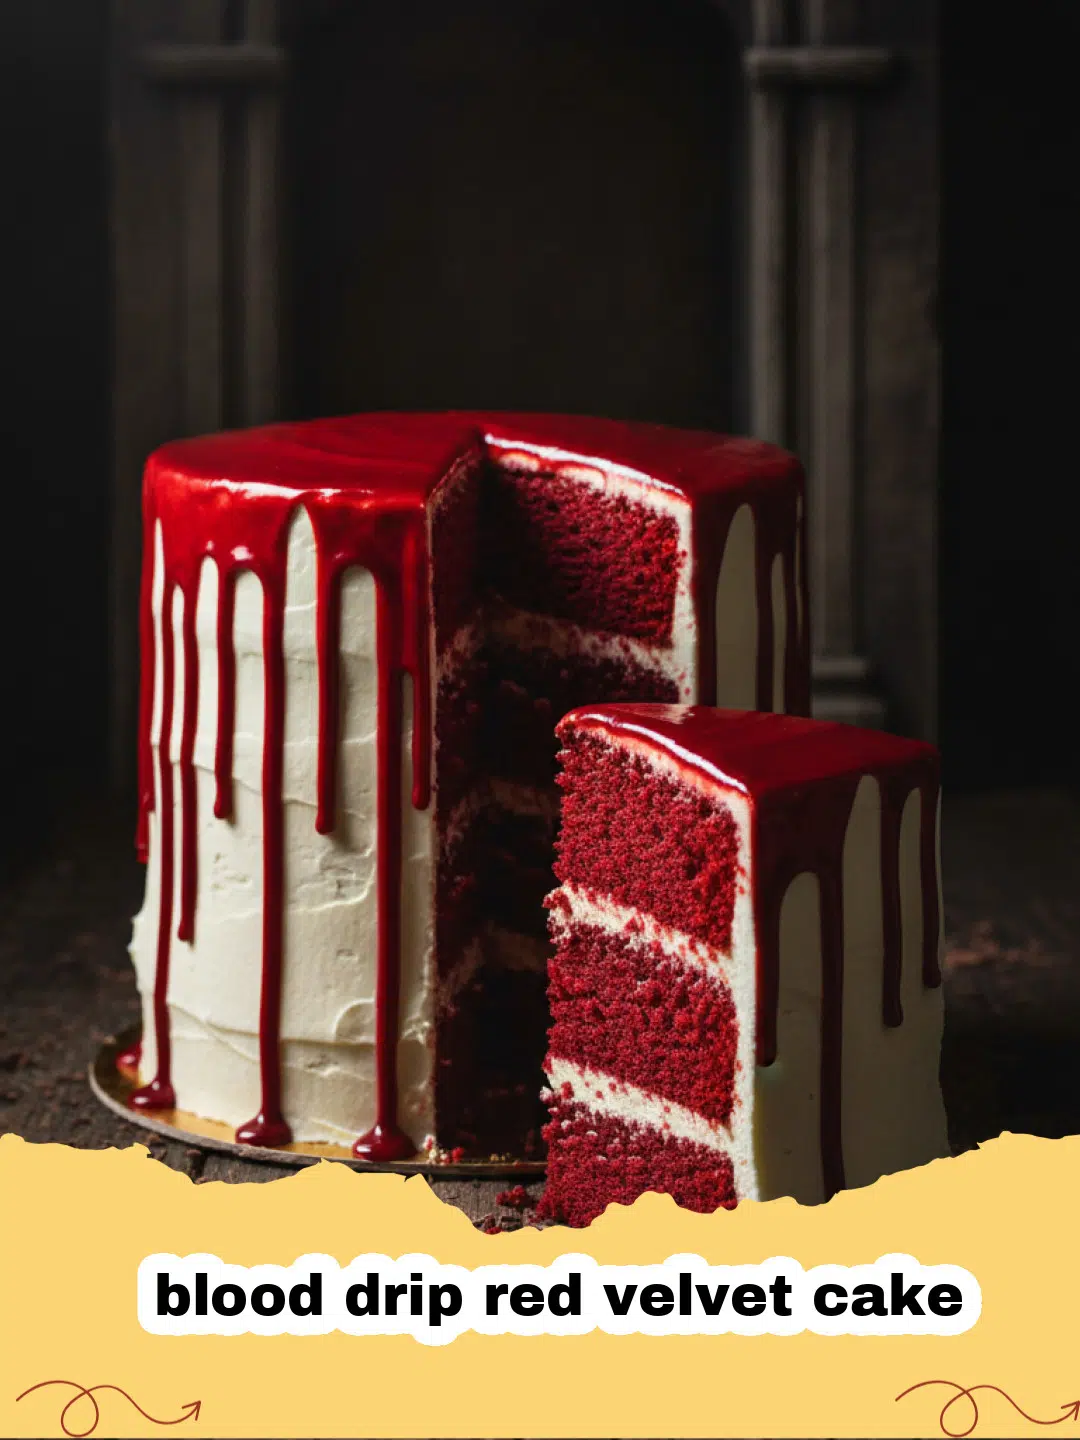
- Visual Impact: The contrast between the snowy cream cheese frosting and the vivid red chocolate drip makes the blood drip red velvet cake an instant showstopper.
- Perfect Texture: Thanks to the combination of buttermilk and vinegar, this cake boasts a tender, velvety crumb that stays moist for days.
- Flavor Balance: It is not just sweet; the slight tang of the cream cheese and the subtle cocoa notes create a complex flavor profile that isn't overwhelming.
- Customizable Drama: You can control the "gore" level of your blood drip red velvet cake by adjusting how much ganache you allow to run down the sides.
Key Ingredient Notes
To ensure your blood drip red velvet cake turns out perfectly, pay close attention to these three crucial components. First, the buttermilk is non-negotiable. It reacts with the baking soda to give the cake its signature lift and soft texture. If you don't have buttermilk, you can make a quick substitute with milk and a splash of lemon juice, but the real thing is always better for a blood drip red velvet cake. Second, the red food coloring needs to be a high-quality gel. Liquid coloring can alter the consistency of the batter and often doesn't provide that deep, blood-red hue we are looking for. Finally, for the drip itself, use white chocolate chips mixed with heavy cream. This creates a stable ganache that holds its shape while still looking fluid and realistic on your blood drip red velvet cake.

Step-by-Step Guide with Pro Tips
Preparation is key when assembling a blood drip red velvet cake. Start by ensuring all your refrigerated ingredients, like eggs and butter, are at room temperature. This helps them emulsify properly, leading to a smoother batter. While the oven preheats, grease your pans thoroughly. I often use a parchment paper circle at the bottom to ensure the layers of my blood drip red velvet cake come out cleanly every time. If you are looking for even more red velvet inspiration, check out The Hauntingly Delicious Phantom Red Velvet Cake Recipe for a slightly different take on this classic.
The Importance of Leveling
Once your cakes have cooled completely, it is vital to level them. Use a serrated knife to trim the domed tops off. This ensures that your blood drip red velvet cake stands straight and doesn't lean. Save the crumbs! You can toast them and use them to decorate the base of the cake later. A level cake is much easier to frost, especially when you are trying to create that smooth canvas for the blood drip red velvet cake effect. If you have leftovers, consider using Basics Glass Food Storage to keep the cake fresh and moist for the next day.
Mastering the Drip
The most intimidating part of the blood drip red velvet cake is the drip itself. The ganache should be warm but not hot. If it’s too hot, it will melt the frosting and run straight to the bottom. If it’s too cold, it won’t drip at all. Test the consistency on the back of a spoon first. When you’re ready, use a squeeze bottle or a spoon to carefully apply the drip to the edges of your chilled blood drip red velvet cake. For a complete spooky spread, I love pairing this dessert with Spooky Fang Chocolate Dipped Strawberries to really lean into the theme.
Variations & Serving Suggestions
While the classic blood drip red velvet cake is stunning, you can definitely put your own spin on it. Try adding a layer of raspberry jam between the cake layers for a "bleeding" surprise when the cake is sliced. You could also transform this into blood drip red velvet cake cupcakes if you are hosting a larger, more casual gathering. For a more sophisticated look, top the blood drip red velvet cake with fresh raspberries or even edible silver leaf. When serving, use a sharp knife dipped in hot water and wiped dry between each cut. This will give you those clean, professional-looking slices that show off the beautiful internal layers of your blood drip red velvet cake.
Nutrition Information
| Nutrient | Amount per Serving |
|---|---|
| Calories | 520 kcal |
| Carbohydrate Content | 68g |
| Cholesterol Content | 85mg |
| Fat Content | 26g |
| Fiber Content | 1g |
| Protein Content | 6g |
| Saturated Fat Content | 14g |
| Serving Size | 1 slice (1/12 of cake) |
| Sodium Content | 310mg |
| Sugar Content | 45g |
| Trans Fat Content | 0.5g |
| Unsaturated Fat Content | 10g |
Making a blood drip red velvet cake might seem like a daunting task, but with a bit of patience and the right ingredients, anyone can master it. The joy of seeing your guests' faces when they see the finished blood drip red velvet cake is worth every minute spent in the kitchen. Whether it's for a birthday, a holiday, or just because you feel like something dramatic, this blood drip red velvet cake will never disappoint. So, grab your apron, preheat your oven, and get ready to bake the most impressive blood drip red velvet cake of your life. Your journey into the world of gothic baking starts right now, and this blood drip red velvet cake is the perfect first step. Happy baking!
FAQs
How do I make the 'blood' drip look realistic?
The secret is using a white chocolate ganache colored with high-quality red gel food coloring. Ensure the consistency is thick enough to drip slowly but not so thin that it runs all the way off the cake.
Can I make the blood drip red velvet cake in advance?
Yes, you can bake the layers a day ahead. Store them wrapped tightly in plastic wrap. You can also frost the cake and add the drip a day before serving, as long as it is kept refrigerated.


What if my red velvet cake isn't bright red?
This usually happens if you use liquid food coloring or too much cocoa powder. Stick to gel colors and a small amount of cocoa to maintain that vibrant red hue.

Blood Drip Red Velvet Cake
- Total Time: PT1H20M
- Yield: 12 servings 1x
Description
A stunning and dramatic red velvet cake featuring a white cream cheese frosting and a vivid red chocolate ganache drip, perfect for Halloween or themed parties.
Ingredients
2 1/2 cups all-purpose flour
1 1/2 cups granulated sugar
1 tsp baking soda
1 tsp salt
1 tsp cocoa powder
1 1/2 cups vegetable oil
1 cup buttermilk, room temperature
2 large eggs, room temperature
2 tbsp red gel food coloring
1 tsp distilled white vinegar
1 tsp vanilla extract
16 oz cream cheese, softened
1/2 cup unsalted butter, softened
4 cups powdered sugar
1/2 cup white chocolate chips
1/4 cup heavy cream
Extra red gel food coloring for the drip
Instructions
Step 1: Preheat your oven to 350°F (175°C) and grease two 8-inch round cake pans, lining the bottoms with parchment paper.
Step 2: In a large bowl, whisk together the flour, sugar, baking soda, salt, and cocoa powder.
Step 3: In a separate bowl, mix the oil, buttermilk, eggs, food coloring, vinegar, and vanilla until well combined.
Step 4: Gradually add the dry ingredients to the wet ingredients, mixing until just smooth. Do not overmix.
Step 5: Divide the batter evenly between the prepared pans and bake for 30-35 minutes, or until a toothpick comes out clean.
Step 6: Allow the cakes to cool in the pans for 10 minutes, then transfer to a wire rack to cool completely.
Step 7: Prepare the frosting by beating the cream cheese and butter together until fluffy, then gradually adding powdered sugar and vanilla.
Step 8: Level the cooled cakes and frost between the layers, then cover the top and sides with a smooth layer of frosting. Chill the cake for at least 30 minutes.
Step 9: Make the drip by heating the heavy cream until simmering, then pouring it over the white chocolate chips. Let sit for 2 minutes, stir until smooth, and add red gel coloring until the desired 'blood' shade is achieved.
Step 10: Using a spoon or squeeze bottle, carefully drip the ganache over the edges of the chilled cake, then fill in the center of the top.
Notes
Ensure the cake is very cold before applying the ganache drip to prevent the frosting from melting.
- Prep Time: PT45M
- Cook Time: PT35M
- Category: Desserts & Baked Goods
- Cuisine: American
Nutrition
- Serving Size: 1 slice
- Calories: 520 kcal
- Sugar: 45g
- Sodium: 310mg
- Fat: 26g
- Saturated Fat: 14g
- Unsaturated Fat: 10g
- Trans Fat: 0.5g
- Carbohydrates: 68g
- Fiber: 1g
- Protein: 6g
- Cholesterol: 85mg


Leave a Reply