
Introduction to Your New Favorite Dessert
Creamy Swirl Ice Cream Bread Treat – Better Than Takeout is the ultimate solution for anyone who wants a gourmet dessert without spending hours in the kitchen. Imagine taking the silky, rich flavors of your favorite premium ice cream and transforming them into a soft, tender loaf that is part cake and part quick bread. This recipe is more than just a trend; it is a culinary miracle that relies on the science of simple ingredients. By utilizing the emulsifiers, fats, and sugars already present in high-quality ice cream, you eliminate the need for oil, eggs, or additional sugar in the base batter. It is a brilliant way to salvage that forgotten pint in the back of your freezer or to intentionally create a show-stopping center-piece for your next brunch.
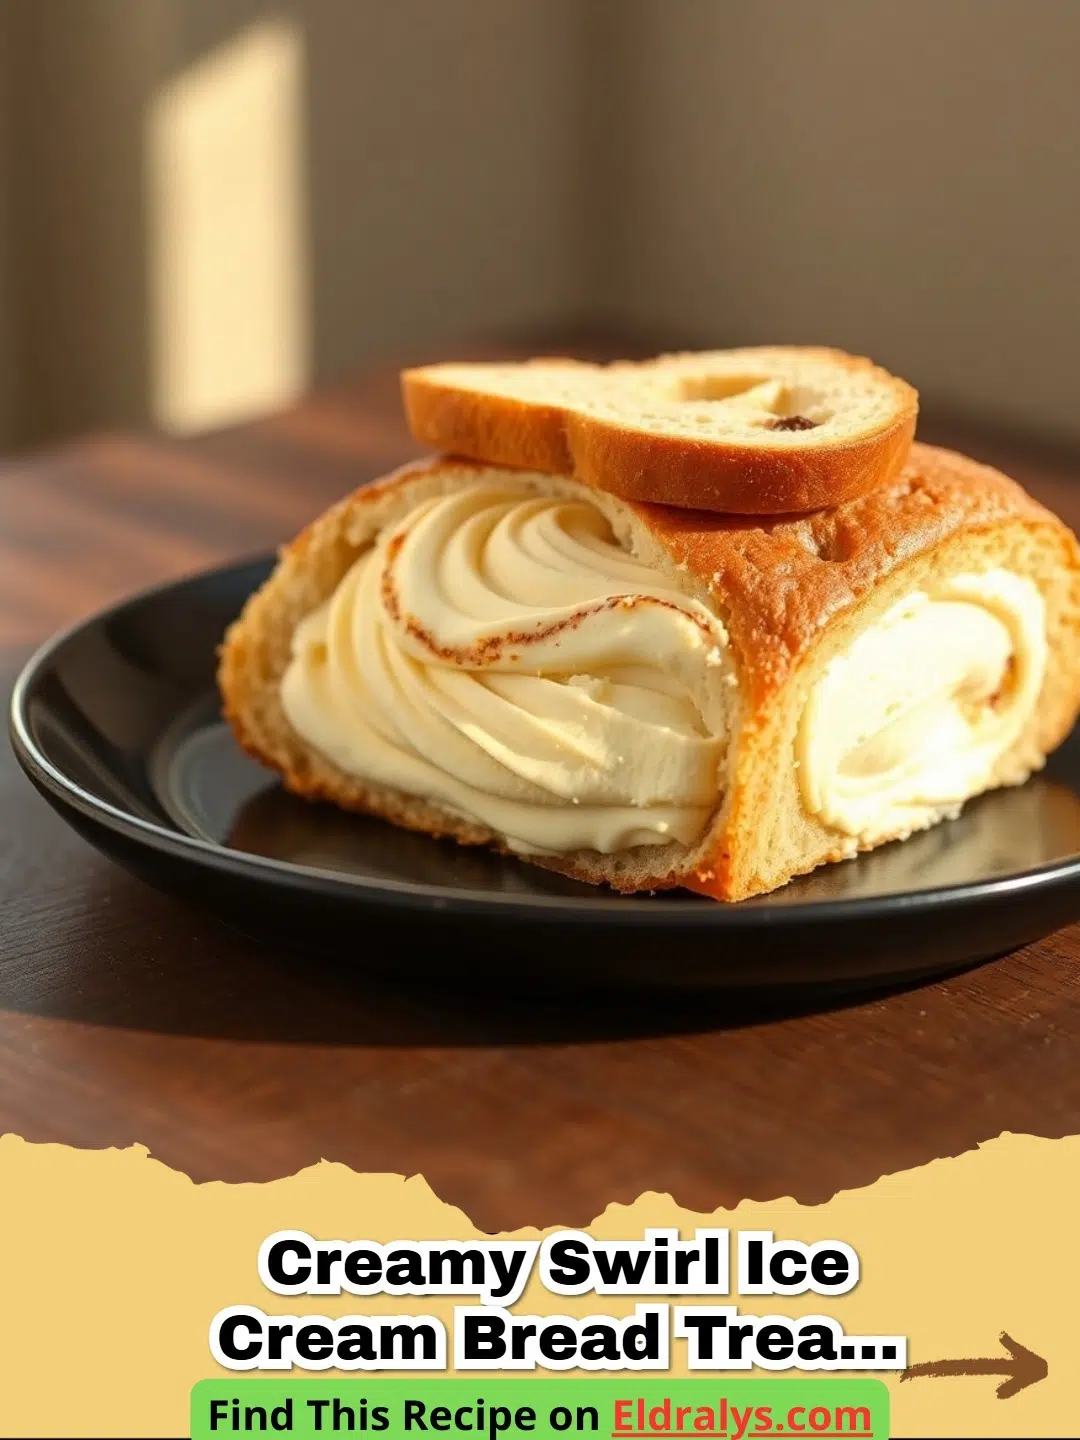
When you take your first bite of this Creamy Swirl Ice Cream Bread Treat – Better Than Takeout, you will be struck by the complexity of the texture. It is dense enough to hold a spread of salted butter but light enough to melt on your tongue. The beautiful swirl of contrasting flavors—perhaps a deep chocolate or a vibrant fruit jam—adds an aesthetic appeal that rivals anything you would find in a high-end bakery. This is truly The Most Magical 2-Ingredient Ice Cream Bread Recipe That Will Change Your Life, and today we are elevating it with techniques that ensure a perfect result every single time.
Why You’ll Love This Creamy Swirl Ice Cream Bread Treat – Better Than Takeout
You will absolutely adore the Creamy Swirl Ice Cream Bread Treat – Better Than Takeout because it offers a level of versatility that is rare in the world of baking. Whether you are a fan of classic vanilla, decadent butter pecan, or zesty strawberry, the choice of ice cream base entirely dictates the final flavor profile. This means you can have a different experience every time you bake it. Furthermore, the prep time is minimal, often taking less than five minutes to get the batter into the oven. It is the perfect recipe for children to help with, as the simple ratios are easy to follow and the results are almost guaranteed to be delicious.
Moreover, this treat is far more cost-effective and flavorful than store-bought cakes. Many commercial baked goods are filled with preservatives and artificial flavors, but with the Creamy Swirl Ice Cream Bread Treat – Better Than Takeout, you control the quality of the ingredients. You can even use The Ultimate Homemade Strawberry Ice Cream: A Creamy Dream in Every Scoop as your base for an artisanal touch. The aroma that fills your home as this bread bakes is intoxicating, combining the scents of caramelized sugar and warm cream in a way that is simply irresistible.
Ingredients Needed for Success
To create the perfect Creamy Swirl Ice Cream Bread Treat – Better Than Takeout, you will need a few key components. The simplicity of the list is what makes it so revolutionary, but the quality of these items is paramount. High-fat ice cream is the secret weapon here. Cheap ice creams with too much air (overrun) will not provide the necessary moisture for a tender crumb.
- 2 cups of your favorite full-fat ice cream (melted to a liquid consistency)
- 1.5 cups of fresh self-rising flour (leavening is already included!)
- 1/4 cup of swirl base (such as cocoa powder mixed with water, melted Nutella, or fruit preserves)
- Optional: 1/2 teaspoon of vanilla extract to enhance the aroma
- Optional: A pinch of sea salt to balance the sweetness
Notes and Substitutions
If you do not have self-rising flour on hand for your Creamy Swirl Ice Cream Bread Treat – Better Than Takeout, you can make your own by combining 1.5 cups of all-purpose flour with 2 teaspoons of baking powder and 1/2 teaspoon of salt. Do not use bread flour, as the high protein content will make the loaf too chewy and tough. For a vegan version, ensure both your ice cream and flour substitutes are compatible, though the texture may vary slightly from the traditional dairy-based version. According to Wikipedia, ice cream is a sweetened frozen food typically eaten as a snack or dessert, and its composition is what makes this bread possible.
Essential Equipment
You don’t need a professional kitchen to master this Creamy Swirl Ice Cream Bread Treat – Better Than Takeout. A standard 9x5 inch loaf pan is the ideal vessel for this bake. You will also need a large mixing bowl, a sturdy spatula for folding the flour, and a small bowl for preparing your swirl component. Using parchment paper to line your pan is a pro tip that ensures easy removal and clean edges.
Step-by-Step Instructions
Follow these steps carefully to ensure your Creamy Swirl Ice Cream Bread Treat – Better Than Takeout turns out perfectly moist and beautiful. The key is in the gentle handling of the batter.
- Step 1: Preheat your oven to 350°F (175°C) and generously grease a 9x5 inch loaf pan or line it with parchment paper for easy cleanup.
- Step 2: In a large bowl, place 2 cups of your chosen ice cream and let it melt completely. You can microwave it in 20-second bursts, but do not let it become hot; it should just be a room-temperature liquid.
- Step 3: Sift the self-rising flour into the melted ice cream. Using a spatula, gently fold the flour into the liquid. Stop as soon as you see no more dry flour streaks. Do not over-mix!
- Step 4: Pour about two-thirds of the batter into the prepared loaf pan. Smooth the top with your spatula.
- Step 5: Prepare your swirl mixture (e.g., mixing cocoa powder with a little water or melting your jam). Drop dollops of the swirl mixture and the remaining batter on top of the loaf.
- Step 6: Use a butter knife or a skewer to gently swirl the top layers together in a figure-eight motion. This creates the signature look of the Creamy Swirl Ice Cream Bread Treat – Better Than Takeout.
- Step 7: Bake for 40 to 45 minutes, or until a toothpick inserted into the center comes out clean. Let the bread cool in the pan for 10 minutes before transferring it to a wire rack.
Pro Tips for the Perfect Loaf
Achieving the best Creamy Swirl Ice Cream Bread Treat – Better Than Takeout requires attention to detail. Always use full-fat ice cream; the fat acts as the shortening for the bread. If you use a low-fat or "lite" version, the bread will likely be dry and rubbery. Another tip is to sift your flour; self-rising flour can sometimes clump, and sifting ensures a perfectly even distribution of the leavening agents. Lastly, when creating your swirl, don't over-do it. If you swirl too much, the colors will blend into a murky brown or pink rather than staying in distinct, beautiful ribbons. A light touch is the difference between a mess and a masterpiece.
Serving, Storage & Variations
Serve your Creamy Swirl Ice Cream Bread Treat – Better Than Takeout slightly warm with a dollop of whipped cream or a drizzle of honey. It also makes incredible French toast if sliced thick the next day! For storage, keep it in an airtight container at room temperature for up to 48 hours. If you live in a humid climate, refrigeration is better to prevent spoilage. For variations, try adding chocolate chips, crushed nuts, or even a swirl of peanut butter. The possibilities are endless, making this Creamy Swirl Ice Cream Bread Treat – Better Than Takeout a staple in your dessert rotation.
Nutrition Information
Knowing the nutritional breakdown helps you fit this indulgence into your lifestyle. Below is the estimated nutrition for one serving of the Creamy Swirl Ice Cream Bread Treat – Better Than Takeout.
| Nutrient | Amount |
|---|---|
| Calories | 280 kcal |
| Protein | 5g |
| Carbohydrates | 38g |
| Fat | 12g |
*Disclaimer: Nutritional information is an estimate based on standard ingredients and may vary depending on the brand of ice cream used.*


Conclusion
The Creamy Swirl Ice Cream Bread Treat – Better Than Takeout is a testament to the fact that great cooking doesn't have to be complicated. With just a few ingredients and a little bit of creativity, you can create a dessert that looks and tastes like it came from a professional kitchen. This Creamy Swirl Ice Cream Bread Treat – Better Than Takeout will quickly become a requested favorite in your household. Happy baking!
FAQs
Can I use low-fat or dairy-free ice cream for this recipe?
For the best results with the Creamy Swirl Ice Cream Bread Treat u2013 Better Than Takeout, we highly recommend using full-fat, premium ice cream. The fat and sugar content in the ice cream are essential for providing the bread with its moisture and structure. Dairy-free alternatives may work but often result in a denser, less tender loaf.
Why didn't my ice cream bread rise properly?
The most common reason for a poor rise is using expired self-rising flour. Ensure your flour is fresh. Additionally, over-mixing the batter can deflate the air bubbles and result in a heavy texture. For a perfect Creamy Swirl Ice Cream Bread Treat u2013 Better Than Takeout, gently fold the ingredients until just combined.
How do I store the leftovers?
Wrap the bread tightly in plastic wrap and store it at room temperature for up to two days. For longer storage, you can refrigerate it for up to five days or freeze individual slices for up to three months. Simply toast or microwave a slice to bring back that fresh-from-the-oven softness.

Creamy Swirl Ice Cream Bread Treat – Better Than Takeout
- Total Time: 50 minutes
- Yield: 1 loaf (approx 8-10 servings) 1x
- Diet: Vegetarian
Description
A delicious, 3-ingredient quick bread made with melted premium ice cream and a beautiful flavor swirl.
Ingredients
2 cups full-fat vanilla or flavored ice cream, melted
1.5 cups self-rising flour
1/4 cup cocoa powder or fruit jam for swirl
1 tsp vanilla extract (optional)
1 tbsp sugar (optional, for extra sweetness)
Instructions
Step 1: Preheat oven to 350°F and grease a 9x5 inch loaf pan.
Step 2: In a large bowl, mix melted ice cream and self-rising flour until just combined.
Step 3: Reserve 1/2 cup of batter and mix it with your swirl component (cocoa or jam).
Step 4: Pour the main batter into the pan and top with the swirl batter.
Step 5: Use a knife to create a swirl pattern through the batter.
Step 6: Bake for 40-45 minutes until a toothpick comes out clean.
Step 7: Cool in the pan for 10 minutes before slicing and serving.
Notes
Ensure the ice cream is truly full-fat for the best texture. Low-fat versions lack the structural lipids needed.
- Prep Time: 5 minutes
- Cook Time: 45 minutes
- Category: Dessert
- Method: Baking
- Cuisine: American
Nutrition
- Serving Size: 1 slice
- Calories: 280 kcal
- Sugar: 15g
- Sodium: 310mg
- Fat: 12g
- Saturated Fat: 7g
- Unsaturated Fat: 4g
- Trans Fat: 0g
- Carbohydrates: 38g
- Fiber: 1g
- Protein: 5g
- Cholesterol: 45mg
Related posts:
 The Most Divine Peach Upside-Down Skillet Cake with Salted Caramel That Will Melt Your Heart
 The Most Decadent Chocolate Chia Pudding That Will Change Your Breakfast Forever
 The Most Adorable Graduation Cap Cookies to Celebrate Your Big Milestone
 The Most Heavenly Peach Cobbler Cheesecake That Will Melt Your Heart

Leave a Reply